
This purse is a DIY gem, it’s so simple to make because it involves only minimal sewing, the rest is glued with either a hot glue gun, Fabri-Tac, or Liquid Stitch. I decided to make this little Upcycled Denim Bag for my niece who is turning 12 this week. I first cut one back pocket out of the jeans, then cut a section of the jeans thigh. You leave it attached, unlike most instructions for this type of project. Set the pocket on there as a guide, but the pocket isn’t glued on yet, it’s just there to help you decide where you want to cut. There is no real wrong way to do this denim bag.
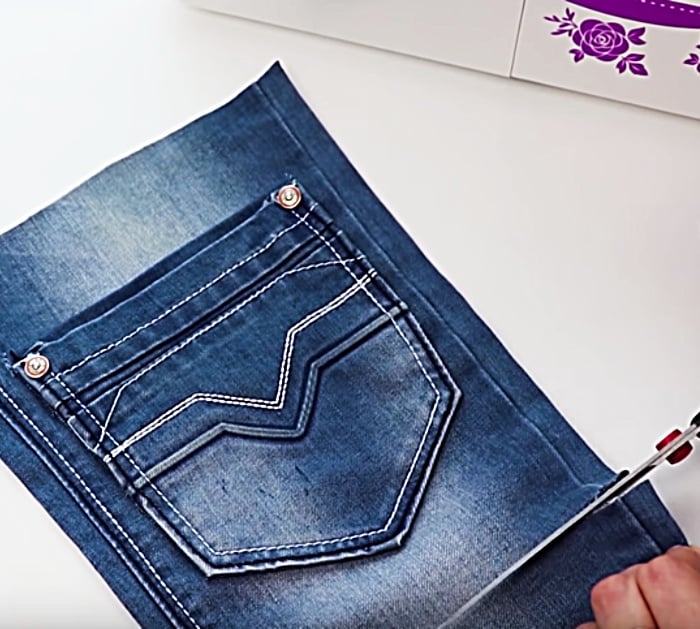
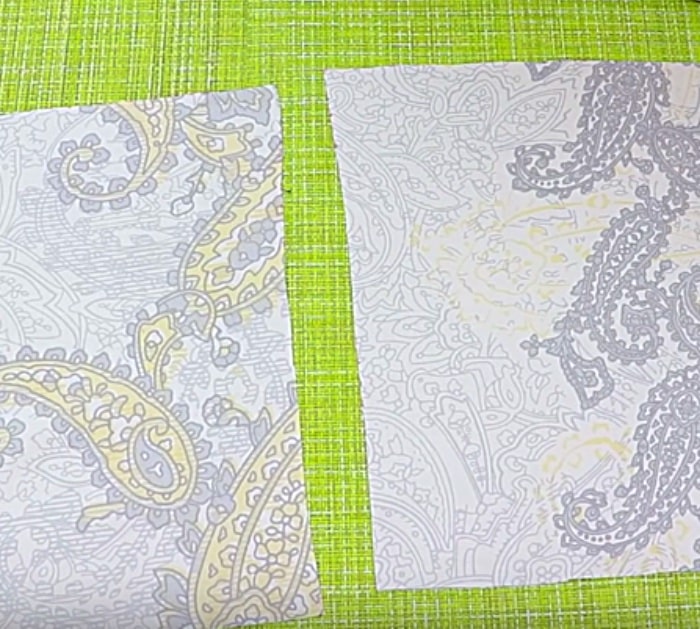
Then you turn it inside out and sew the bottom together, again you can totally do this project as a no-sew, it still will work. Then you pin down all the raw edges at the top of your bag and sew or glue them down. Then, you lay your bag down on a piece of paper and trace around it. Cut your tracing out and us it as a pattern to make the lining of the bag. You use, I know it’s a lining, don’t roll your eyes, because you are going to sew it right together, turn it right side out and glue it in. There are instructions for a pocket in the lining, but it is completely optional.
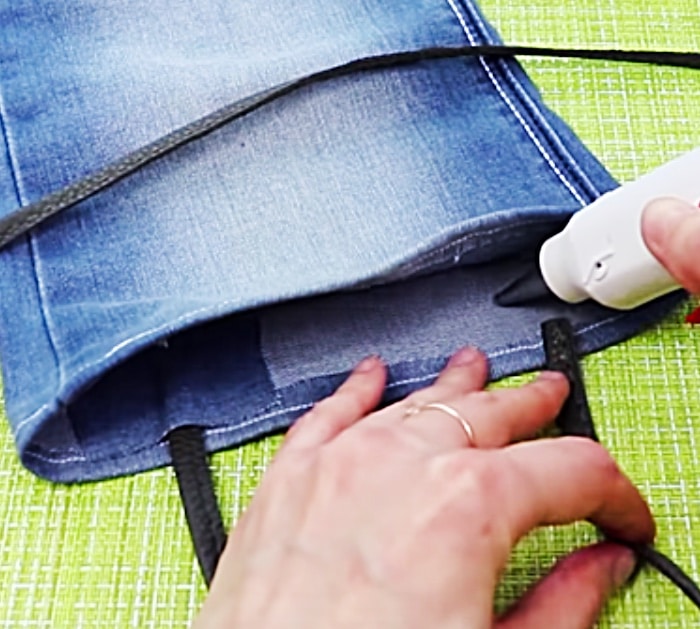
You then glue the handles in and secure them with another piece of denim glued on top of the handle attachment.
Now you just glue in a zipper at the top, this is also optional, and then you glue in your lining. Now you glue the pocket that you cut on the face of the bag.
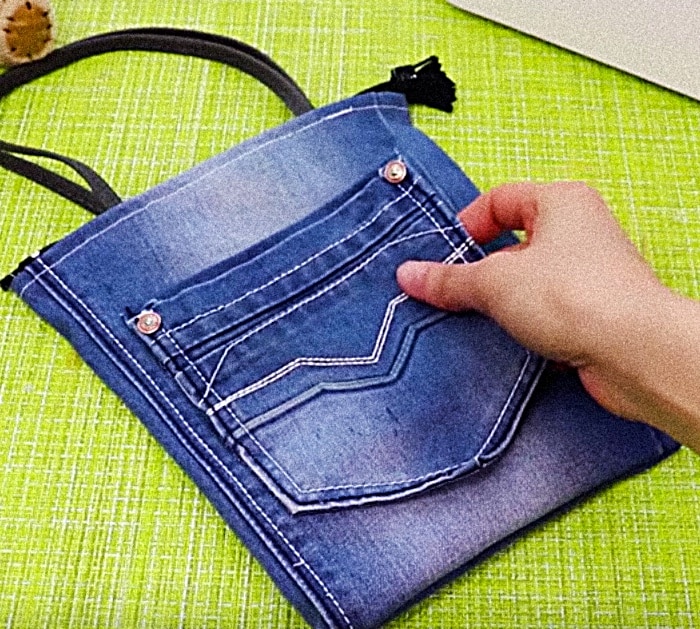
I gave the DIY Upcycled Bag to my Niece and she was so thrilled! I hope you enjoy this project as much as I did.


