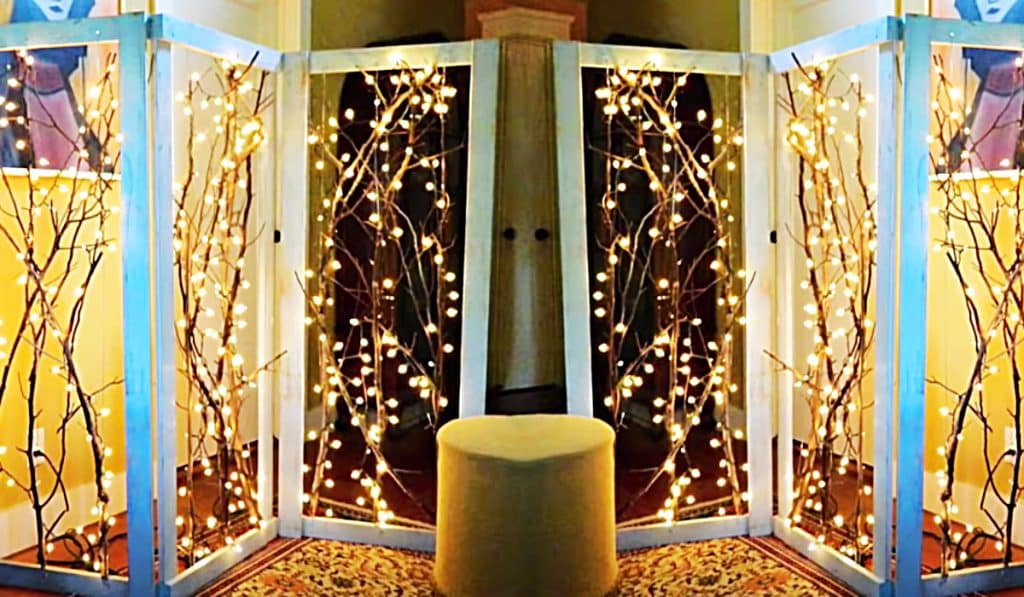
When I found this DIY twinkling branches room divider video tutorial by Mark Montano, on YouTube, I had to make this cool idea. The entire look of this project is so classy looking, and really adds a whole lot of atmosphere to your room. The greatest thing about this project is that it not only effectively separates a room, but it also doubles as a very creative lighting idea. Really this project has the best of all worlds, and can really add some pizazz to your personal space.
Materials For The Twinkling Branches Room Divider:
- 6 (24″ long) (1″x 3″) pine batons of wood
- 6 (60″ long (1″x 3″) pine batons of wood
- Chalk paint
- 4 (2″) hinges
- Screws
- A drill
- A hammer
- Branches
- Bendable wire
- A hot glue gun
- Glue sticks
- A pack of white fairy lights
Directions:
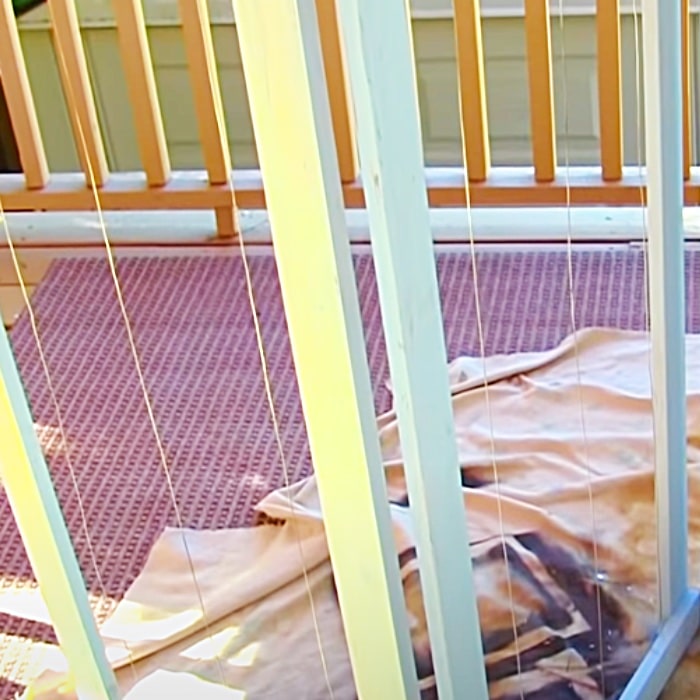
In this DIY twinkling branches room divider video tutorial by Mark Montano, on YouTube. you will learn how to make this gorgeous room divider in a few easy steps. You begin by building your panels, then painting them with chalk paint. Then you will attach all of the hinges.
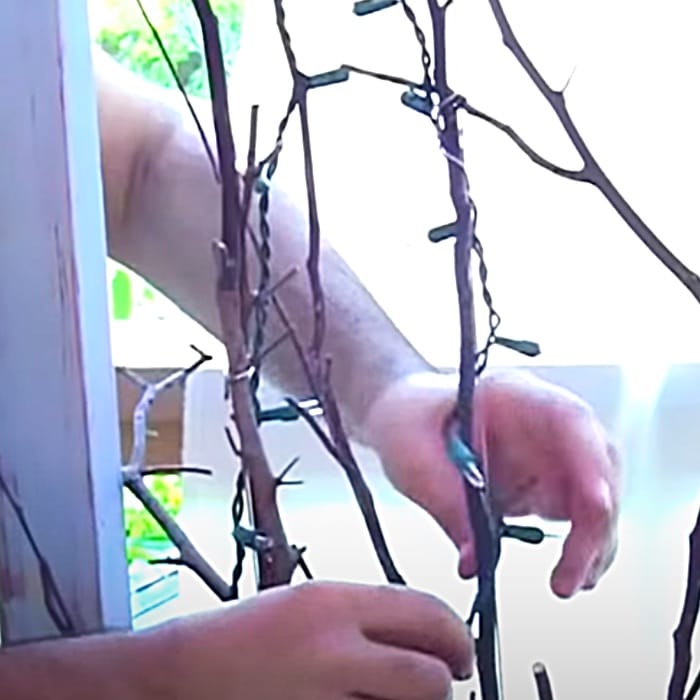
Then, you will attach all of your branches at the bottom of your divider wood and then add the festive fairy lights.
[social_warfare]
This room divider looks so amazing in the living room, and it is super easy to make, and it adds so much atmosphere to your room.
DIY Twinkling Branches Room Divider


