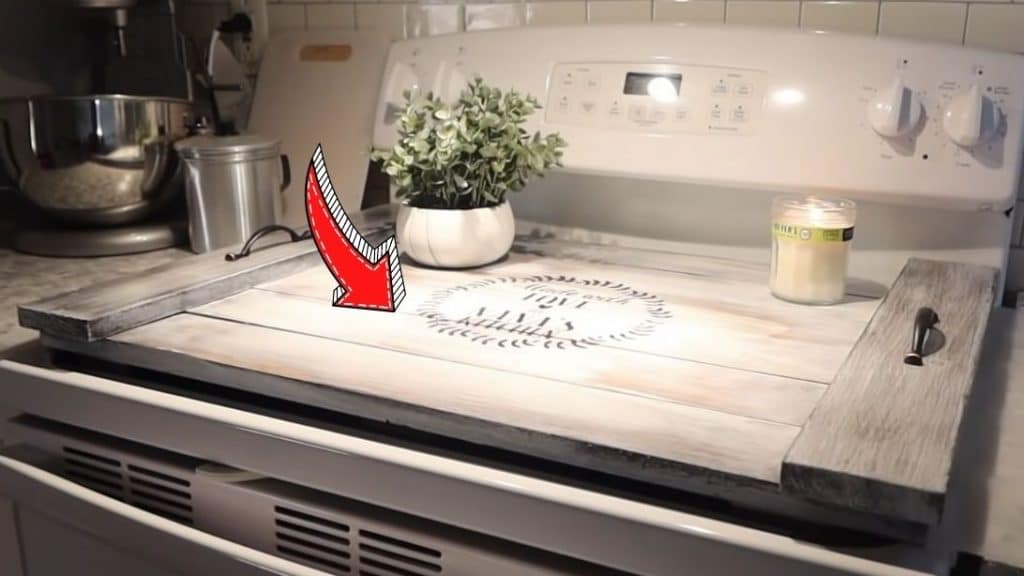
Your stovetop could use some upgrades by making a DIY wooden cover or noodle board. Plus, it is also a great gift idea! Don’t worry about making a mistake because you don’t need any special skills in order to create this project successfully, because all you need are some wooden boards and this tutorial by Kelly’s Korner on YouTube!
Materials:
- 8 pieces of 1*4 boards
- 6 pieces of 29-inch boards
- 2 pieces of 22-inch boards
- Wood screws
- Felt pad
- White paint
- Paintbrush
- Black Paint
- Paint sponge
- Polycrylic spray
- Drill
- Stencil
- Q tips
- Handles
- Wood stain
- Wood glue
Directions:
Step 1
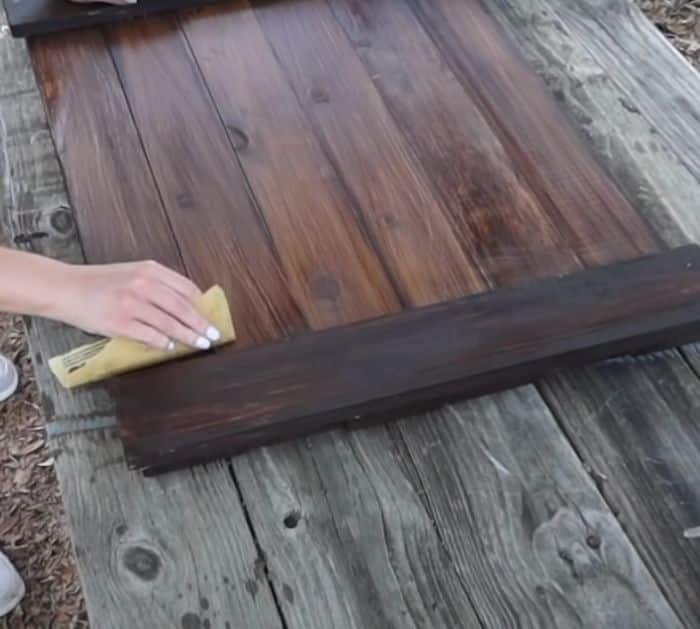
Start by staining each board well, then let them dry completely before you assemble them. Arrange the 6 pieces set of board beside each other, then place 2 pieces sets of the board on the top and bottom of the arranged boards. Attach them permanently in place with wood glue. Once it dries, flip it over and attach screws on each plank on both sides. Turn it over then scrub the entire noodle board with sanding paper.

[social_warfare]
Step 2
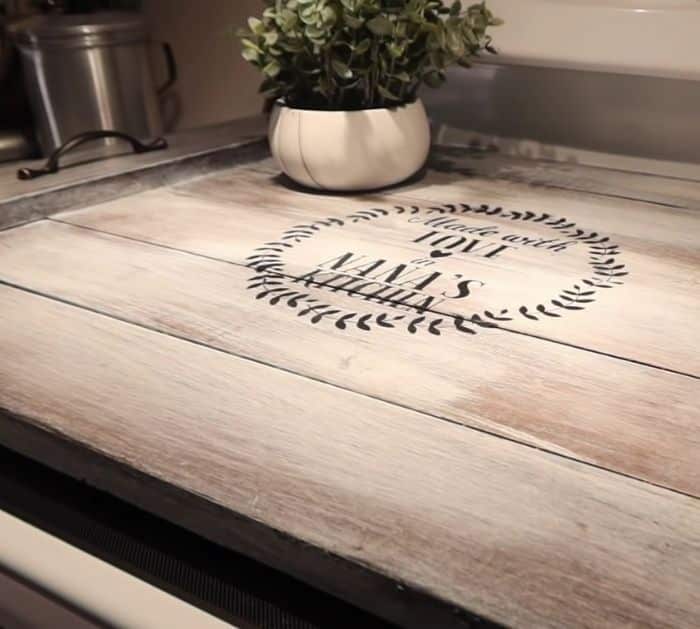
Lightly brush the wood surface with white paint, then let it dry completely, and then sand the board surface to create a rustic look. Create, download, or buy a stencil, place it onto the board, then dab black paint all over it using the paint sponge. Remove the stencil carefully, then clean up the paint bleeding with q tips. Spray the top with polyacrylic for the finishing touch, then attach handles on each side of the board. Lastly, attach a felt pad underneath the board as to not scratch the stove.

*Thanks to Kelly’s Korner via YouTube for all images used here. If you loved this project, then you’ll surely love their other videos too, so give their channel a visit and subscribe!


