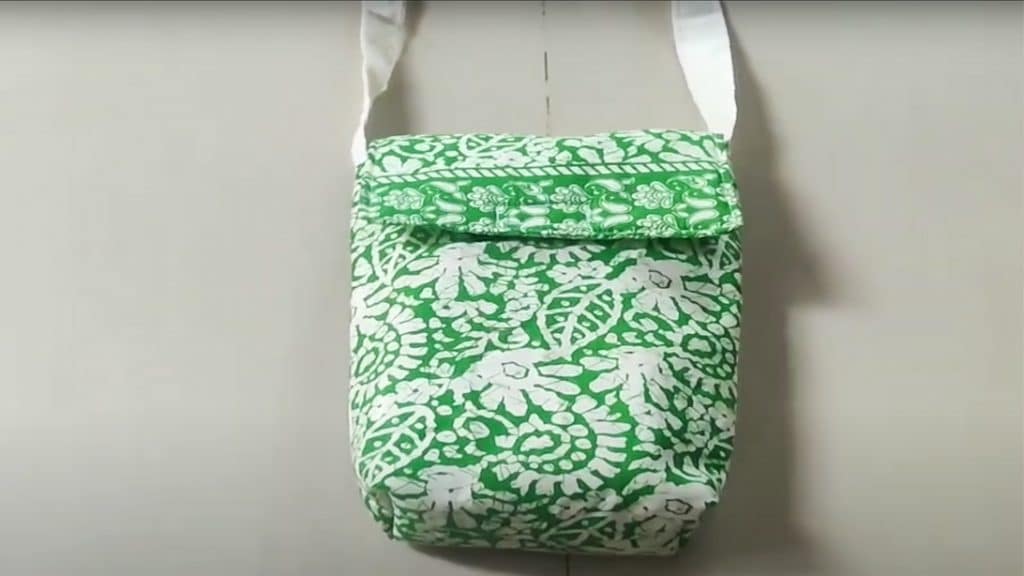
Here’s another easy DIY project. This simple, beautiful sling bag tutorial is shared with us by Sona Craft 72 on YouTube.
Materials:
- Main fabric
- Lining fabric
- Form fabric
- Scissors
- Measuring tape
- Sewing machine
- 2-inch Velcro
Directions:
Prepare all the needed materials.

Measure and cut out (2) 9×12 inch rectangles from the main fabric. Also, cut out the lining and form fabric 1 cm wider than the main fabric measurements.
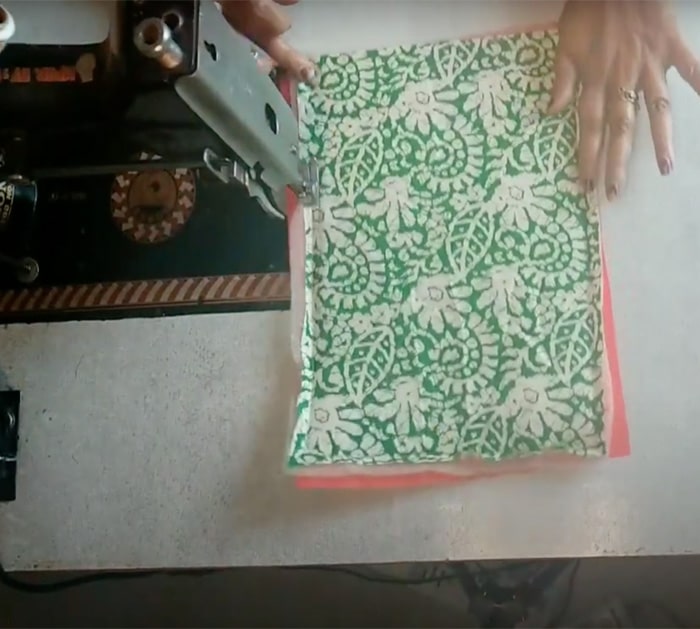
Stack the main fabric on top of the lining and form fabrics. Pin and sew around all the edges. Cut out the excess fabrics. Repeat with the second 9×12 inch main fabric.
Measure and (2) 8×6.5 inches from the main fabric. Use the prior fabric to cut out the exact sizes for the lining and form fabrics.
Stack the following fabrics: lining, form, and the 2 main fabrics. Make sure the last main fabric faces the right sides together. Sew in place across 3 sides of the fabric and flip it to face the right side. Sew all sides in place. Mark the center of one 9×12-inch rectangle lengthwise and place the 8×6.5-inch fabric in the center. Sew it in place. Measure and cut out 4×46 inches from the lining fabric. This long strip is for the sling.
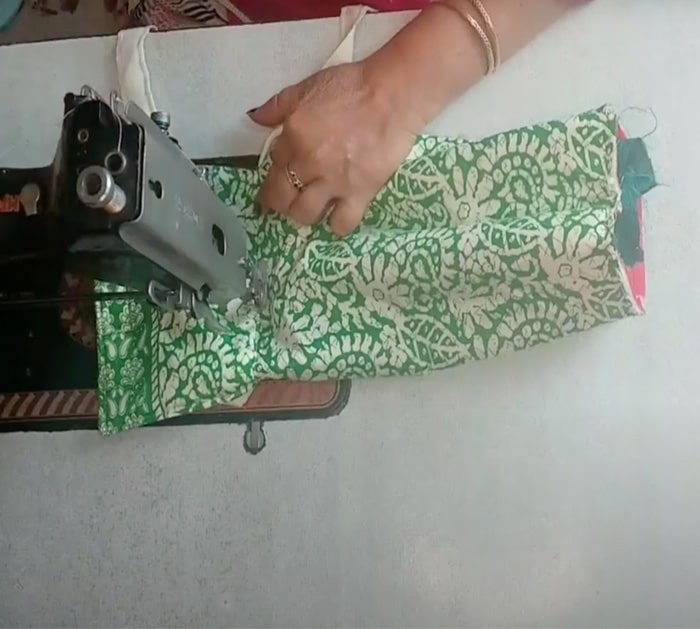
Fold the strip lengthwise four times, as seen in the photo, and sew as you go. Sew the opposite side edge. Place the second 9×12 inch rectangle on its right side, facing the first 9×12 inch rectangle. Sew both long ends and flip the fabric to face the right way. Sew the sling in place. Next, sew the Velcro onto parts of the opening flap.
Flip the bag. Measure and cut the inner fabric and sew it into the inside of the bag. Measure and cut out 1.5×1-inch angles on both bottom edges of the flipped bag. Sew the bottom end in place, as seen in the picture.

Lastly, flip the bag to face the right way and flex your handmade bag.


