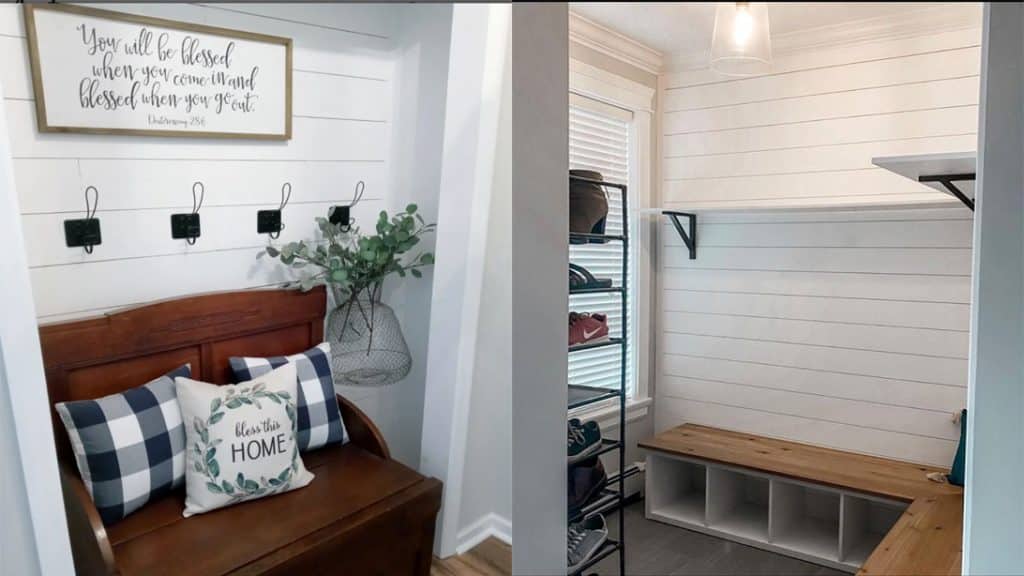
For over 2 years now, many of us have spent more time at home than we could ever dream of. Looking at the upside of things being holed up, we are finally allowed us to dedicate some time to DIY projects that upgrade our home. The Daily DIYer shares with us this low-cost DIY shiplap that’s under $20 to customize your wall anew!
Materials:
- Stud finder
- Pencil
- Sandpaper
- Woodcutter machine
- Wood sander machine
- Underlayment
- Level bar
- Nails
- Hammer
- Dry time spackling
- Latex caulk plus silicone
- Painter’s tape
- Paint
- Paintbrush
Directions:
Prepare all the needed materials.

Prep your wall by removing and cleaning off the original frames, brackets, and hooks. Using a stud finder, find the sturdy parts of the wall to securely nail in the shiplap. Then, mark each stud for reference. Next, using a long ruler, mark a straight line using a pencil, following the studs you have drawn.
Cut out the underlayment strips to the exact size of the measurement of your wall.
Make sure to test the fit of the cut-outs on your wall; they should be tight but not super tight to give the wood the chance to expand and contract in time.
Sand down the strips to make them clean and smooth; be sure to use gloves to avoid splinters!
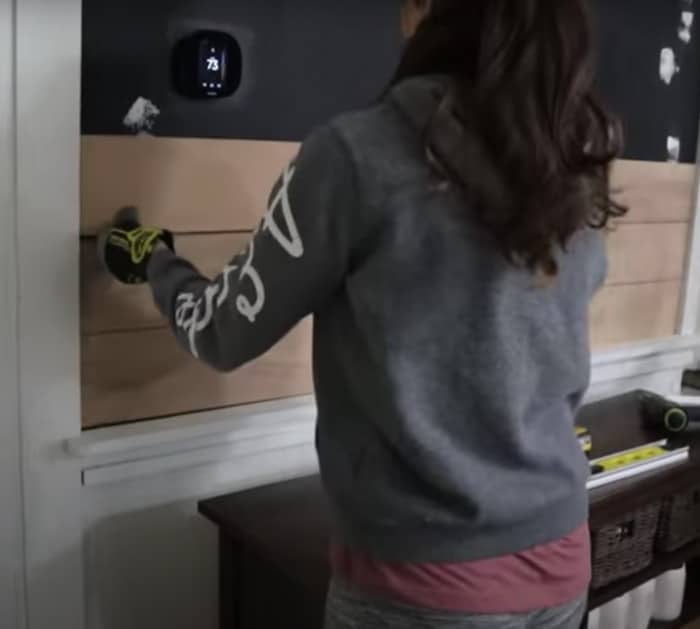
Using a level bar, level on an underlayment wood strip starting from the bottom of the wall area and nail it in where you marked the studs.
When you finish the first board, layer the following underlayment wood strips slightly on top of the prior one. Use a level bar with each wood strip and add nickels and spacers.

With the dry time spackling, fill in the holes and nail or screw marks. For the sides of the shiplap, line out two strips of painter’s tape to cleanly apply the latex caulk plus silicone.
Lastly, paint the shiplap with a thin paintbrush and a rolling brush with your chosen paint colors.


