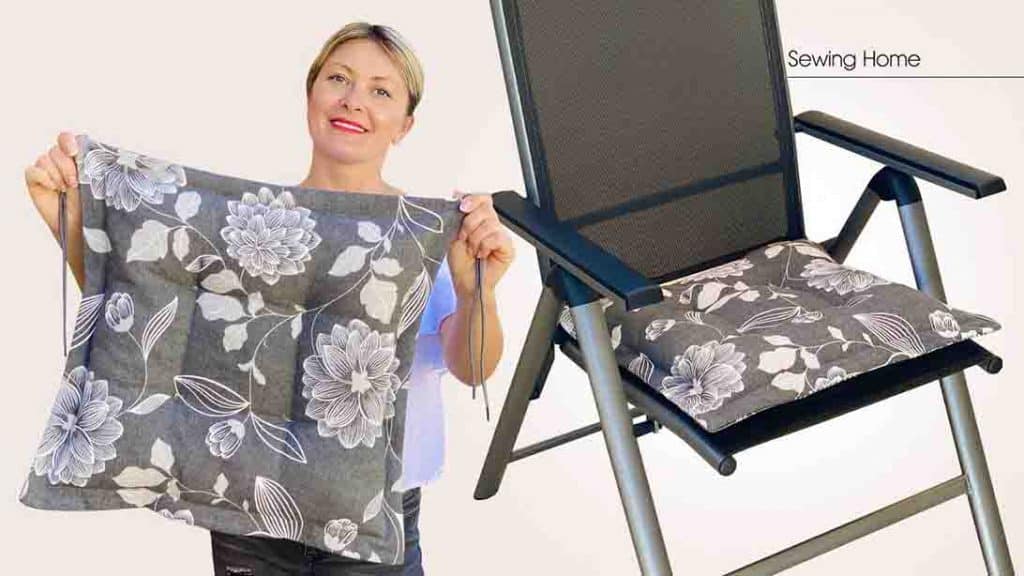
Are you looking for your next sewing project? Try making this DIY seat cushion from Sewing Home on YouTube! This adorable seat cushion can fit almost all types of chairs, making it a worthwhile sewing project for you to try on. It’s quick and easy, and beginner-friendly.
RELATED: How to Make an Easy Square Chair Cushion Without Zipper
In this step by step tutorial, Sewing Home will teach you how to make this DIY seat cushion with just a handful of materials. You don’t need to buy anything for this project if you have your basic sewing supplies. Learn how to make it by watching the video tutorial below.
Materials:
- fabric of choice
- measuring tape
- scissors
- laces (or rope)
- two pieces of interlining
- microfiber padding
Directions:
Step 1
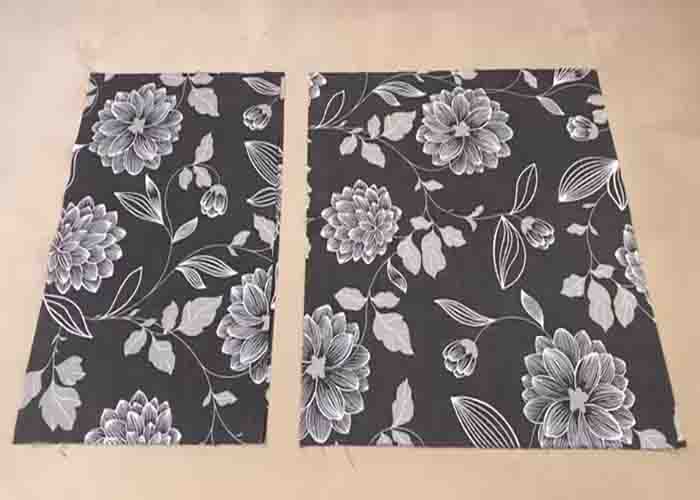
Cut your fabric into two front pieces measuring 49cm x 52cm and two back pieces measuring 45cm +3.5cm on both sides = 52cm in width and 2/3 of the width 49/3 = 16.3 x 2 = 33cm in length. Set the larger pieces aside and lay the two smaller pieces. Make a hem of 1cm width of fabric on each, then sew. Next, lay one large piece, right side up, then lay the smaller fabrics over, right sides down, with the hem in the center. Cut four units of 30cm lace, then clip two laces inside each opposing corner. Pin the whole project in place and sew around with a 1cm seam. After sewing, snip off the corners, turn it right side out, and press it nicely.

Step 2
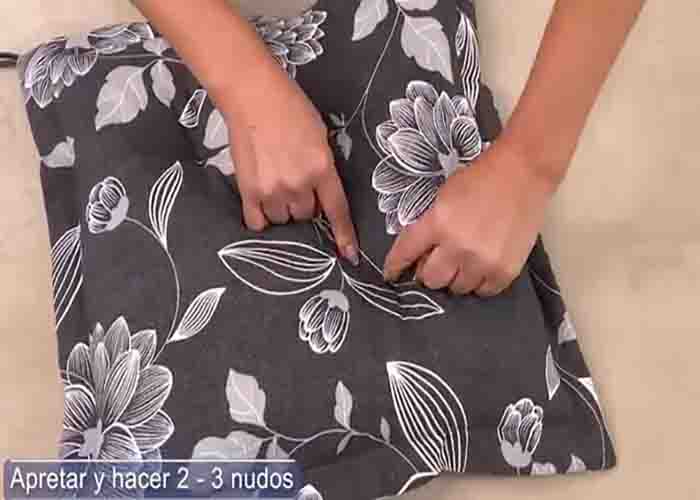
Next, mark 3cm all around, draw a line, and then sew right through these lines. Set it aside. Take two pieces of interlining measuring 49cm x 52cm, then sew them together with a 1cm seam all around, leaving a gap. Once done, flip it inside out, then fill it with microfiber padding through the gap. Close the gap once finished. Back to the project, insert the padding, then tuft it with four stitches on top. Your cushion is now finished!


