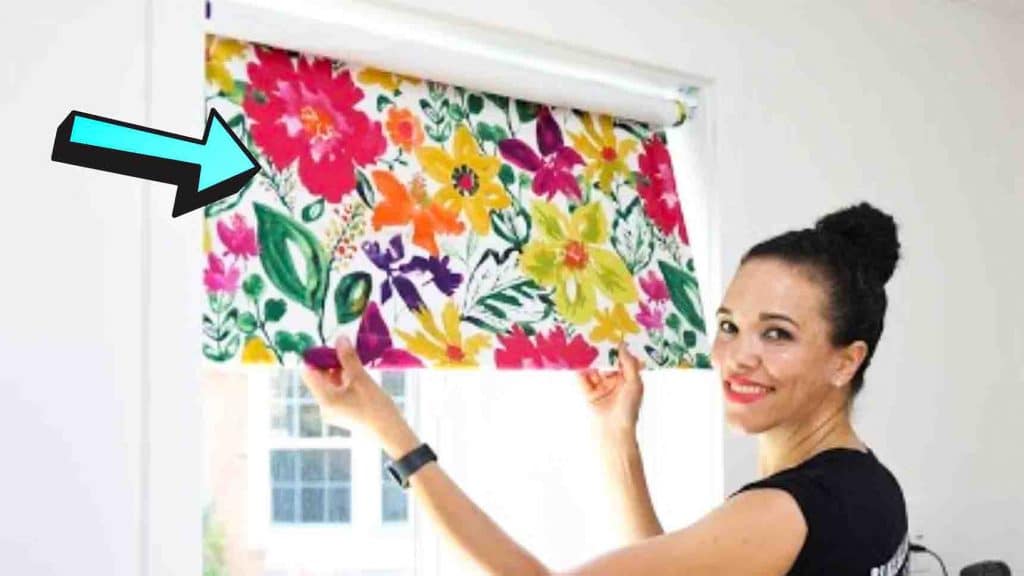
Blackout curtains can keep out the heat from the sun better than normal curtains. But how about using roller shades with blackout fabric instead? These DIY roller shades with blackout fabric from Thrift Diving on Youtube are not only cheap but also effective. Simple, easy, and chic – these roller shades are a great alternative for curtains and can bring character to your home. Watch the video tutorial below to learn how to make them.
Materials:
- draper fabric
- black-out drapery lining
- vinyl roller shades
- roller shade hardware
- double-sided tape
- spray adhesive
- sewing machine (optional)
- sewing thread (optional)
- heat and bond tape (optional)
- iron (optional)
- tape measure
- scissors or rotary cutter
- ruler or yard stick
Directions:
Step 1
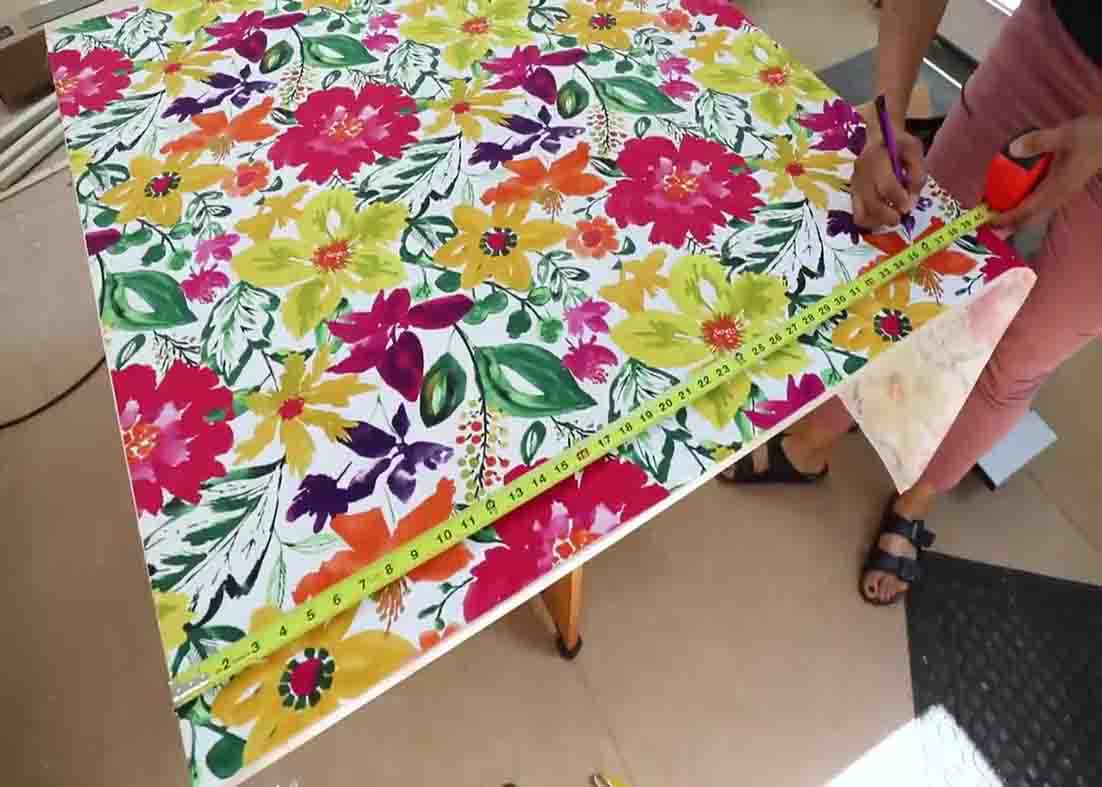
Measure the size of your windows to make sure you buy the right adjustable roller shade. You can first put the rod up there and then use that rod to do the measurement for the final piece of fabric that you’re going to attach to it. To have a nice straight edge, use a framing square to cut out the selvage edge then line it up with the edge of the table (if you’re using a square table), then trimmed off all the excess. Make sure your fabric has the right angle you’re working from that is square. The measurements of this depend on how big your windows are. For the blackout fabric, just cut it a little bit smaller because that’s gonna be the lining that’s attached to the back. Next, fold the edges 1 inch on the left and right sides and press them to have a nice edge. But before pressing it, place the blackout fabric so the seams will be folded onto the blackout fabric. Use adhesive spray to secure both fabrics together. (Use pins on top to align it.) After pressing, sew the edges.
[social_warfare]
Step 2
Next, remove the vinyl from the roller shades. Put double-sided tape, then attach the black-out fabric to the rod. Roll it slowly and make sure that it’s going to the rod straight. (If not, just unroll it and try to get it on there as straight as possible.) After this, mount the brackets to the inside of your window. Place the rod with the blackout fabric, then reset the tension by pulling it and then releasing it.

DIY Roller Shades With Blackout Fabric