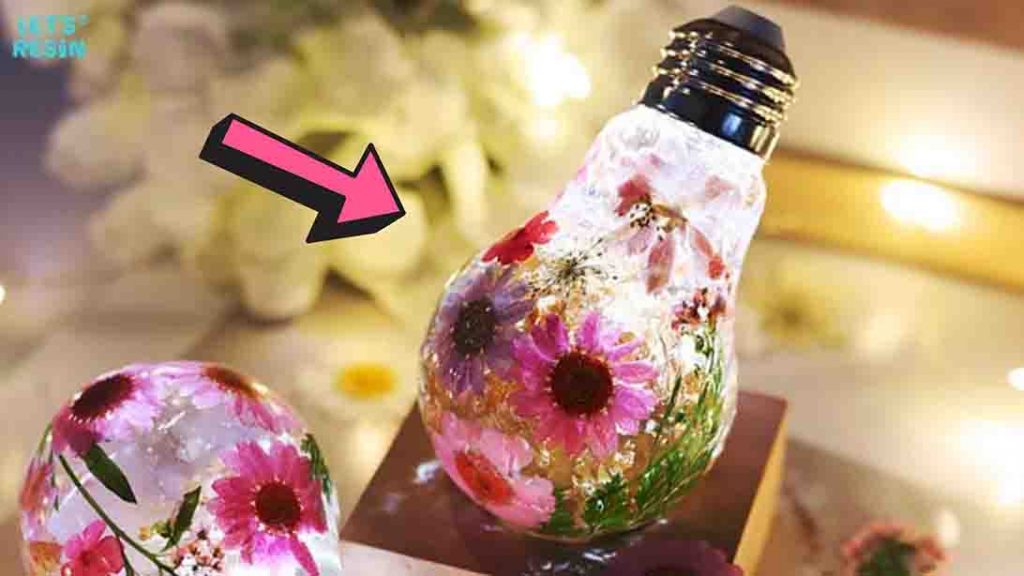
This DIY resin light bulb from LET’S RESIN on Youtube is so gorgeous – that you’ll probably make a few of these for your friends and family. It’s also a great personalized gift idea for every occasion or an easy DIY for the weekend. It may seem intimidating, but it’s actually pretty easy to make. I remember the first I did this project; I couldn’t be more proud of myself and kept staring at it for the whole day! So, I made more and gave them out to my friends after our summer break. Try making one today and see for yourself! Watch the video tutorial below to learn the step by step instructions. Thanks to LET’S RESIN for this fantastic DIY project!
Materials:
- resin
- light bulb silicone mold
- epoxy mixing cups
- dried flowers and leaves
- gold leaf flakes
- UV resin
- bbq stick
- soapy water (or alcohol)
- LED light
- bulb cap
Directions:
Step 1
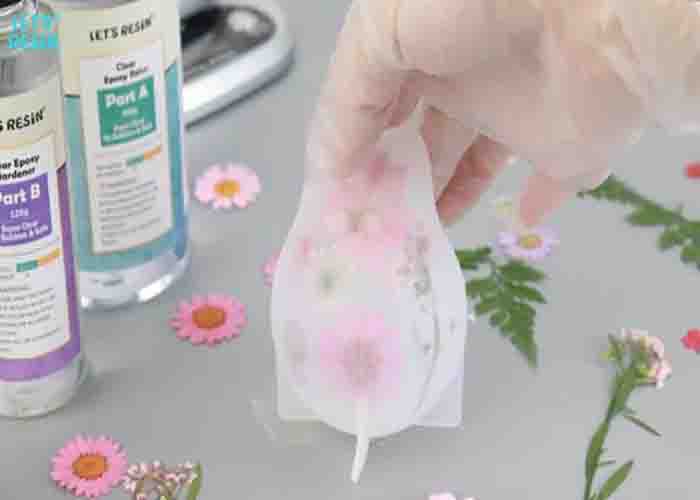
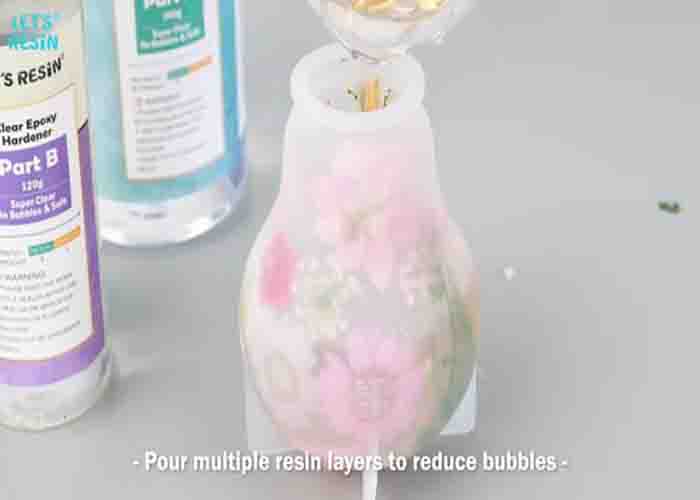
To start, glue down your dried flowers and some leaves using UV resin on the inside walls of the light bulb, designing it however you like. Next, mix your epoxy with some gold leaf flakes and mix it well. Once you’re satisfied with the design, pour multiple resin layers onto the mold to reduce bubbles.

[social_warfare]
Step 2
Once you’re done, leave the resin mold for at least eight hours to let it harden, then pour a resin layer again. Leave it for eight hours again. After this, pour another round of resin layer, filling the mold this time. Leave it for a whole day to let it set. Now, drop some soapy water, and squeeze the mold to loosen it. Once done, put the LED light and bulb cap to finish it.


