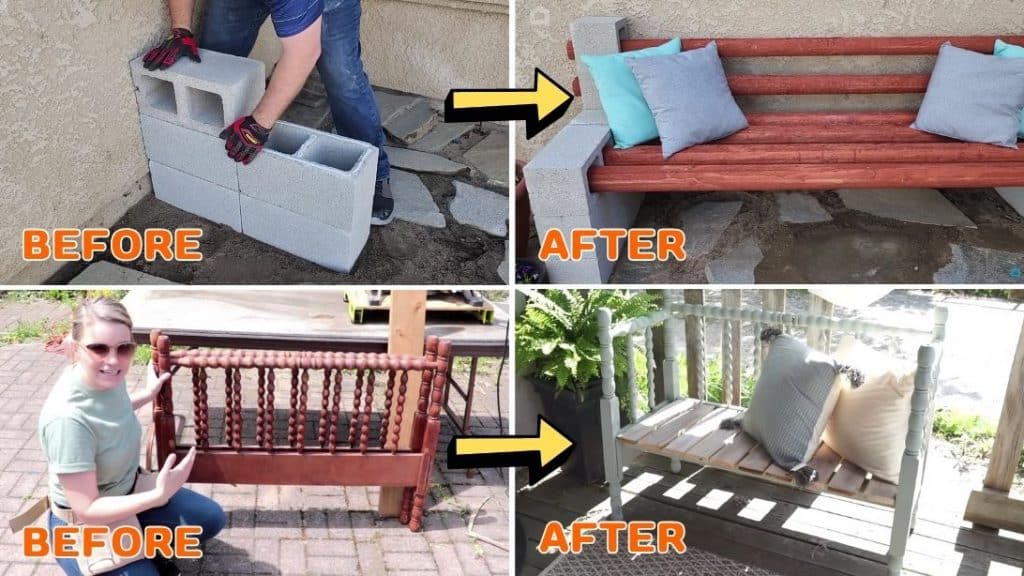
This project by Hometalk on YouTube is super easy to do, uses simple tools, and can be done with materials that you want to repurpose! These DIY outdoor benches look so pretty and are actually pretty sturdy, so if you want to give this a try, simply read down below now.
Materials:
Furniture 1
- Cinder blocks
- All-purpose construction adhesive
- Log or wood
Furniture 2
- Old footboard and headboard
- Jigsaw
- Drill
- Wood deck screws
- Wood, for the base of the seat
- Wood planks
- Paint
Directions:
Furniture 1
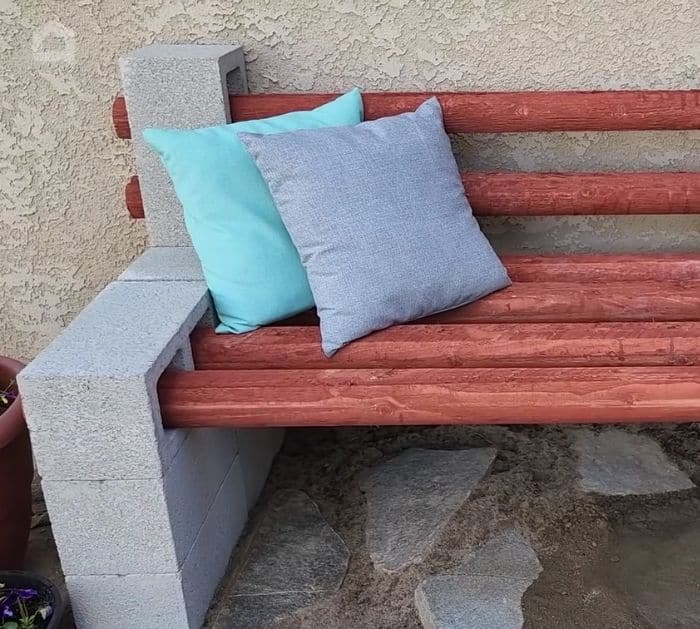
Stack 2 cinder blocks horizontally on top of the other making sure to line up and secure them with adhesive, then stack 2 more blocks right beside it and repeat this on the other side to complete the base of your bench. Once the base of the bench is done, add one block on top of each pair of blocks making sure that the blocks are laid down and their holes are facing the sides. Apply adhesive on top of one side, then place a cinder block standing right up, and start inserting logs or wood through there holes of the cinder blocks to finish the bench. Make sure to stain the wood that you’re using. Add pillows and you’re all done!

[social_warfare]
Furniture 2
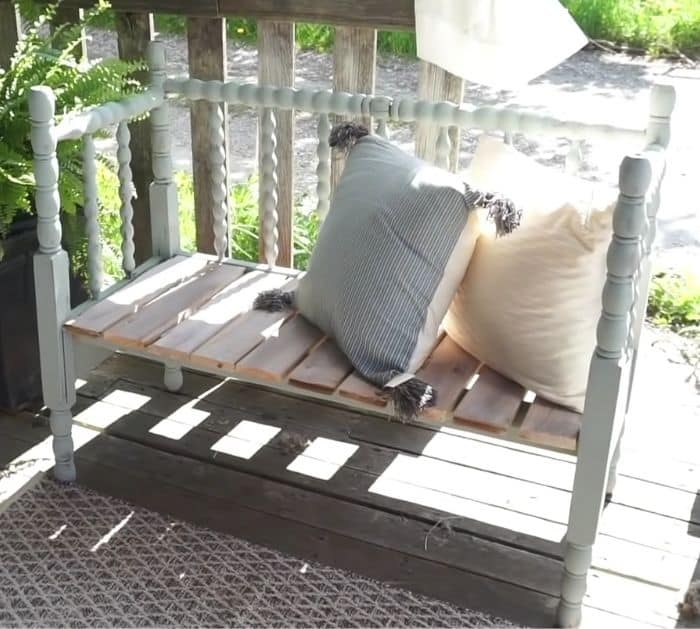
First of all, remove the wheels of the footboard and headboard if there are any, then start making the side pieces. Measure the footboard, then mind the middle, and cut down the line using a jigsaw. Make sure that your side pieces are even, then cut off one more spindle to let it insert to the sides of the headboard better, and then sand the cut sides. Create pilot holes, then start attaching the side pieces to the headboard, and measure the distance of the inside of the side panels. Cut the wood for the base of the seat, screw it in place, then paint. Cut wooden planks, then paint them before attaching them to the base to create slats making sure to space them evenly.

*Thanks to Hometalk via YouTube for all images used here. If you loved this project, then you’ll surely love their other videos too, so give their channel a visit and subscribe!


