
When you think of Christmas, you would probably think of Santa Claus and his reindeer. The most popular reindeer is Rudolph, and there’s even a song dedicated especially to him. So, have you thought about having Rudolph gnomes as decorations this year? Or maybe even just reindeer gnomes, because Rudolph might be somewhere with Santa.
Patti J. Good can help you out. You don’t need to spend a lot to make one reindeer gnome by yourself. Just look for unused leg warmers tucked away somewhere in your drawers. Then find some of the materials lying around in your storage to complete one easy-to-make reindeer gnome.
Materials:
- Pattern (https://bit.ly/3oQkFts, for personal use only)
- Clay
- Glue gun
- Miter cutter
- Scissors
- 9″ x 10.50″ Felt
- Felt Nose (Dark Red)
- Hot glue sticks
- White Faux Fur Faux Fur
- Faux Fur in Tan
- Leg warmer
- Craft foam with texture
- Poly Fill
- Poly Pellets
- 9″ x 21″ non-woven fabric
- Dowel sticks
- 2 12″ x 3″ Styrofoam discs
- Corks
Directions:
Step 1:
You’re going to need just one leg warmer to form the body of the gnome. You will need styrofoam discs and non-woven fabric to make the body and the hat. Make sure you roll it tightly so it won’t spill when you pour the beads. Glue the styrofoam discs on the non-woven fabric and move them to make a tube. Then make sure to glue the end of the fabric to make sure it’s completely secure.
Step 2:
Add half a cup of beads to the fabric tube. Fill the tube with poly fill until it measures about 6 inches in length.Then tie the top of the tube with your string. Make sure to measure the tube because it has to be 6 inches to the tie string.
Roll the white tube on the felt to cover it thoroughly. The white parts of the tube should not be seen. Tie off at the top. Cut about an inch from the tie string. Fold the ends of the felt back into the body and glue them all the way around. Then close the remaining white non-woven fabric tightly with glue.
Step 3:
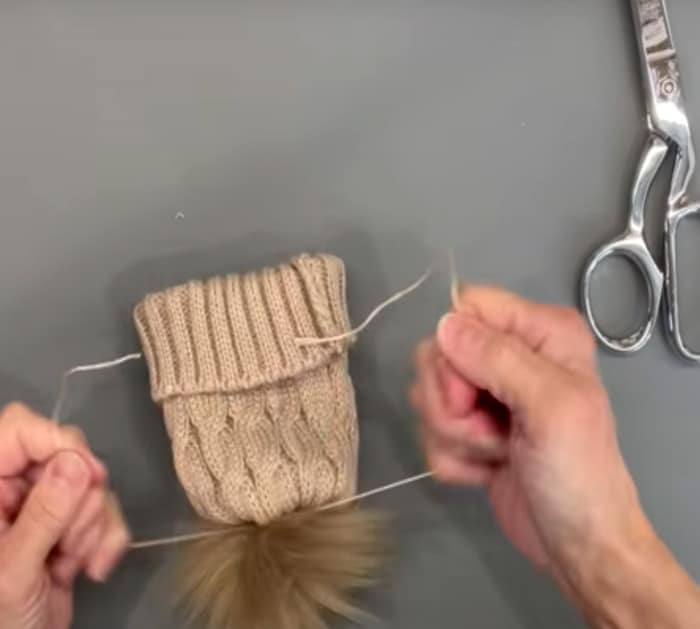
Cut the remaining felt into a circle pattern and glue it on the bottom of the tube to cover the white part. Get the leg warmers and put the tube inside, but not all the way. Glue the edges of the leg warmer to the base of the tube. Tie it up where the non-woven fabric was sticking up. Remove the warmer from the string about halfway.Fold the fabric back and glue it to the rest of the body.
Step 4:
The rest of the leg warmer can be used as the reindeer’s hat. Measure 6 and a half inches from the bottom of the fabric, then tie it with a string. Cut off any excess on the top. Fold the top of the hat and glue it together, then flatten it to close.
Step 5:
Next, you’re going to make the pom-pom for the top. Cut 2 12 by 2 12 pieces of faux fur. Cut this square behind the faux fur. I stitched up the faux fur using embroidery floss to draw it up to make the pom-pom. Turn the hat made of warmers right side out, then attach the pom-poms on top. Once done, put the hat on top of the gnome’s body.
Step 6:
So let’s go make his beard! Cut the tan faux fur into 3 inch by 2 12 inch squares to form the letter U.Then attach it to the gnome’s body. Make sure part of it is covered by the hat to make it look like it has a face.
Step 7:
Take the reindeer antler patterns and clean them up with tape. Do the same to the ears and legs as well. Glue the pipe cleaner to each antler. Then continue by gluing all the antlers together. Then put the ears together as well. Stick the antlers in the gnome’s hat. Then also stick in the ears. Also, glue the red nose to the gnome’s beard.

Step 8:
It’s time to make the gnome’s feet. To make his legs, cut cork into 14-inch lengths and cover with brown craft foam.Then build the hooves with black sculpting clay and attach them to his legs. Stick rods into the corks so the gnome can stand. Make sure you bake the clay hooves for 15 minutes at 250 degrees.
Step 9:
Cut a tail for the gnome from the fur at 1 14 by 4 inches and then a pipe cleaner at 14 inches and a dowel pin at 2 inches. Then attach the tail to the gnome’s body.
There you have it. You now have a Rudolph the Red-Nosed Gnome with you for Christmas. You can make as many as you want to complete Santa’s entourage. Then perhaps, you can find another tutorial for a DIY Santa Claus. Happy gnoming!
How to Make a DIY Reindeer Gnome for Christmas


