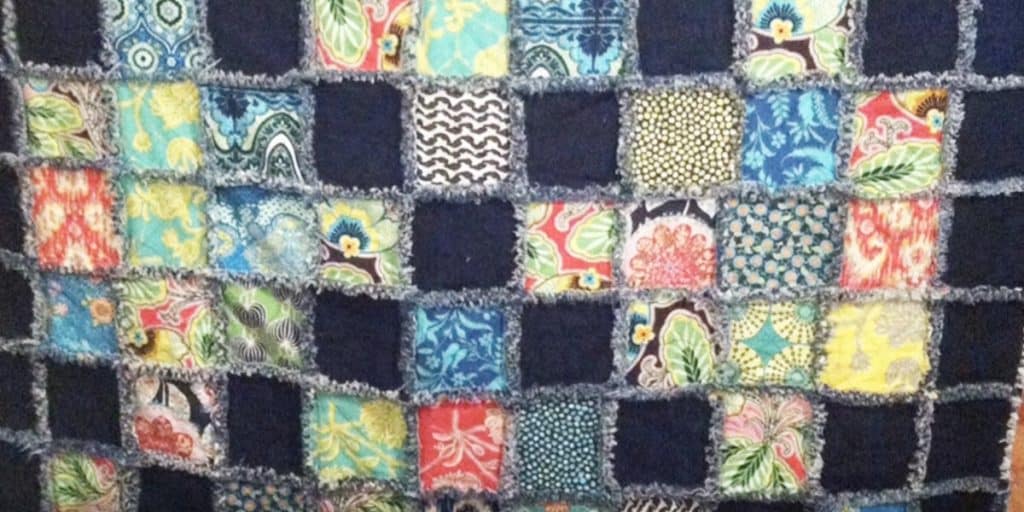
Learning how to make a rag quilt is easy! Rag quilts are a wonderful for a first time quilting project. They’re simple to make! If you really want your rag quilt to be warm and cuddly you can use cuddle or minky fabric for the back side. The cuddle fabric is wonderful to touch and if you want it to be really soft and warm, you can make this with flannel!
You will also need a middle layer and a backing layer. All three layers will show on top as the ragged or frayed edges. I like to use cotton woven prints on top and flannel for the inner and back layers. Flannel is soft and cozy plus it frays really well.
This tutorial is geared towards beginners, but most of us love the way this quilt looks, so you experienced seamstresses out there can whip this out a lot quicker! They are fairly simple to make and you do not need to have much sewing experience or knowledge to make one. You only use a straight stitch and sew straight lines for the project.
You will need to choose your top fabric. You will also need a middle layer and a backing layer. All three layers will show on top as the ragged or frayed edges. Use cotton woven prints on top and flannel for the inner and back layers. Flannel is soft and cozy plus it frays really well. To figure up your yardage of fabric you need to decide what size quilt you want to make and how many fabrics you will use. Remember that each quilt block will be 1″ smaller when finished because you will be using a 1/2″ seam allowance.
Things you will need:
- Sewing machine
- Complimenting fabrics
- Matching thread
- Scissors or rotary cutter and mat Sewing pins
- Iron Ragging scissors are very helpful as well
Begin by pre-washing all of your fabrics. You’ll typically be using 100% cotton fabric that will shrink. It can also bleed. I wash everything of like colors on warm with color catching sheets in the wash. Then dry them on high heat in the dryer. After they come out of the dryer iron each piece. Now we are ready to cut out our individual blocks.
You will need to cut your top, middle, and bottom blocks before you can sew. Once they are all cut out lay your quilt out on the floor to be sure the pattern works. You will want to have the layers all together at this point.
Watch how Penny Bunty makes this awesome quilt in her step by step tutorial so you can make one too!


