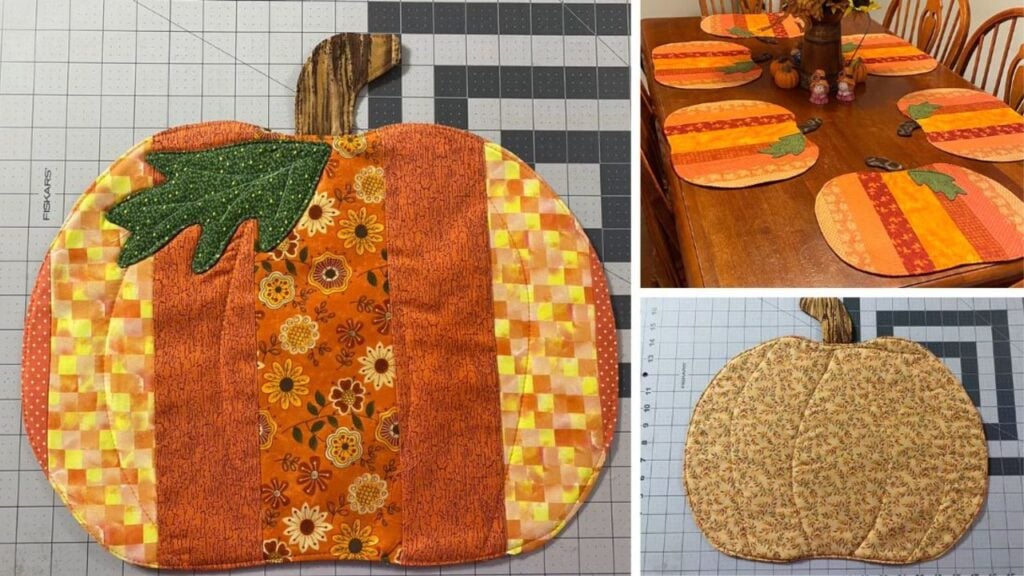
These DIY quilted pumpkin placemats by Stitching Granny Of 17 are so adorable! You can even use the same pattern to make apple placemats. It’s an easy project you can create using your fabric scrap strips. Decorate your dining table with these lively and beautiful decorations. Learn the step-by-step tutorial by watching the video below.
Materials:
- 14 x 18 inch freezer paper (fold in half twice)
- 6 and 1/2 inch square freezer paper
- 4 and 1/2 inch square freezer paper (fold in half twice)
- 14 x 18 backing fabric
- 6 and 1/2 inch square batting
- 4 and 1/2 inch square batting
- scraps of orange, green, and brown fabric
- sewing machine and thread
Instructions:
Step 1:
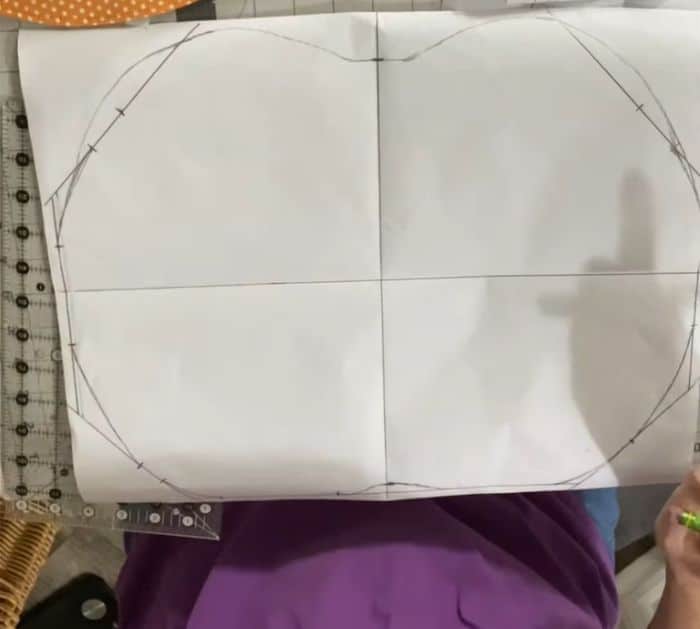
Open the 14 x 18 inch freezer paper. Draw a line on the center creases. On the top right square of your freezer paper, take your 45-degree angle and put it across the top. You want to mark 3 1/2 inches down and make a line across, then mark the middle of the line. Do the same on the left corner. For the bottom corners, use 2 and 1/2 inches.
Step 2:
On both sides, come in a quarter of an inch measuring from the edge of the paper from the top diagonal to the bottom diagonal. For the bottom, measure half an inch and draw a small line, then for the top, measure 3/4 of an inch and mark.
Step 3:
Find the halfway mark on the lower line of the diagonal on the top right. Make a curve from that to the middle line. From the middle line, measure 2 inches down. Make a curve from that mark to the mark on the diagonal, then from that to the bottom line. Do the same on the other side. From the middle bottom mark, make a small curve on both sides. Repeat on the top. Lastly, make a curve above the diagonals for the top part, connecting the marks. To make things easier, you can just draw the right side, then fold it in half and cut.
Step 4:
On the 4 and 1/2 inch square freezer paper, make the stem of your pumpkin. Then on the 6 and 1/2 inch freezer paper, make the leaf.
Step 5:
You can sew some strips together and fuse the freezer paper pumpkin pattern to the right side of the fabric and cut it out. Remove the freezer paper and lay the pumpkin on a backing and batting place right side up. Sew it all around but leave an opening on the top and bottom. Cut the excess fabrics.
Step 6:
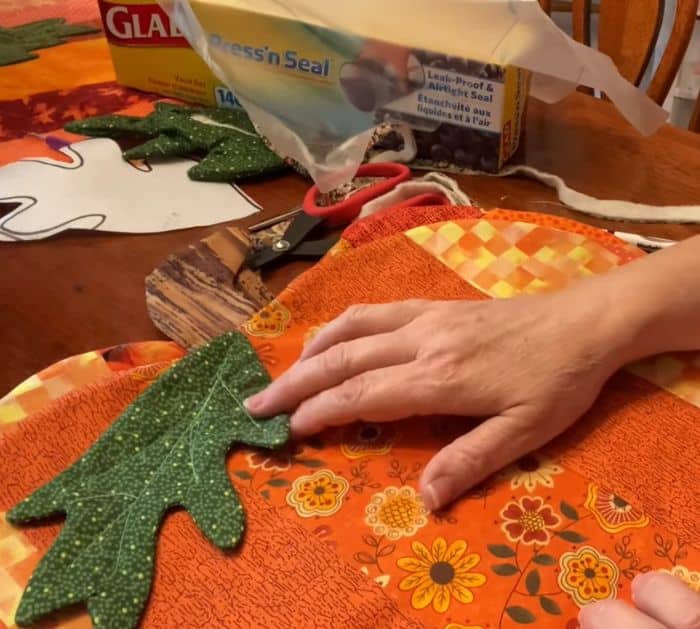
For the stem and leaf pattern, place them on two layers of fabric right side together. Then sew the pattern, remove the pattern, and cut the excess. Cut it in the middle and flip it right side out. Sew the opening together.
Step 7:
Place the stem on the top opening of the pumpkin and top stitch with a quarter of an inch seam allowance all around the edges. Trim off excess then flip it right side out from the bottom opening. Stitch the opening and sew the leaf.
DIY Quilted Pumpkin Placemats