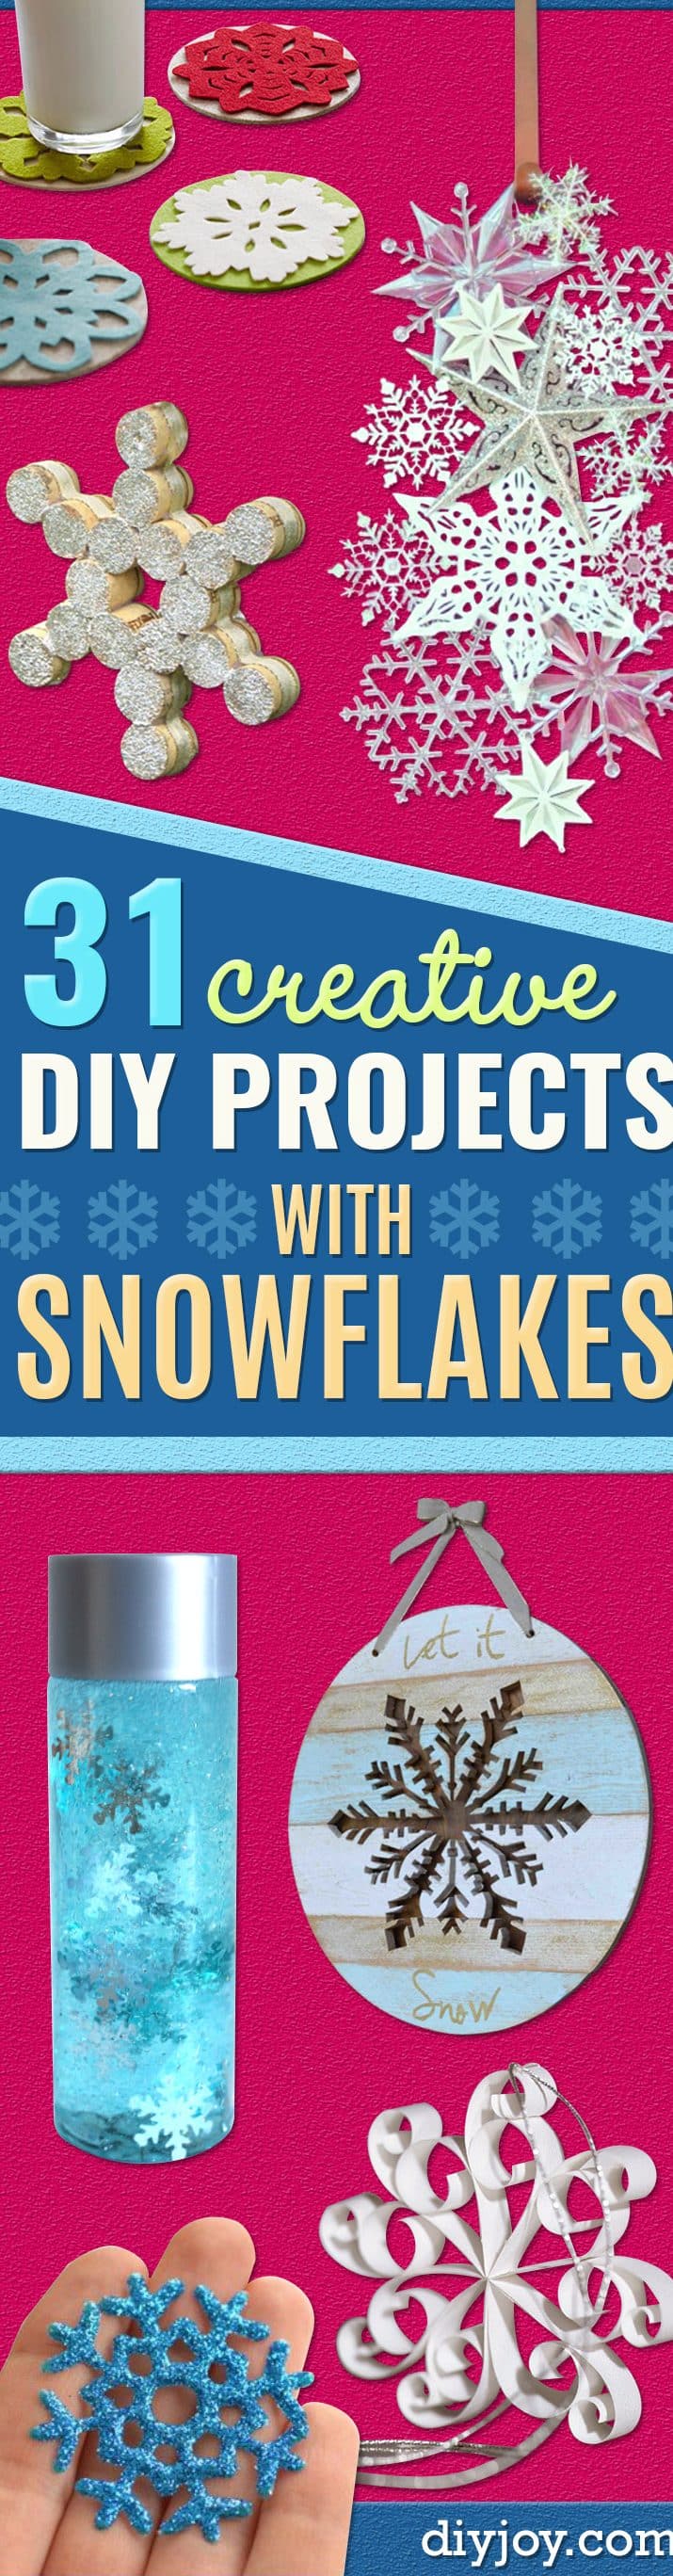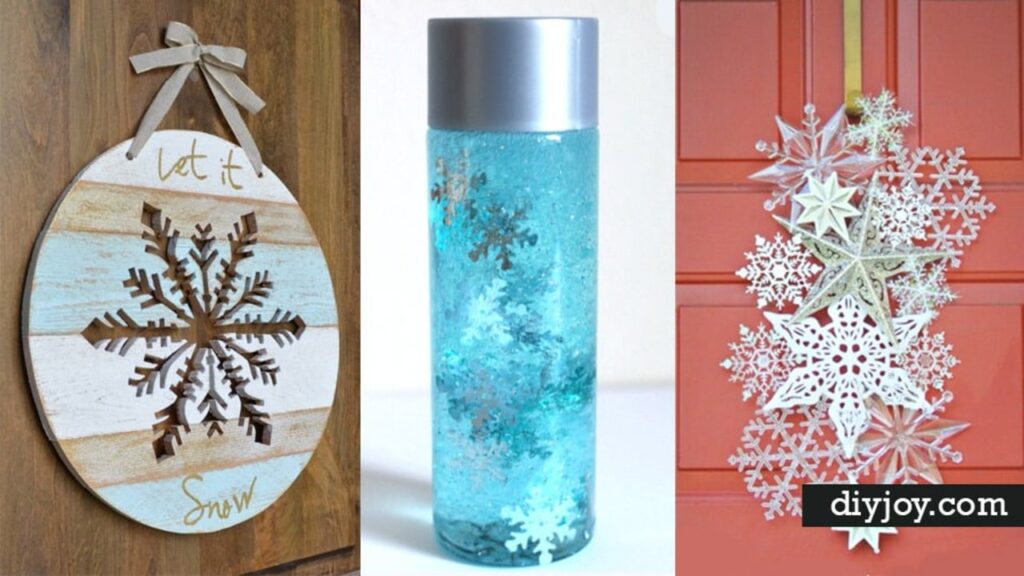
Snowflake crafts are the reason I keep decorating after the Christmas tree comes down, because a white paper star on a window still looks right in February when everything else looks like leftovers. This list runs the whole range: hot glue and dollar store plastic at one end, real cedar and a scroll saw at the other. Fair warning on that second half. Building from lumber is not something I have done much of, so when the wooden snowflakes here tell you to pick a pattern with no unsupported middle pieces, or to drill the hanging hole before you glue anything, take it from them and not from me. Everything else on this list is my whole world: paper, glue, glitter and one good pair of scissors. Perfect for a snow day, a mantel, a classroom wall or a tree that needs one more thing.
DIY Ideas With Snowflakes
1. Wooden Snowflake
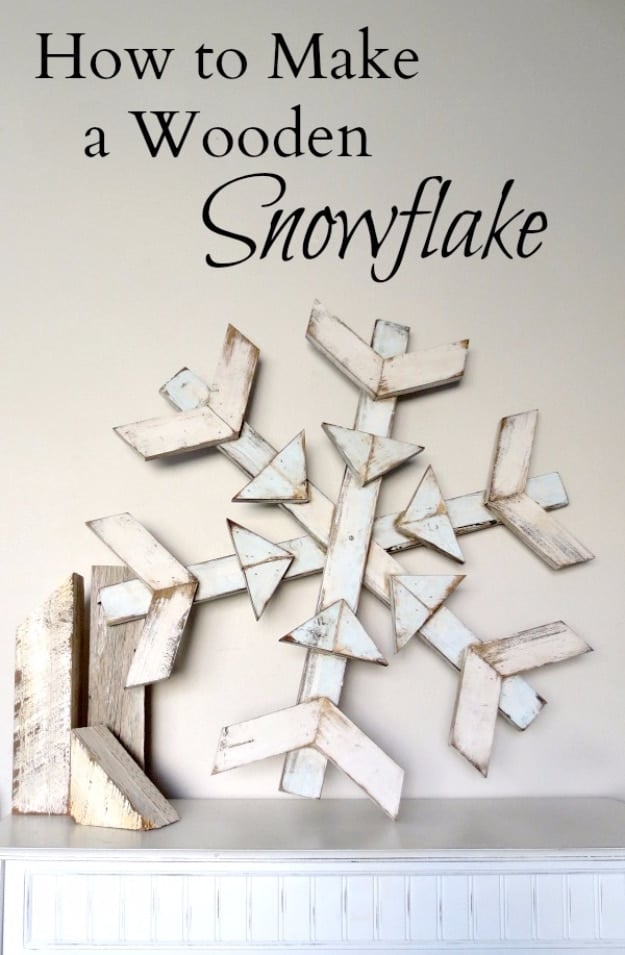
This is the big one, and it is genuinely a build rather than a craft. Three arms at 33 inches long, twelve V pieces cut at a 30 degree angle, twelve triangles at the same angle, stacked and screwed into a snowflake about the size of a small window. The tip worth stealing is to paint every piece before you assemble anything, because getting a brush into those inside corners afterward is miserable. Scale it down and the V pieces have to get shorter too, or they overlap. A drilled center hole keeps it from twisting on the wall.
Get the full tutorial at My Altered State.
2. How To Make A Snowflake With Paper Bags
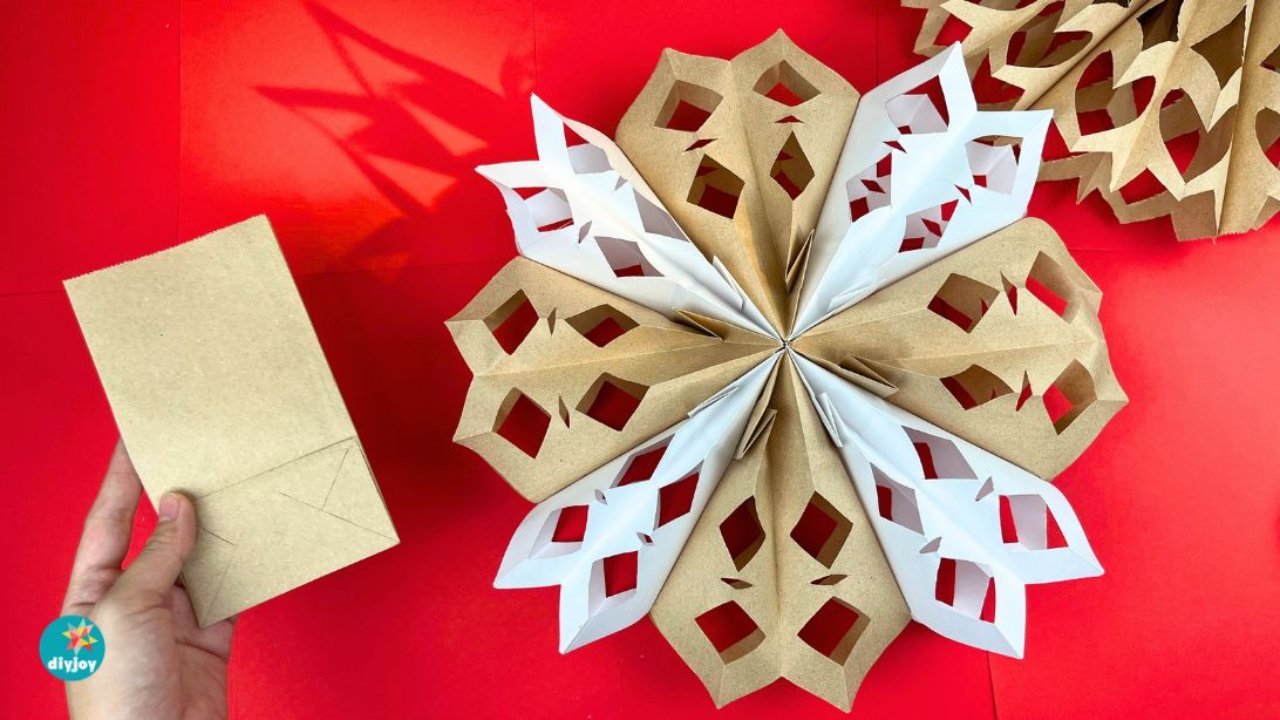
Paper lunch bags, and you would not guess it looking at the finished thing. Glue the flattened bags in a stack with a line of hot glue in an inverted T, cut a pattern straight through all the layers, then bring the two end bags around and glue them into a full round flake. Our own count: nine bags for a one color snowflake and eight for a two tone one, four brown and four white. Seven is not enough to close the circle, whatever you have read.
Get the full tutorial at DIY Joy.
3. Dollar Store Snowflake Door Hanger
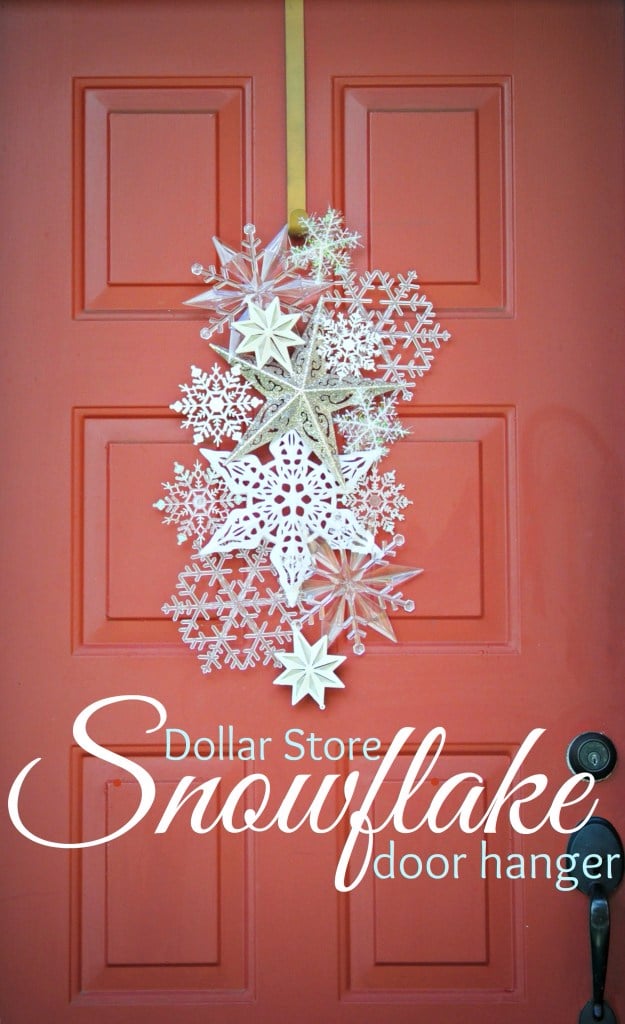
Ten packs of glittered dollar store snowflakes, arranged on the floor until the shape looks right, then hot glued wherever two edges overlap. That is the entire method, and the maker had to say so twice in her comments because people kept asking for real steps. There are none. A loop of string glued behind one of the top flakes is how it hangs. Worth knowing before you start: lay it out completely first, because once the glue is in you are committed to whatever you built.
Get the full tutorial at Staying Home Sawyer.
4. Giant Snowflake Marquee
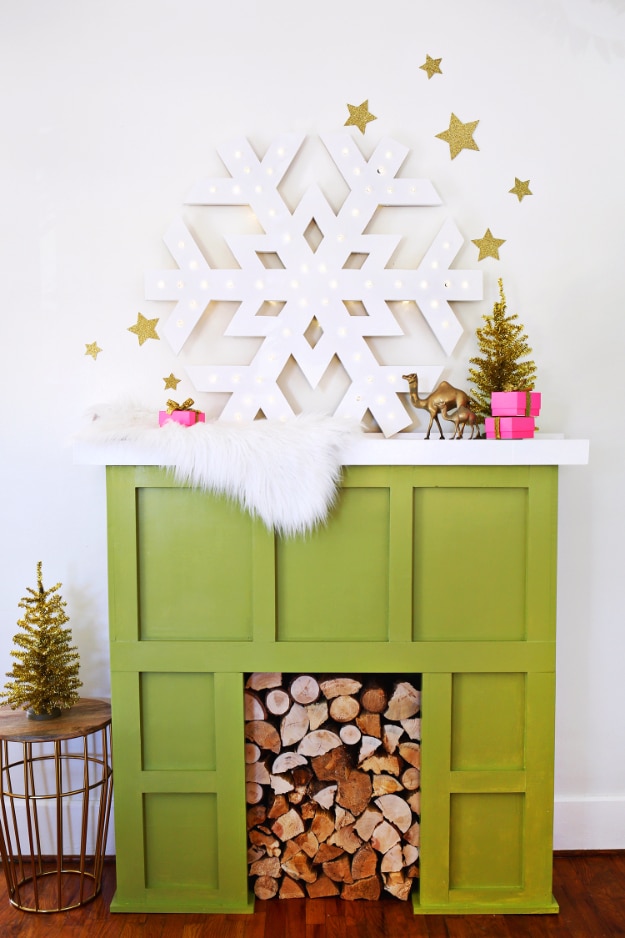
A choose your own difficulty project. Cut it from foam core with a craft knife and a metal ruler and you have a one season sign for almost nothing, or cut it from half inch plywood with a jigsaw and keep it for years. The genuinely clever part is the template: take the downloaded snowflake to a copy shop and have it printed on the blueprint printer as big as you want, which runs about five to eight dollars. Theirs is 40 inches wide. Battery LED lights push through drilled holes.
Get the full tutorial at A Beautiful Mess.
5. Snowflake Wreath
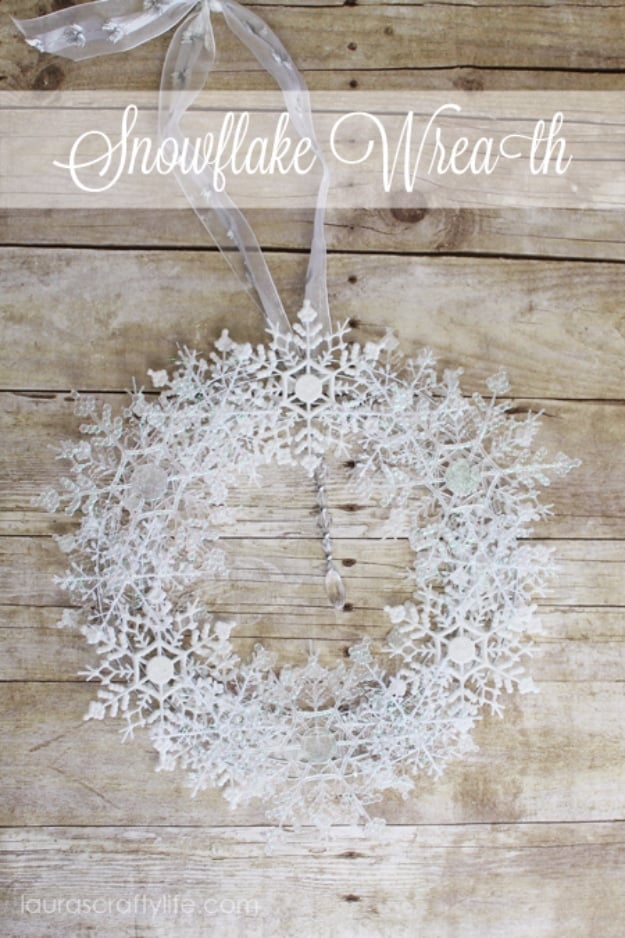
A 12 inch metal wreath frame and four packages of dollar store snowflakes, 21 flakes in total, and it is done in under 15 minutes for about eight dollars. Cut the tabs and hanging strings off first. The one thing that will sink this project: use a high temp glue gun, not a low temp one. The maker did hers on low the first time and the flakes were popping off before she got all the way around. Glue a few to the back as well so it reads full from the front.
Get the full tutorial at Laura's Crafty Life.
6. Winter Wonder Snowflake Garland
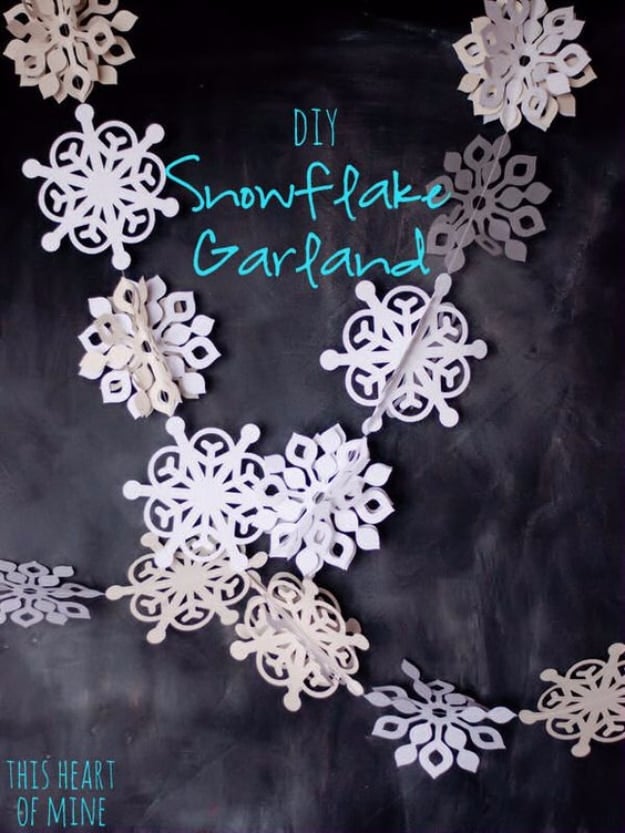
Paper snowflakes in several different whites, cut on a Cricut and then run straight through a sewing machine to string them together. No thread tails to knot, no glue, just a continuous seam from one flake to the next. Some go through singly and some in stacks, and the stacked ones get folded afterward so they open into a three dimensional flake. The maker’s own note is that she would cut smaller ones next time, which is useful if you are deciding on a size.
Get the full tutorial at This Heart of Mine.
7. Glittered Clothespin Snowflakes
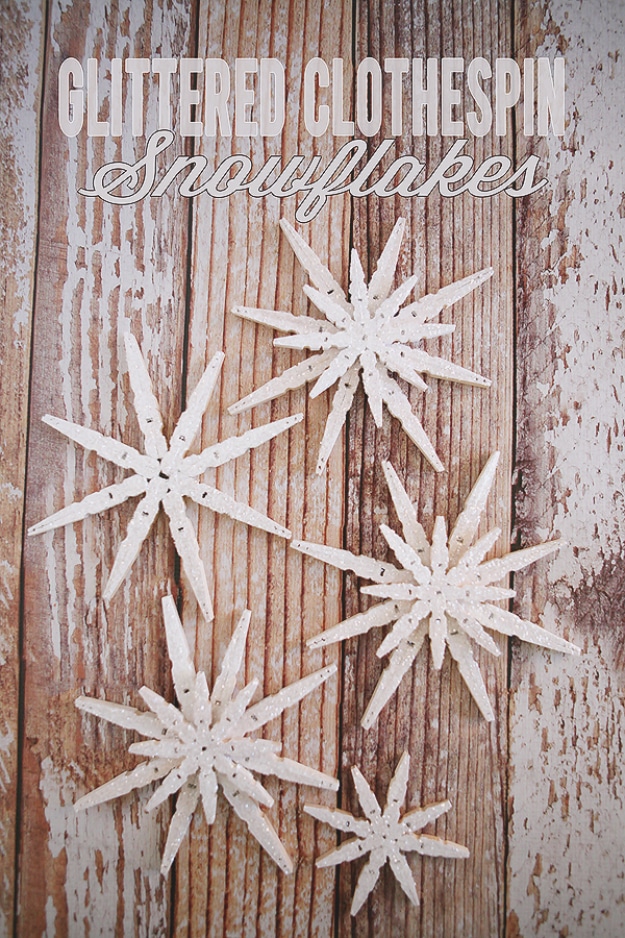
Eight regular clothespins and eight mini ones make one double snowflake. Take them apart first, which means pulling the metal spring out, then glue each pair of wooden halves back to back to build a single arm. Eight arms, glued at the center, dried for about an hour, then white paint and a brush of glue with coarse crystal glitter over the top only. Nobody sees the back. The comments on the original are full of people confused at this step, so read it twice before you start gluing.
Get the full tutorial at Eighteen25.
8. DIY Snowflake Ornaments With Toilet Paper Rolls
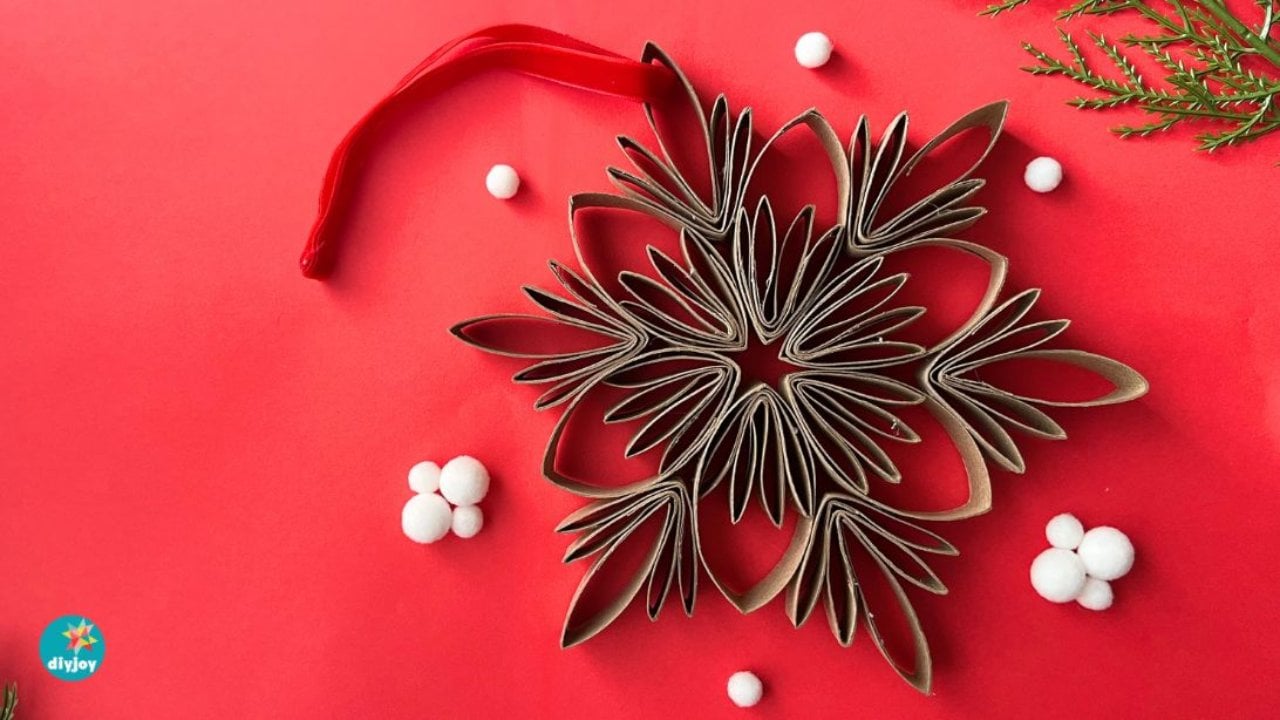
Six empty toilet paper tubes, flattened, each divided into six equal pieces and cut, which gives you 36 petals to work with. Six get glued into a flower at the center, 24 more are folded in half and glued in pairs, and those build the inner and outer layers. It looks intricate and it is really only cutting and gluing. The one thing that decides how it turns out: cut every piece the same size, because the eye catches an uneven arm instantly.
Get the full tutorial at DIY Joy.
9. 3D Snowflakes
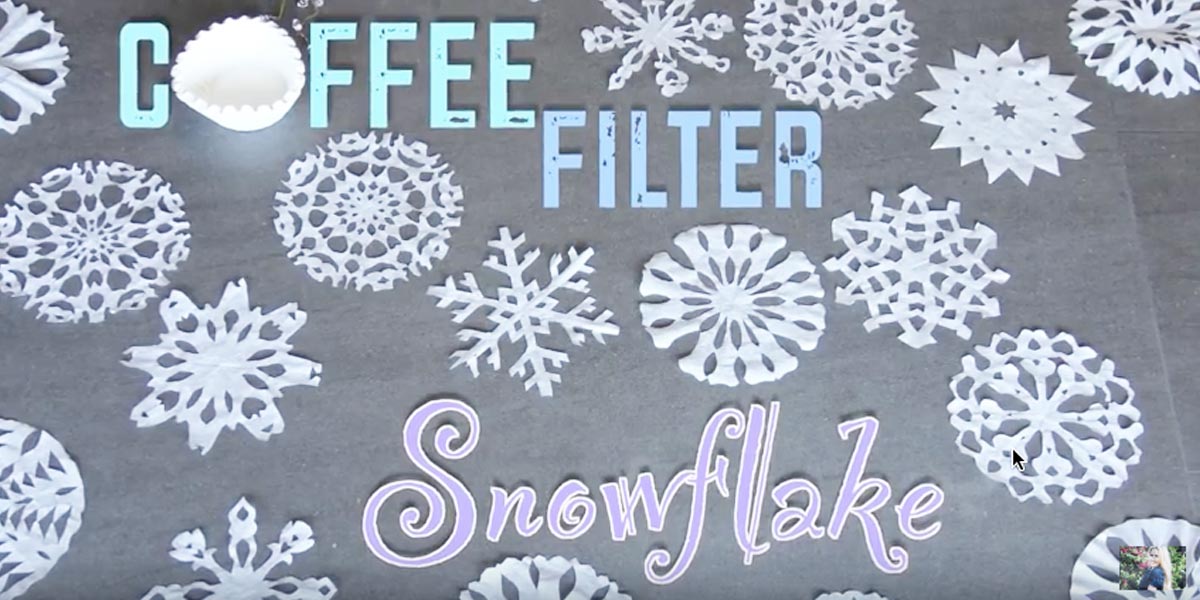
Coffee filters and a pair of scissors, and that is the whole materials list. Stack, fold, cut and open, and the crimped edge of the filter does the decorative work for you, which is why these look far more delicate than plain printer paper ever does. Filters are already round, already thin enough to cut through a stack, and already in your cupboard. Hang several on one string in a window and the light comes through them all winter.
Get the full tutorial at DIY Joy.
10. DIY Dollar Store Snowflake Decor
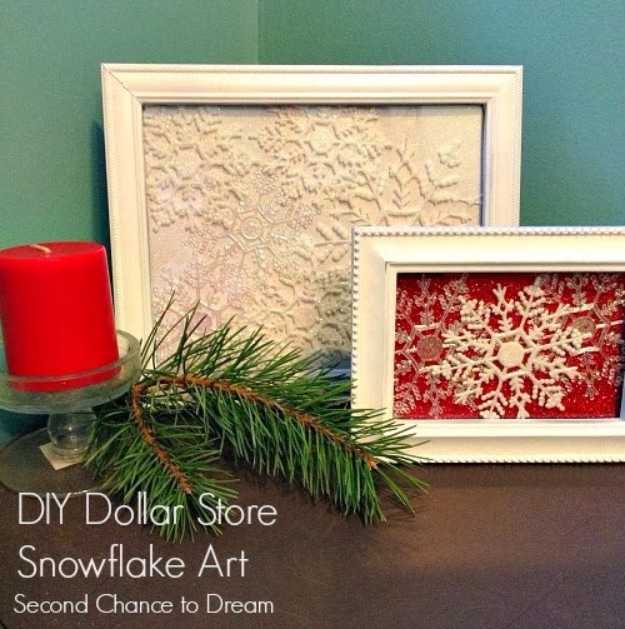
Two dollar store frames spray painted white, two packs of snowflakes in two different sizes, and two sheets of glitter paper at 69 cents each. Take the frames apart, cut the glitter paper to the size of the backing board, cut the hanging threads off the flakes, arrange them and hot glue them down before sliding the whole thing back in. Ten minutes once the paint is dry, under seven dollars for the pair, and it can stay up all winter rather than just through December.
Get the full tutorial at Second Chance to Dream.
11. Beaded Snowflake Ornaments
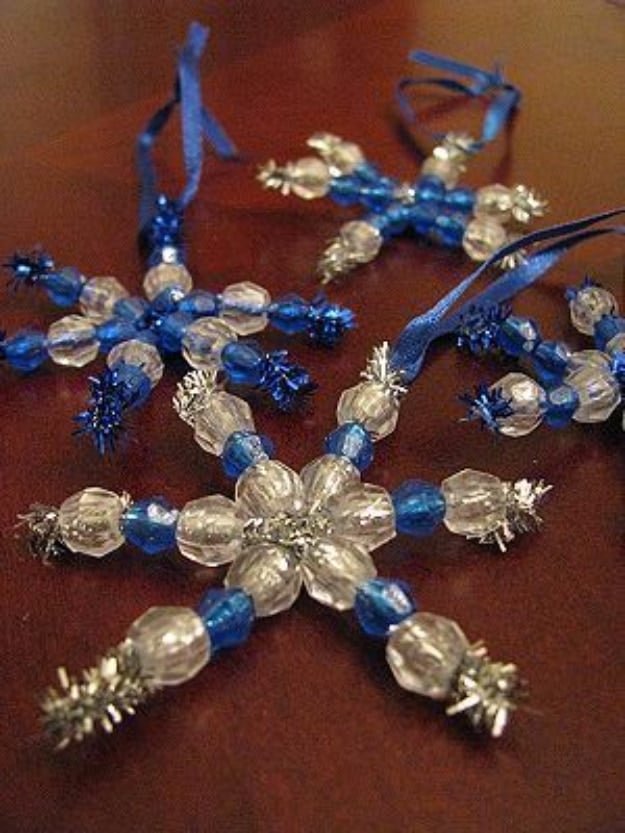
Cut one silver or metallic blue chenille stem into thirds, twist the three pieces together at the middle, and you have a six armed frame ready to thread. Clear and pale blue beads, three per arm for a small one, and the ends get twisted over to lock the beads in with an optional drop of glue. This is the one on the list a two year old can genuinely make, and the maker admits the hard part was sitting on her hands while he dropped beads and picked them back up.
Get the full tutorial at Naturally Educational.
12. Snowflake Silk Screen Glass And Poem
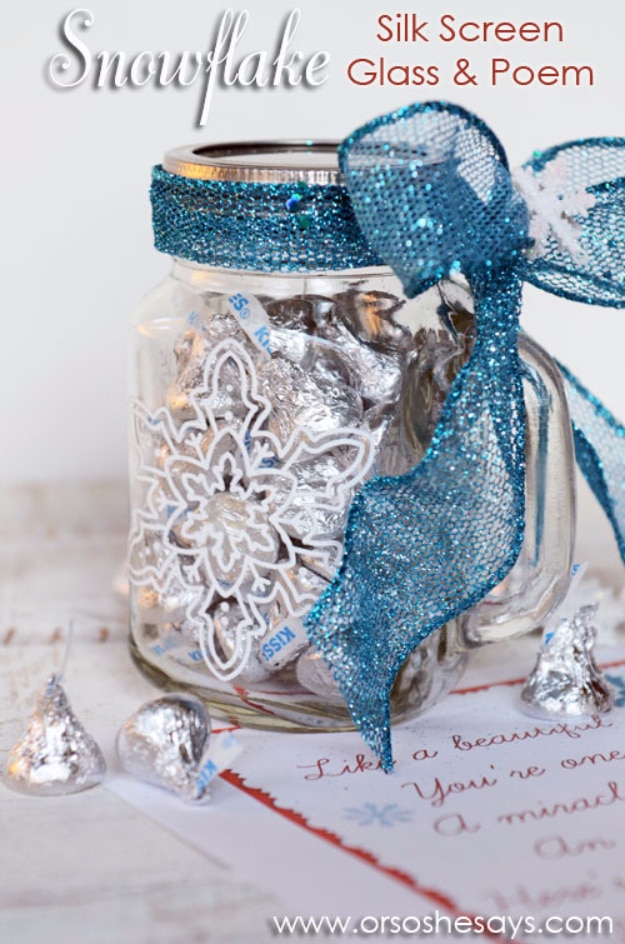
A reusable snowflake silkscreen, glass paint and a small squeegee turn a plain mason jar mug into something that looks bought. The screen washes and gets used again, which is why the maker’s kids immediately started eyeing every piece of glass in the house. One hard-won warning: do not put these in the dishwasher. She tried, and the design washed straight off. Hand wash and be gentle. Fill it with candy, tie on a ribbon and add the free printable snowflake poem.
Get the full tutorial at Or So She Says.
13. Glittery Snowflake Window Clings
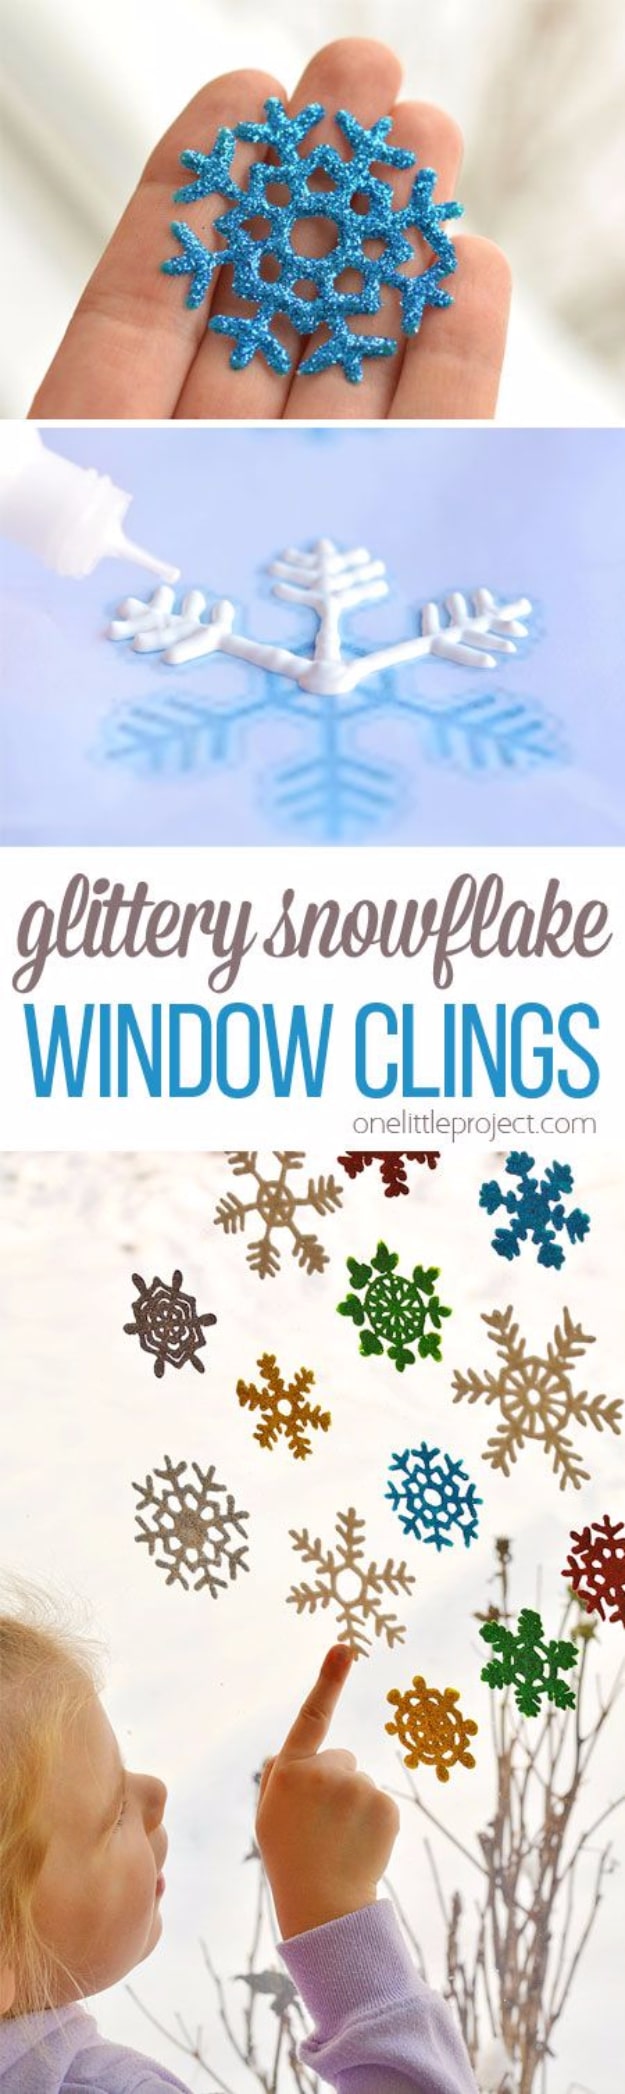
Puffy paint traced over a printed snowflake template slipped inside a cut open freezer bag, glittered while wet, dried and peeled off as a real cling. Two things decide whether this works. Tape the template to both sides of the bag so it cannot slide, and do not be stingy with the paint, because a thin line tears when you try to peel it. Once glitter goes on, the paint color underneath disappears entirely, so use whatever you have.
Get the full tutorial at One Little Project.
14. Snowflake Wine Cork Ornament
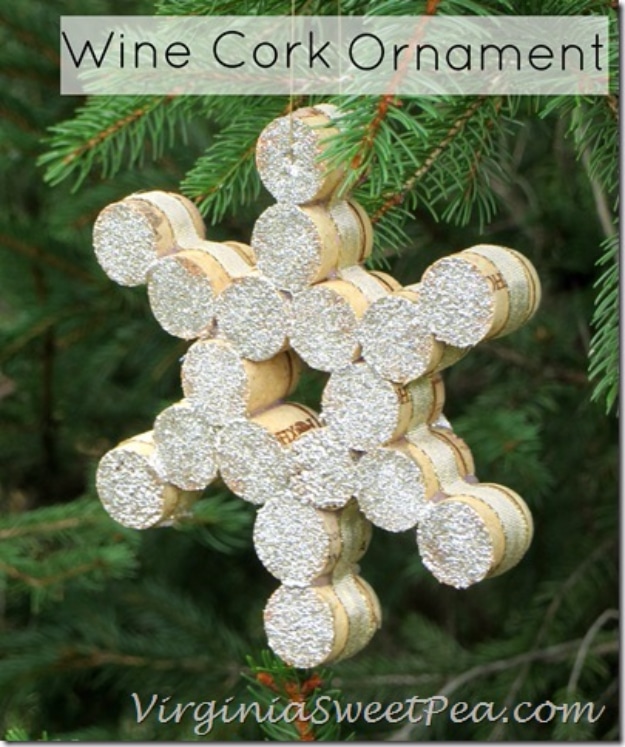
Nine wine corks cut in half on a saw, glued into a ring with the center cork left unglued so it can be pulled out, then the remaining halves fill in the arms. Drill the hanging hole first. The maker glued her first one together and then had to drill it, and says flatly that doing it the other way around was much easier. Mod Podge and glitter over waxed paper so you can pour the excess back, then gold cord through the hole.
Get the full tutorial at Virginia Sweet Pea.
15. DIY Snowflake Plate Charger
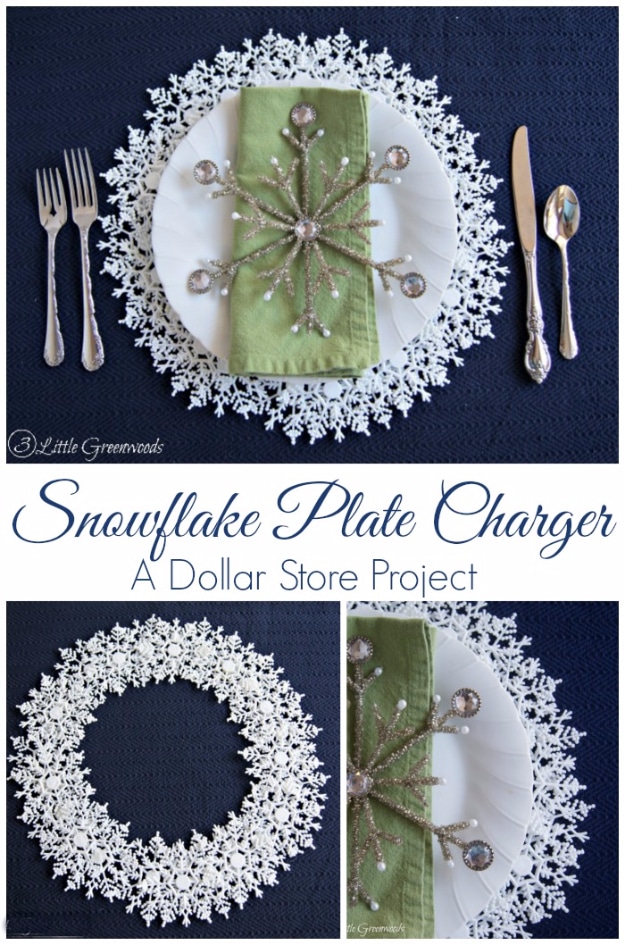
Three supplies: plastic snowflake ornaments, a glue gun and parchment paper. Trace around a dinner plate on taped together paper to make a circle template, cover it with parchment so nothing sticks, then arrange the flakes in a ring on top and glue where they touch. Lift it off and you have a lacy charger that costs a few dollars a place setting. Navy or dark linen underneath is what makes it read, because white on white disappears.
Get the full tutorial at 3 Little Greenwoods.
16. DIY Felt Banner Snowflake
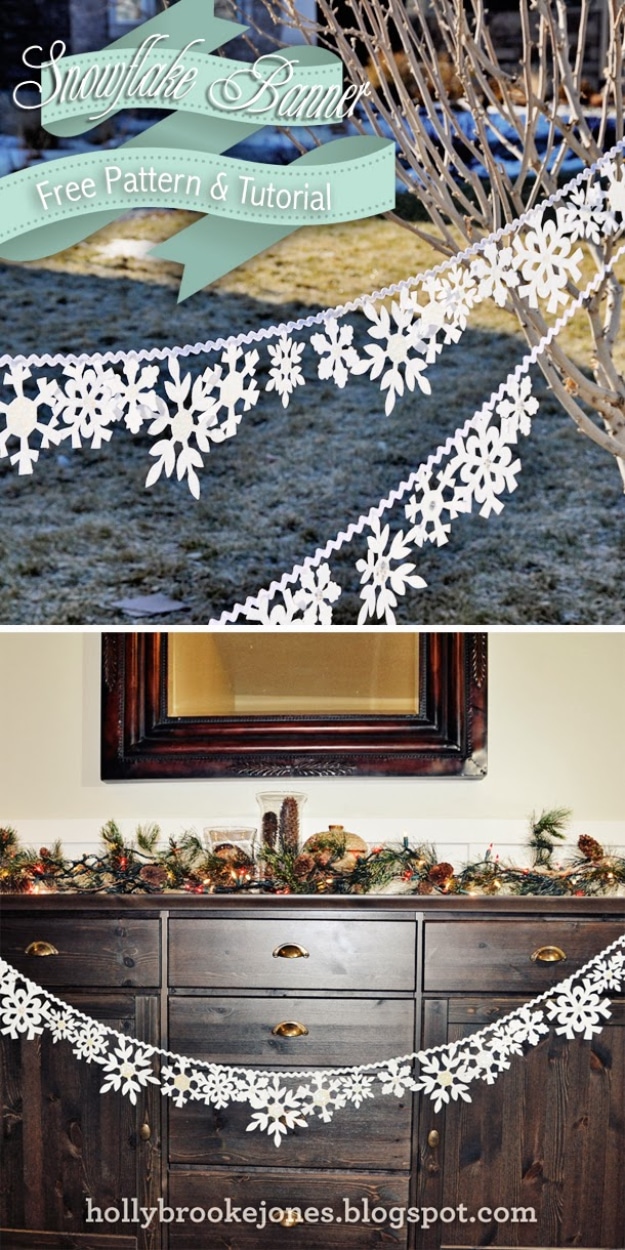
A free two page printable pattern, stiff felt, ric rac or ribbon, sharp scissors and a glue gun. Trace, cut, glue a sequin to the center of each flake and glue the flakes along the ribbon. The maker is honest that cutting them all takes a long time and says she does it while watching a favorite movie. I do the same thing with music, French or contemporary classical, and a long cutting session stops feeling like work about ten minutes in. Three or four large stiff felt sheets covered the banner shown.
Get the full tutorial at Holly Brooke Jones.
17. Wooden Snowflake Door Hanger
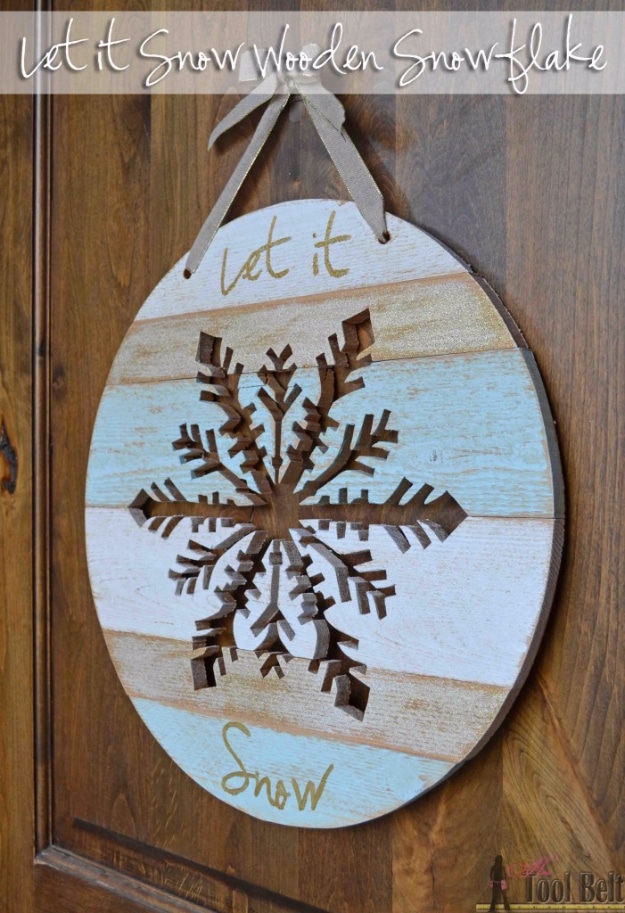
One cedar picket, five eighths by five and a half inches by six feet, at two dollars forty five, cut into two 18 inch lengths and two at 17 and seven eighths, ripped to varying widths and joined into a panel. An 18 inch circle pattern goes on top. The crucial choice is the snowflake design itself: pick one with no unsupported middle pieces, because there is nothing holding them once you cut around them. White chalk rubbed on the back of the pattern transfers the lines. A scroll saw is the easiest tool for it.
Get the full tutorial at Her Tool Belt.
18. 3D No Sew Fabric Snowflakes
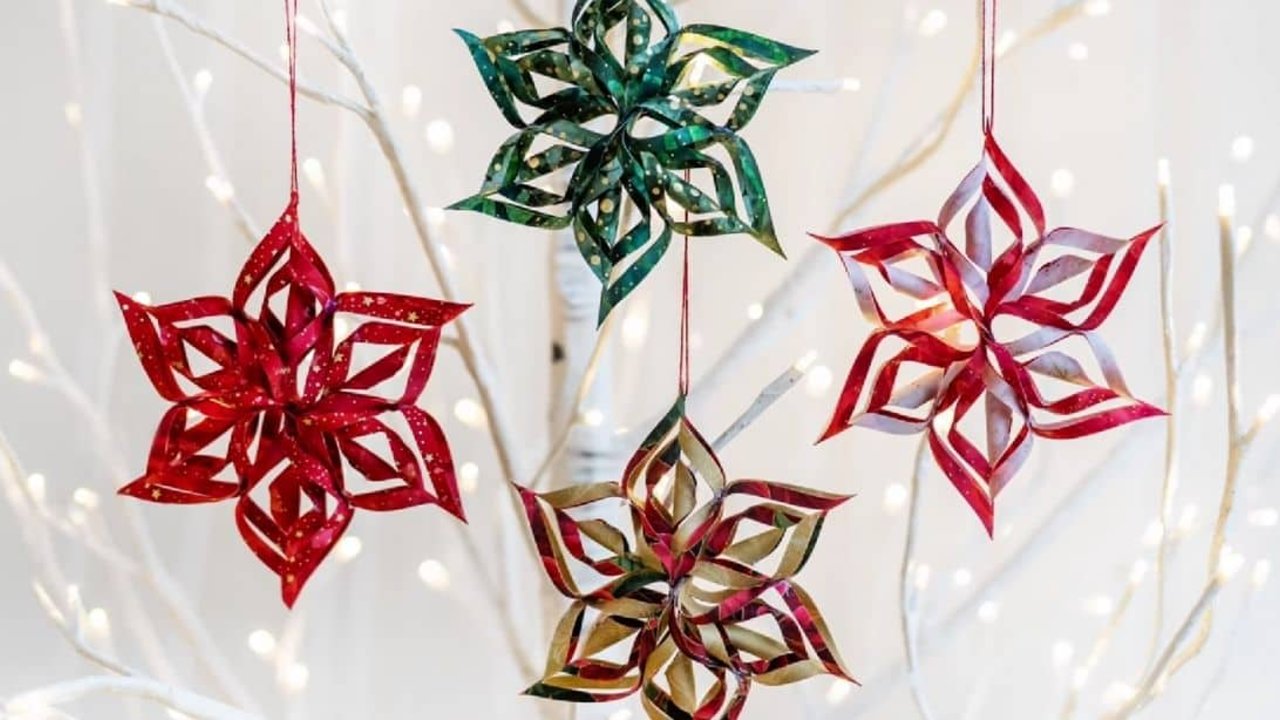
Fabric, and not a stitch anywhere. Two different prints get fused back to back, cut into six squares of about four to five inches, then each square is folded diagonally twice and cut into quarter inch strips that stop a quarter inch short of the edge. Open it, bring the first two points together in the middle and glue, flip, repeat. Six of those units make one flake. Scraps work, which is the point, and the two sided fabric is what gives it depth.
Get the full tutorial at DIY Joy.
19. DIY Rustic Snowflake Craft
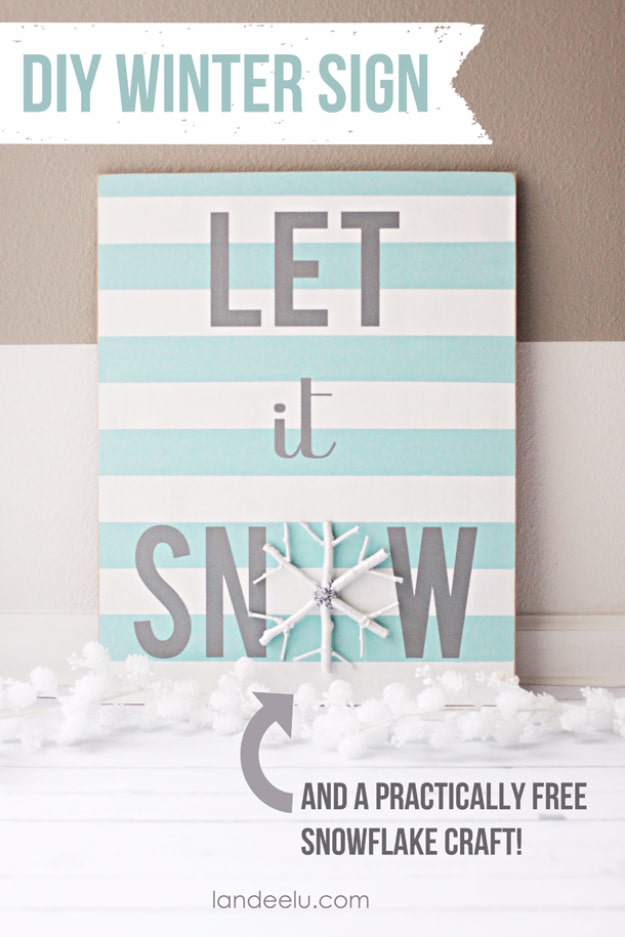
Two projects in one post, and the snowflake is the free half. Dead branches from the yard, cut into one 6 inch piece, four at 3 inches and eight thin 1 inch pieces, hot glued into a flake about 6 inches across. A shot of white spray paint and then glitter spray takes it from rustic to something you would actually hang. On the sign it stands in as the O in SNOW, which is a clever use, but it works just as well as an ornament or on a wreath.
Get the full tutorial at Landeelu.
20. Gigantic Popsicle Stick Snowflake Craft
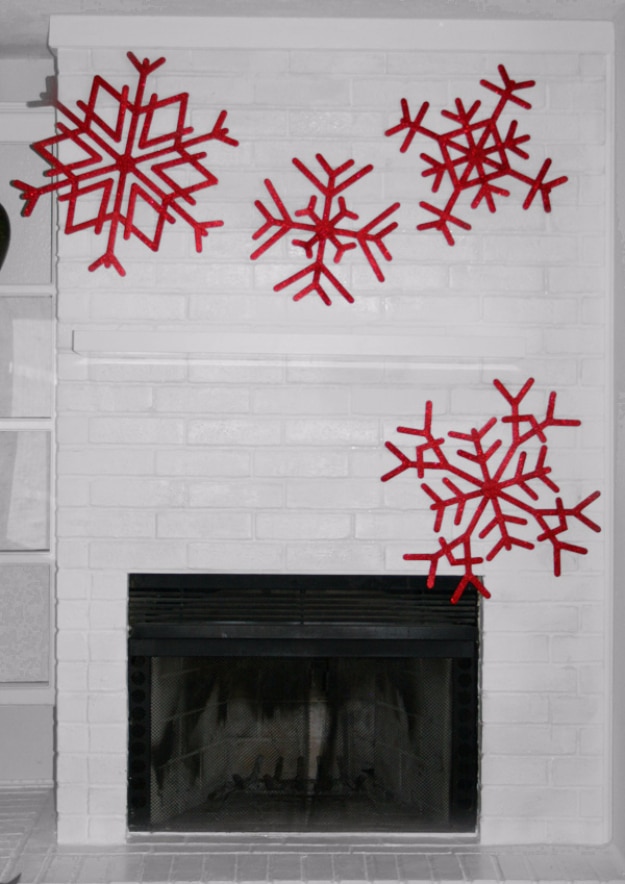
Jumbo craft sticks glued onto a 2 inch wooden circle, which is the detail that makes these hold their shape. Mark the center of the circle, draw an X through it, glue four sticks along those lines, then four more in the gaps if you want eight arms. The maker tried a protractor first and gave up on the math, and says so. For angled pieces, hold the stick where you want it, draw along the line of the stick underneath, and trim to match. Spray paint at the end.
Get the full tutorial at Mom Spark.
21. Reclaimed Wood Snowflake
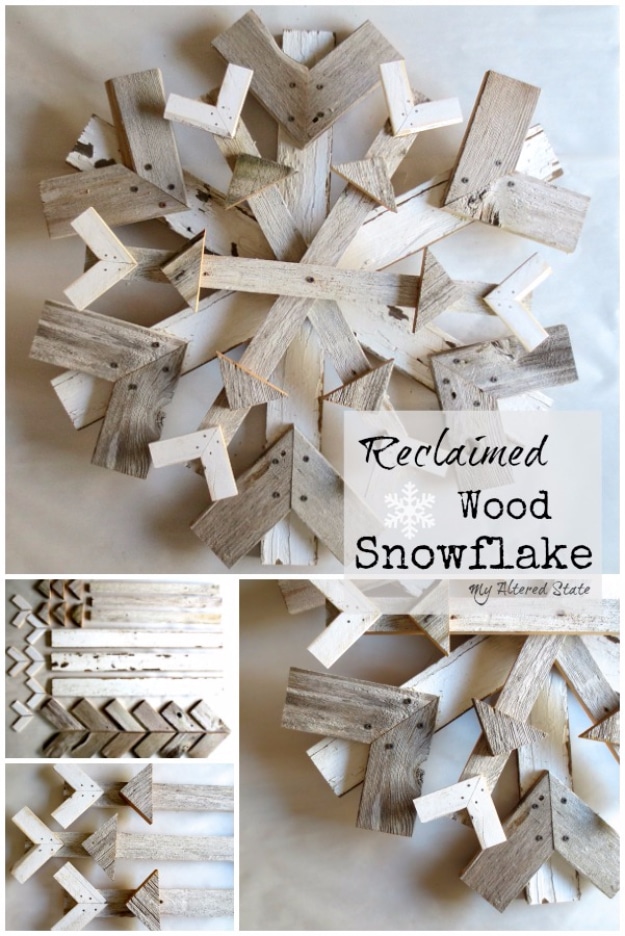
No measurements at all on this one, by design. The maker eyeballs it, finds the center of each board with a length of string rather than a tape measure, and works from a parts list instead: six big Vs, six small Vs, six triangles, three longer boards and three shorter ones with 45 degree miters. Two real pieces of advice from someone who works with old wood. Gorilla Glue is worth it on reclaimed lumber, and drill pilot holes, because weathered boards split if you force a screw.
Get the full tutorial at My Altered State.
22. Blizzard In A Bottle
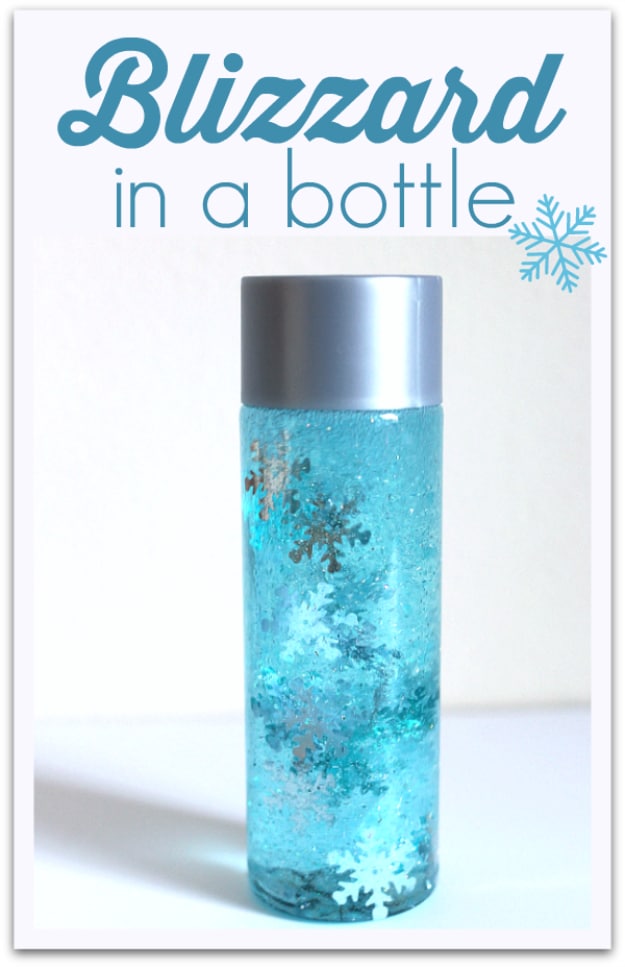
Blue glitter glue, a smooth sided water bottle and a handful of plastic or foil snowflakes. Pour off a little water, squeeze in about a sixth of a bottle of glitter glue until the water goes blue, drop the flakes in and shake. The maker chose that particular bottle for the shape, no grooves and a wider opening, and says plainly that the water itself is irrelevant, tap is fine. Glue the lid on with epoxy if you have a day for the fumes to clear, or hot glue if the kids are using it today.
Get the full tutorial at No Time For Flash Cards.
23. Bleeding Tissue Snowflake Art
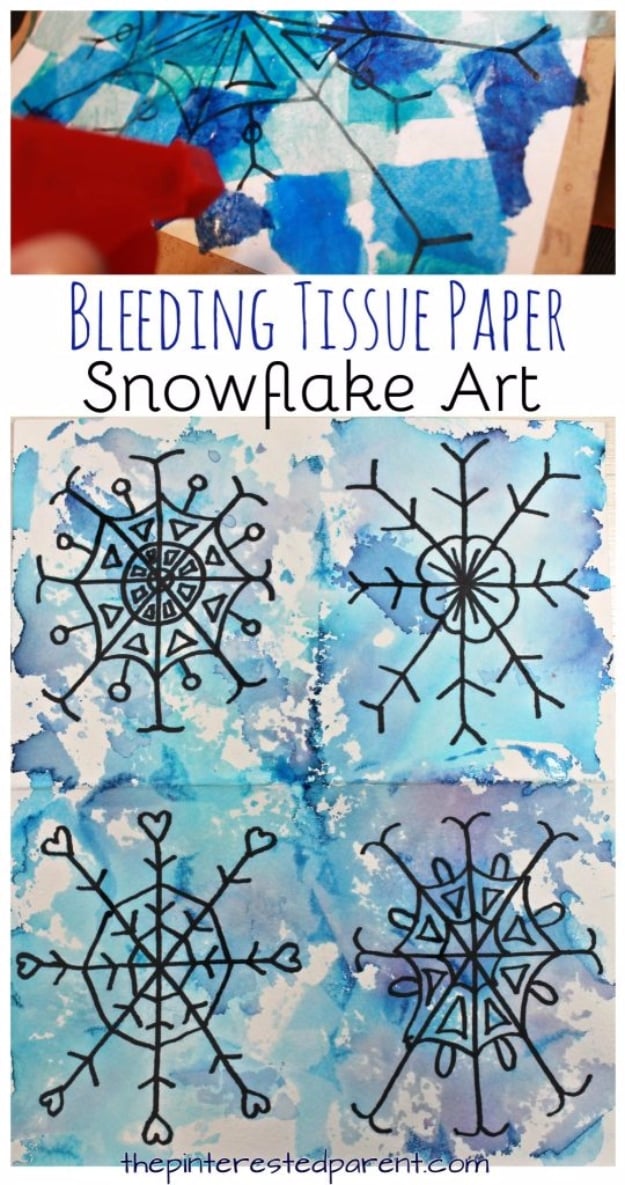
Watercolor paper folded in quarters, a snowflake drawn on each quarter with a Sharpie, then torn pieces of blue bleeding tissue laid over a lightly misted sheet and sprayed again until the color runs. Let it dry, peel the tissue off and the bled blue is left behind around the black lines. The paper has to be watercolor weight to take that much water. Cut the sheet into quarters afterward and you have four cards instead of one picture.
Get the full tutorial at The Pinterested Parent.
24. Dollar Store Snowflakes
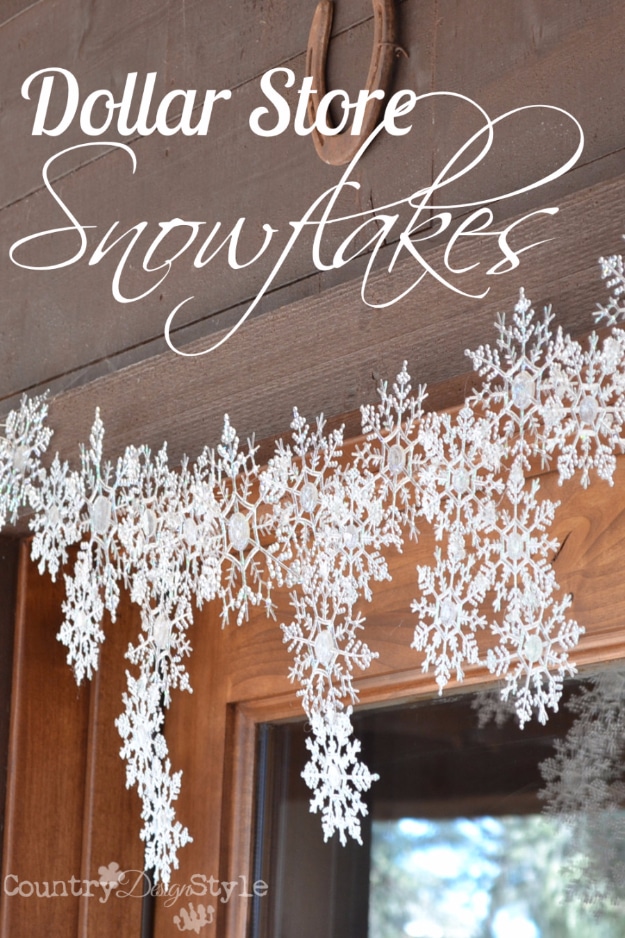
Plastic dollar store snowflakes hot glued straight onto the glass of a front door and, in a second go, across the top of a doorframe. The reassuring part is that hot glue pops right off glass and marble when you are finished, which the maker tested on her own countertops and reported back on. The real warning is the other way around: hot glue can melt thin plastic flakes, so use a dual temperature gun on low and a small dab rather than a bead.
Get the full tutorial at Country Design Style.
25. Crocheted Snowflake Table Runner
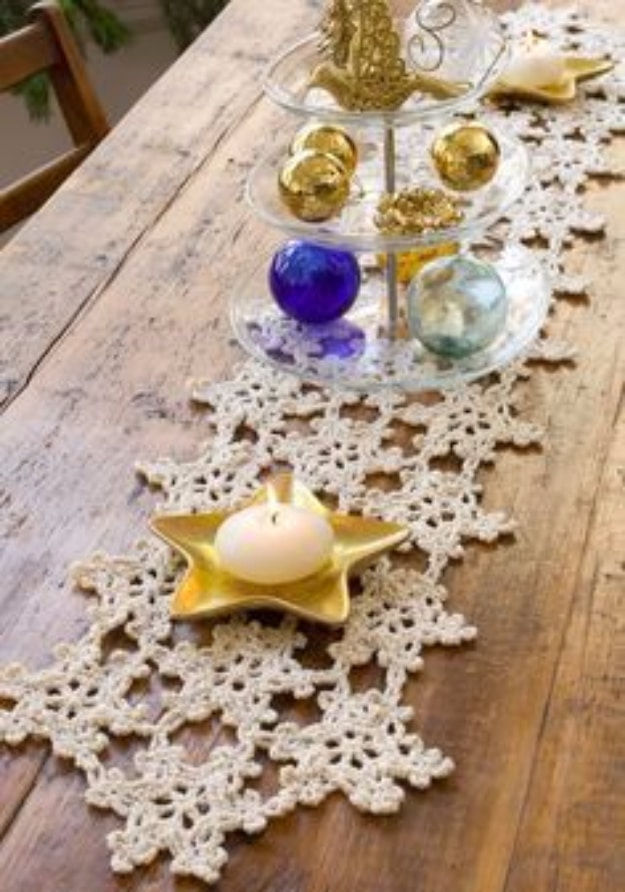
A join as you go runner, 57 inches long by 14 inches wide, worked from two skeins of Red Heart Holiday yarn in Aran with gold metallic on a 5.5 millimetre hook. Each snowflake finishes at five and a half inches point to point, so gauge actually matters here or the runner ends up a different length than the pattern says. The join happens on the last round, which means no sewing at the end. Worsted weight, so it works up far faster than thread lace.
Get the full tutorial at FaveCrafts (pattern by Mary Jane Protus for redheart.com).
26. Borax Snowflake
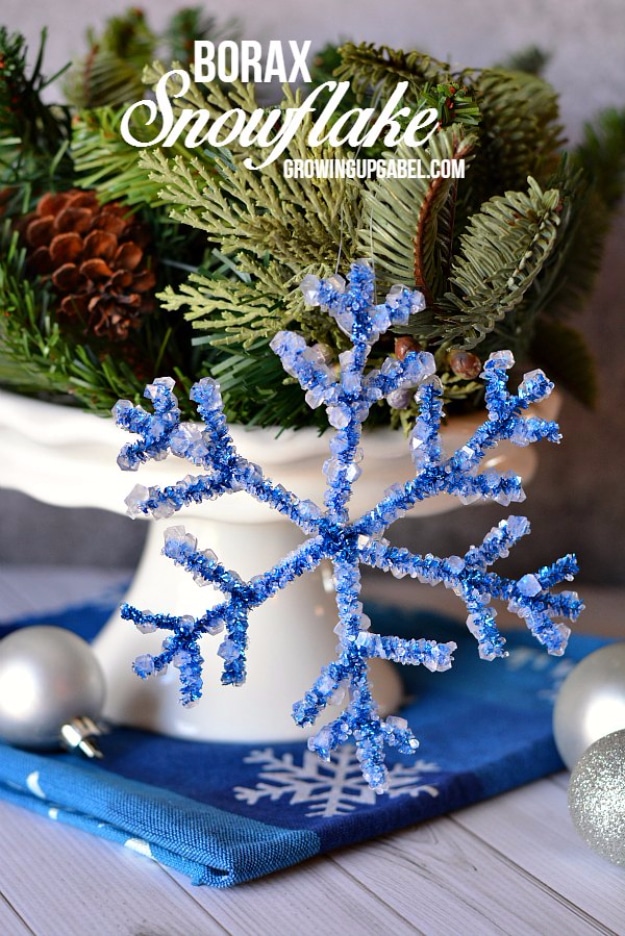
Four blue glittery pipe cleaners make one snowflake frame. Cut two in half and use three of those halves for the six points, wrapping the centers to hold. Then cut another half in half and a whole one into fourths for the tips. Hang it on fishing line from a spoon laid across a bowl, making sure it touches nothing, and pour over boiling water and borax at 2 cups to a third of a cup, repeated until it is submerged. A few days later it is covered in crystals.
Get the full tutorial at Growing Up Gabel.