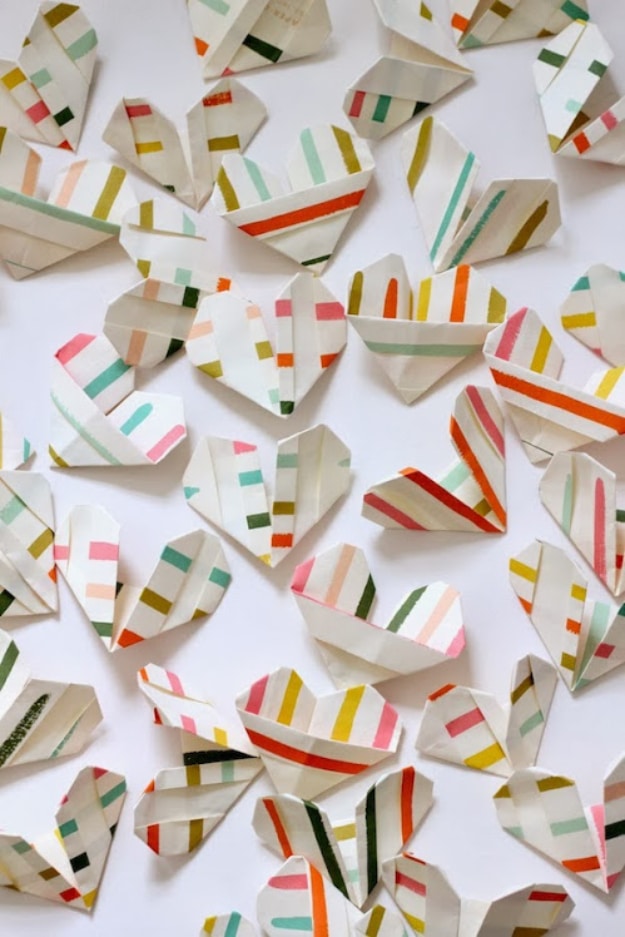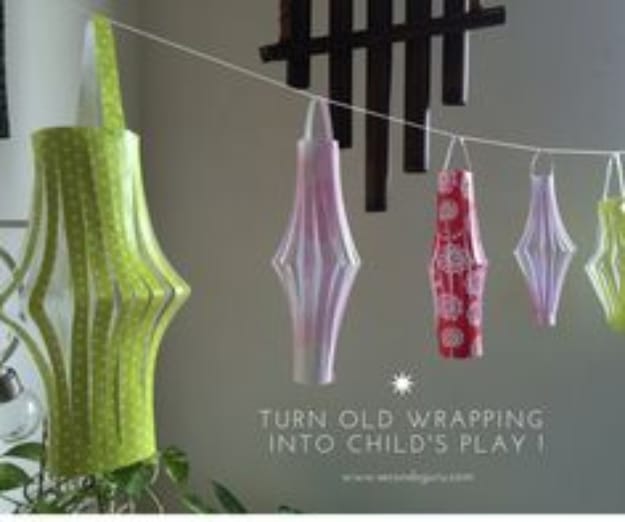
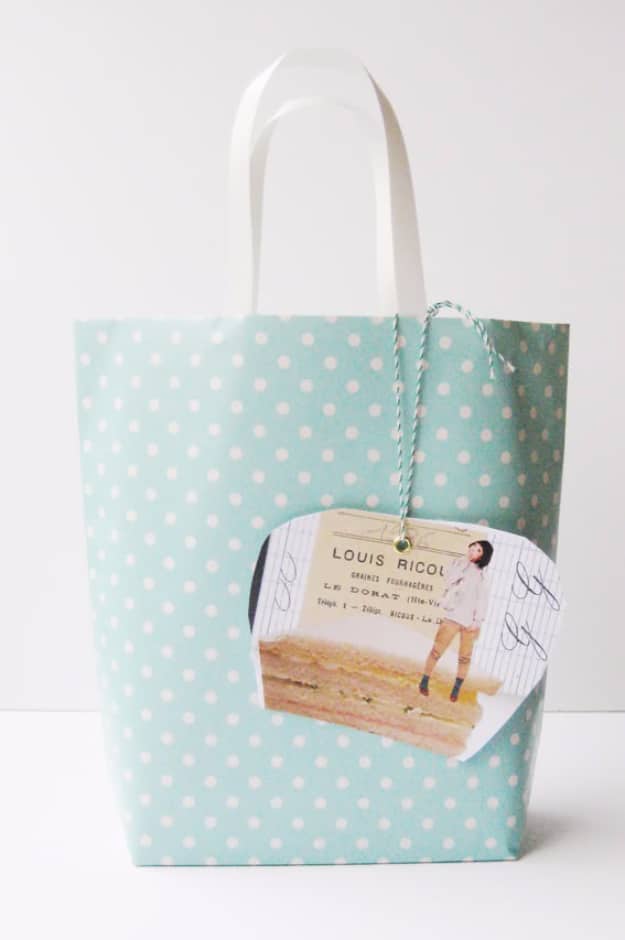
Have you ever felt bad throwing away all that pretty wrapping paper after opening gifts? I think we all have. What a waste of some of the prettiest papers around, right? I have often wondered what I might make with the leftover wrapping paper, but at Christmastime, my DIY mind sometimes goes blank. Fortunately, some of our favorite craft bloggers have come up with some super creative, crafty ideas for us all to share. Call me impressed. From making new little gift holders, to boxes, ornaments and cool home decor, you are sure to find a few fun things to make instead of throwing your wrapping paper away. All with easy to follow step by step tutorials, even kids will have fun with some of these cool DIY projects.
Fortunately, some of our favorite craft bloggers have come up with some super creative, crafty ideas for us all to share. Call me impressed. From making new little gift holders, to boxes, ornaments and cool home decor, you are sure to find a few fun things to make instead of throwing your wrapping paper away. All with easy to follow step by step tutorials, even kids will have fun with some of these cool DIY projects.
I make my own DIY jewelry for my friends and family and this Christmas I decided to make everyone some small coral bead earrings. They turned out so gorgeous but I needed a clever DIY gift wrap to really top off this amazing gift. I found this DIY Pyramid paper pouch idea on Pinterest. I just got some origami paper and washi tape from Michael’s and they were so simple and fun to assemble. These DIY gift pouches are cheap and easy, you really can’t go wrong with this DIY project.
DIY gift wrapping is my favorite thing in the world. These lidded origami gift boxes are based on a traditional Japanese design to which added a patchwork paper twist. This is a fun intermediate project for you and the children and they look amazing and my little ones are so good at origami, they can make these all day.
Don’t you just love a DIY Christmas craft project that is so simple, so easy, and totally so uncomplicated that even the most DIY-challenged could execute it flawlessly. I used some foam cones I got at Michael’s craft store and literally pinned the stuff on them using straight pins. I used ribbon on some and wrapping paper on others. This DIY Christmas project is perfect for filling up table space at a large gathering.
I was having a small party with buffet type casual food, and i was just about to throw my silverware in a pile an make an ordinary stack of napkins when I remembered this fabulous napkin pouch DIY. These paper pockets are a cute and easy way to hold napkins and utensils. To make, fold a letter-size piece of decorative paper in half; press in the sides so they just overlap, and secure with colorful tape. (Leftover washi tape is perfect for this project!)
As Christmas nears, I love driving around, while listening to Christmas music and trying to find the houses with the most outrageous lights and props displays. All of this ends the minute I enter my own house. The craziest Christmas decorating I do is probably putting up a tree with colored twinkle lights. Out of control, right? Well, that’s why I’ve decided to put a little more effort into my decorating this year. I wanted decorations that were totally Christmas-worthy but could also be used year-round. These DIY ball ornaments are incredibly cheap and easy to make. All you need are some styrofoam balls, an old catalog (or newspaper, or fabric), a hot glue gun and some string. In the tutorial below, I’ll walk you through how I made one out of the pages of a catalog! These DIY Christmas balls are recycled and amazing! 😉
I recently helped my mom decorate 3 DIY holiday themed tables for a Christmas banquet. My favorite one was the wintery woodland themed table. In order to add some depth and interest to this table, I decided placemats were needed. But, on a small budget, I needed to find something reasonably priced. So, wrapping paper did the trick. I found this great woodgrain wrapping paper at Target. We added faux antlers and laid some silver ornaments here and there for extra sparkle, the feedback was resoundingly positive. You can’t go wrong with this DIY table setting, it will enhance any decor.
My Mom made a bunch of homemade candy this Christmas and I wanted to feature her delicious candy at our Christmas gathering. My approach to holiday decorating is pretty much like my approach to everything else — keep it simple but make a statement. I love those simple DIY ideas that just make something so much better. Case in point: turning plain white serving trays into festive holiday serving trays! I just lined them and they looked amazing! 😉
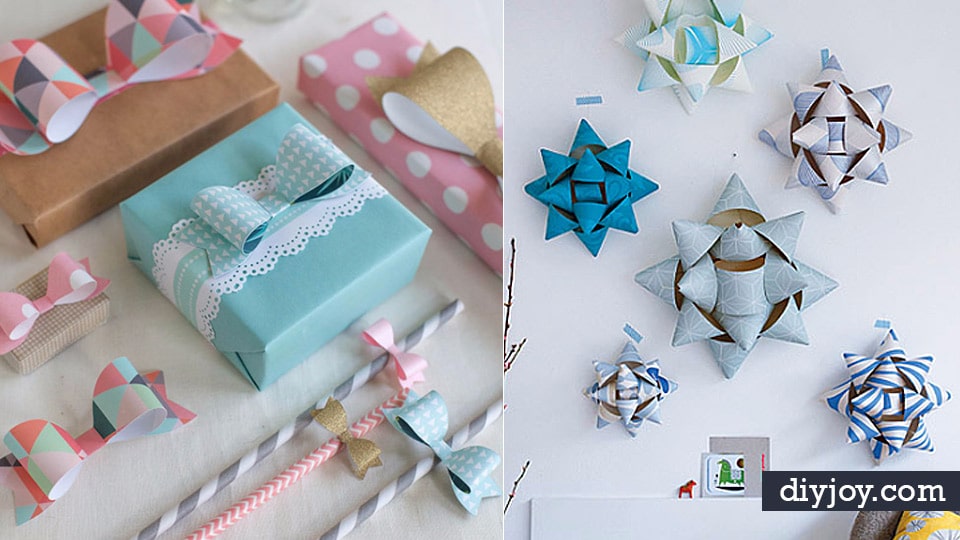
Christmas is a perfect time to add a pretty little bow on your packages and party decor. For this template, I have included four sizes from the large bow that I used for my holiday decor to the tiny version that I used for the mini bow oil cloth rings, along with two sizes in between. These are outline templates that you can print onto your pretty paper, or print on cardstock and use to outline onto your paper. For those of you who have a cutting machine I am also including the SVG file to make these bows. Once you have your bows cut and ready to assemble, you can use the tutorial here.
These DIY paper filled ornaments look great on a tree, but also great in a centerpiece. They are so adorable and easy to make that I thought I would share them with you. You need a clear 2 5/8″ Christmas ornament, sheer ribbon, a funnel, some faux snow and leftover scraps from your Christmas Cards or projects. Remove the ornament topper. Using a funnel insert a couple of tablespoons of faux snow into the base of the ornament. Now trim your scraps into 1/2″ x 6″ strips. Roll the scraps of paper around a pencil and insert the rolled paper into the ornament one at a time. Continue rolling and inserting paper until you fill your ornament. Allow some of you rolled paper to unroll. Next, I added this beautiful sheer swirled ribbon from Target and my scraps of paper were from Michael’s craft store, cardstock section.
This Christmas I went wild on my DIY wrapping, but in the midst of wrapping Christmas gifts, I have ended up with at least half a dozen rolls of wrapping paper that each has only a foot or two left on them. I was contemplating just throwing them out but just couldn’t bring myself to, so I did a little research and one idea led to the next and soon I had several great alternative ideas to tossing my leftover wrapping paper out with the trash. My favorite ideas involved using a very underutilized item in my house….my paper shredder. Bingo! I shredded all the trash and used it to pack a lovely set of antique china I was giving my Daughter in Law.