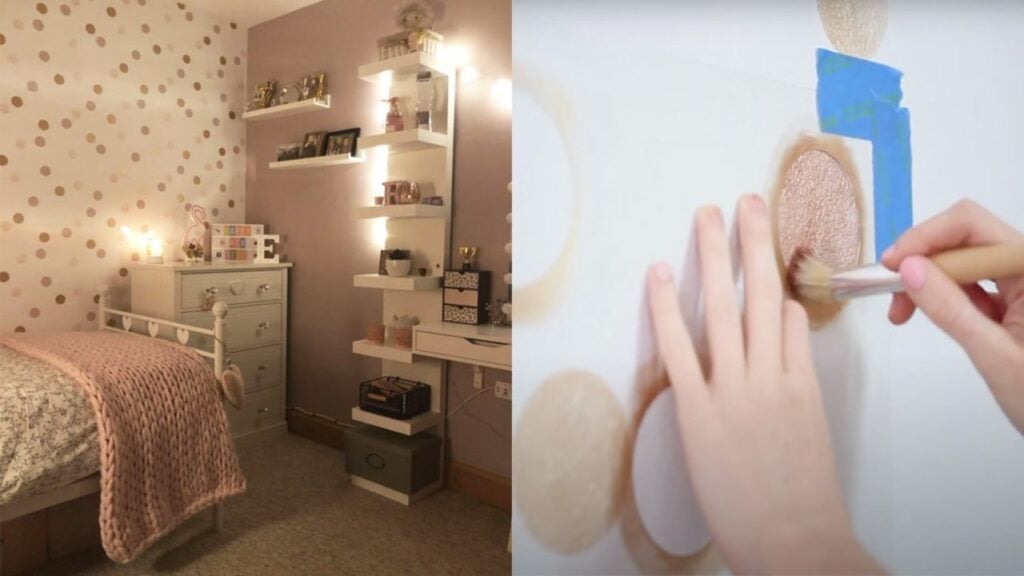
Do you have a drab looking wall that needs to be updated to look more fun and a bit edgy? Why not paint metallic polka dots on your walls instead of using wall paper? It is a fun weekend project and the metallic color of the paint would really help give some sunny vibes to your place. Whether it’s your bedroom or your office, polka dots when the patterns are painted well would surely look great and would definitely give your room a high-end look. Stencil Me Pretty on Youtube gives us an easy tutorial to make this happen with stencils and acrylic paint. Try it!
Materials:
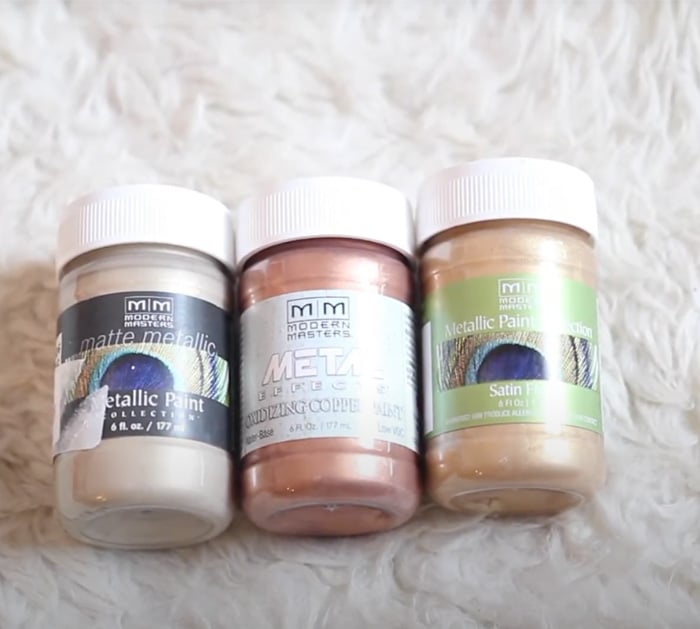
- 3 metallic acrylic paints (gold, copper, champagne)
- white paint
- paint roller
- stencils
- tape
- Brushes
- Paper towels
Directions:
Prepare your paints. Paint your walls with the base or primer, which is the white paint. Use the paint roller to make things fast. Let your walls dry.
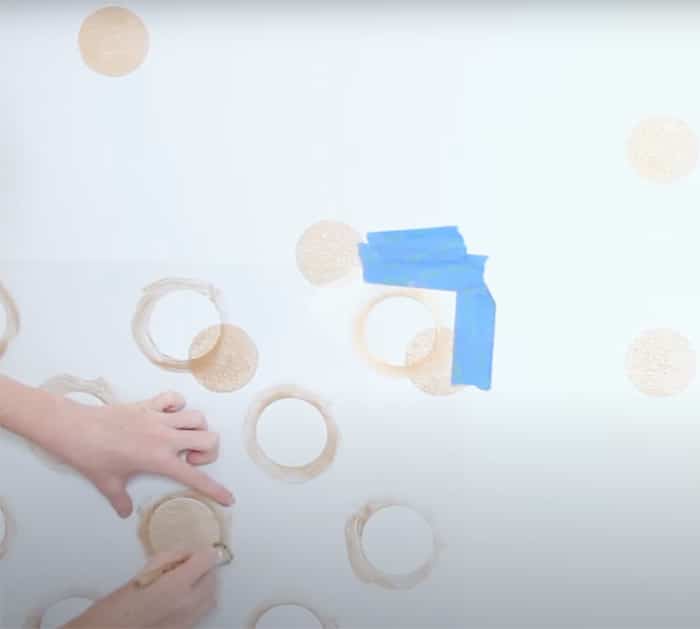
Once the walls are completely dry, it’s time to paint. Put the stencil on the wall and secure it with your tape. One thing to remember, though, is to have paper towels ready. You can use the towels to dry your brushes so that they are really dry when you apply the paint.
Now, you can start by painting the circles left by the stencils with gold paint for your first layer. You can paint random circles. Once you are done with one part of the wall, you can remove the stencil and move it to the next part, making sure to tape it. Then continue painting gold on random circles. Repeat this process all throughout.
Once you’re done with the first color layer, you have to let the circles dry completely before you go ahead and do the next layer.
The next layer is copper. Do the same thing with the stencils on the wall. Paint random circles with copper. And repeat the process all over the wall. Make sure you don’t cover the first layer of gold circles. And once done, let them dry as well.
Remember to always clean and dry your brush in between color changes.
You can also overlap your circles. It sometimes looks cute and quirky, but don’t overdo it.
The last circle will be champagne. Do the same thing with the stencils on your wall. You can change the tapes if they no longer stick properly. Paint the circles with champagne in random order. Repeat the process for some parts of the wall until you decide that the number of walls you have and the pattern you have painted are enough.
Let your circles dry. Once everything has dried up, you can now see the effect of the polka dots you have painted on your wall.
How to Paint a DIY Polka Dot Wall with Acrylics and Stencils


