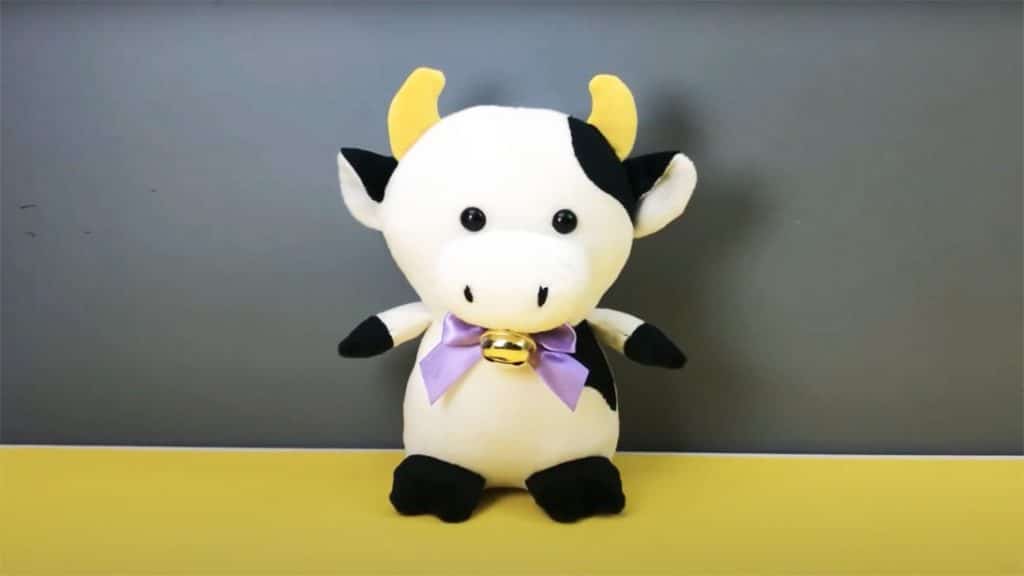
Handmade dolls hit differently when you receive or make one. It becomes personal, and you’d want to treasure it forever because of the plain fact that it is handmade. I received one from my aunt when I was a kid, and I can’t grow apart from it because it grew up with me. That is why I decided to start gifting dolls to my nieces. A built tradition, if you might say. This tutorial by Gentleman Doll on YouTube is one of the dolls I made and have come to love making. I made one for myself! It’s so cute.
Materials:
- Paper
- Scissors
- Marker
- 3 Fabrics
- Sewing machine
- Stuffing
- 2 Magic buttons
- Needle
- Thread
- Ribbon
- bell
Directions:
Prepare all the needed materials.

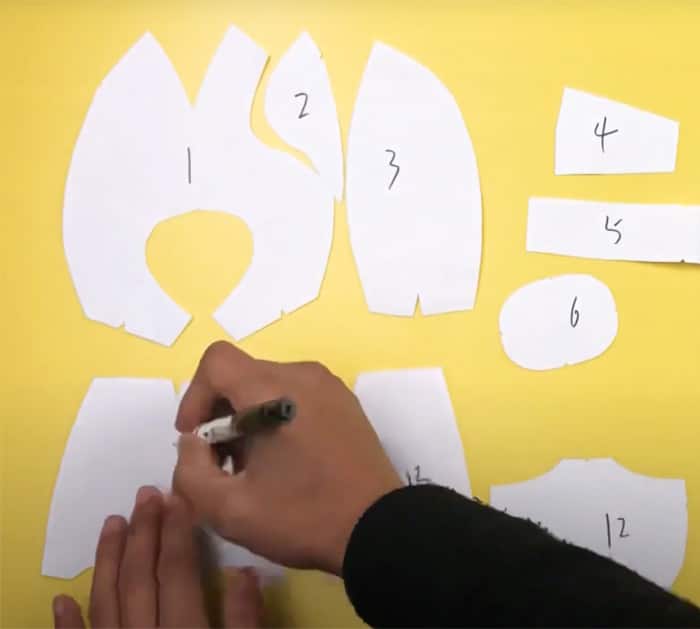
Cut out the plush toy calf doll pattern on paper and number each piece with a marker.
Lay the pattern pieces seen in the photo on top of the folded fabric of your choice and cut out each piece. You should end up with 2 of each. Remove the paper from the fabric pieces.
Lay the rest of the pattern pieces on top of a darker fabric and cut out each piece. You should end up with four fabrics with each pattern. Remove the paper from the fabric pieces.
Lay the last pattern piece on top of another fabric and cut it out. You should end up with four pieces of the same pattern. Lay all the fabric on a flat surface to easily match when assembled.
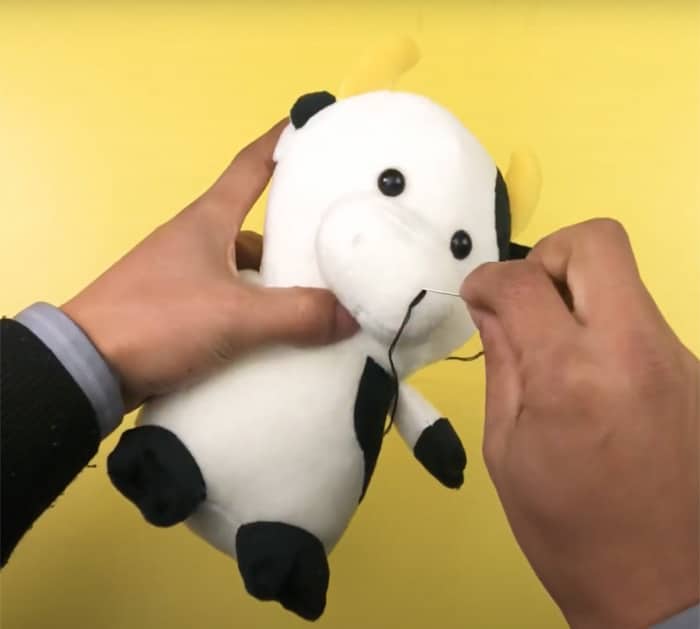
Sew all the pieces together as seen in the photo, right sides together. Make sure to leave an opening to flip the fabric right side up. Stuff the doll and close the opening with a stitch.Place the 2 magic buttons for the eyes of the calf in. With the needle and thread, stitch on the calf’s nose. Make a bow with the ribbon and sew it around the neck of the calf.

Lastly, sew the bell on top of the bow.


