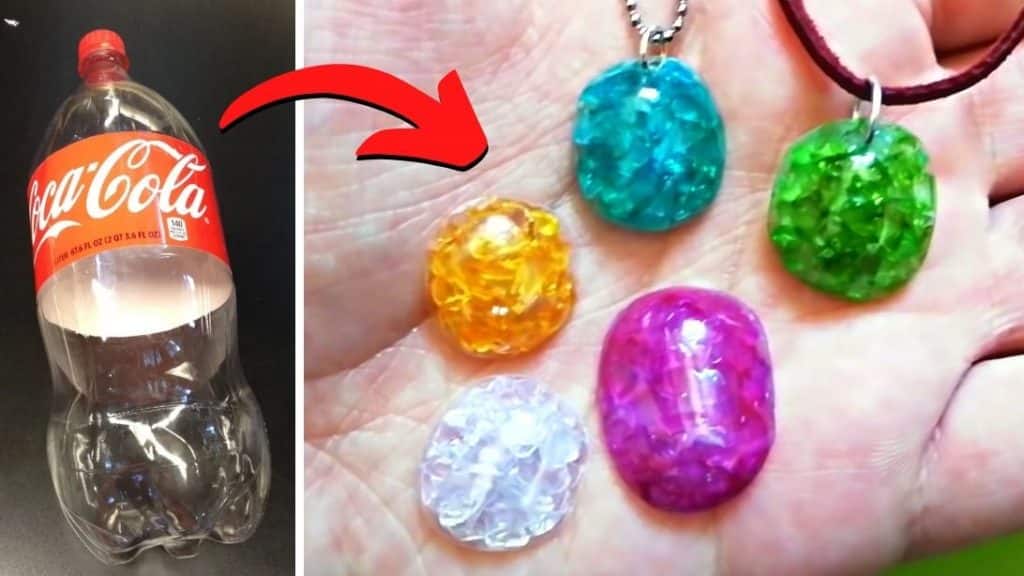
This clever craft idea by Randomona on YouTube is just incredibly brilliant and creative! I never thought that it would be very easy to make your own gemstones and what’s even more surprising is that you only need an old plastic bottle to do it. I used what I made for my personalized keychain and for other DIY projects that I did a few days back.
Materials:
- Plastic bottle
- Hot glue stick
- Felt tip pens or fineliners
- School glue
- Scissors
- Toothpick
- Map tack
- Cord or chain and jump ring
Directions:
Step 1
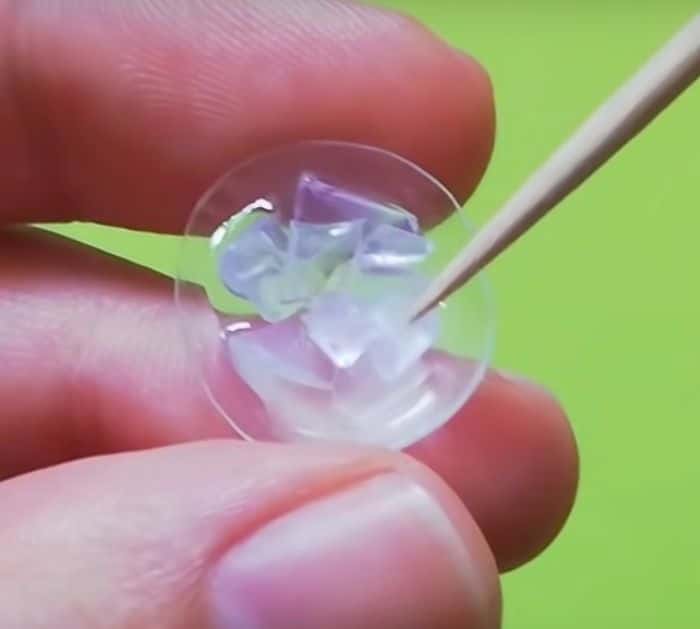
Cut the bottom of the bottle and use only the curved areas, then refine the shape so that it’s symmetrical in the front and the raw edges at the back are flat. Start cutting off small pieces from a hot glue stick, then cut to even smaller pieces until they’re like broken shards of glass. Dab some school glue inside the curved are of the plastic, then add in the bigger crystals at the center, and push them in place with a toothpick. Leave the side area for the smaller pieces and put them in until everything is covered, keep the backside as flat as possible, let it dry completely.
[social_warfare]
Step 2
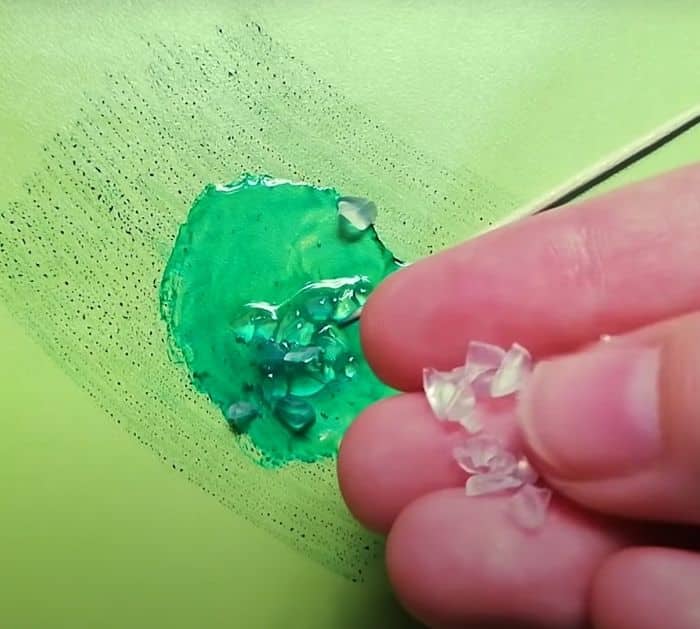
To make gems in different colors, you can use colorful bottles, but if it is not available, you can start by placing a plastic sheet on the work surface, then using a pen, paint several strokes to get the ink onto the plastic sheet. Then, pour in the glue on top of the ink and mix them together using a toothpick, throw in the crystals and cover it with the glue mixture. Spread all of the crystals and let them dry, and that’s how you make colored crystals. If you want to turn it into a pendant, just poke a hole into the plastic with a map tack before you add the crystals, this will leave some space for the jump ring to insert into. You can also make other jewelry or even a keychain with this.
*All these images are credited to Randomona via YouTube. Give her channel a visit and subscribe for more!


