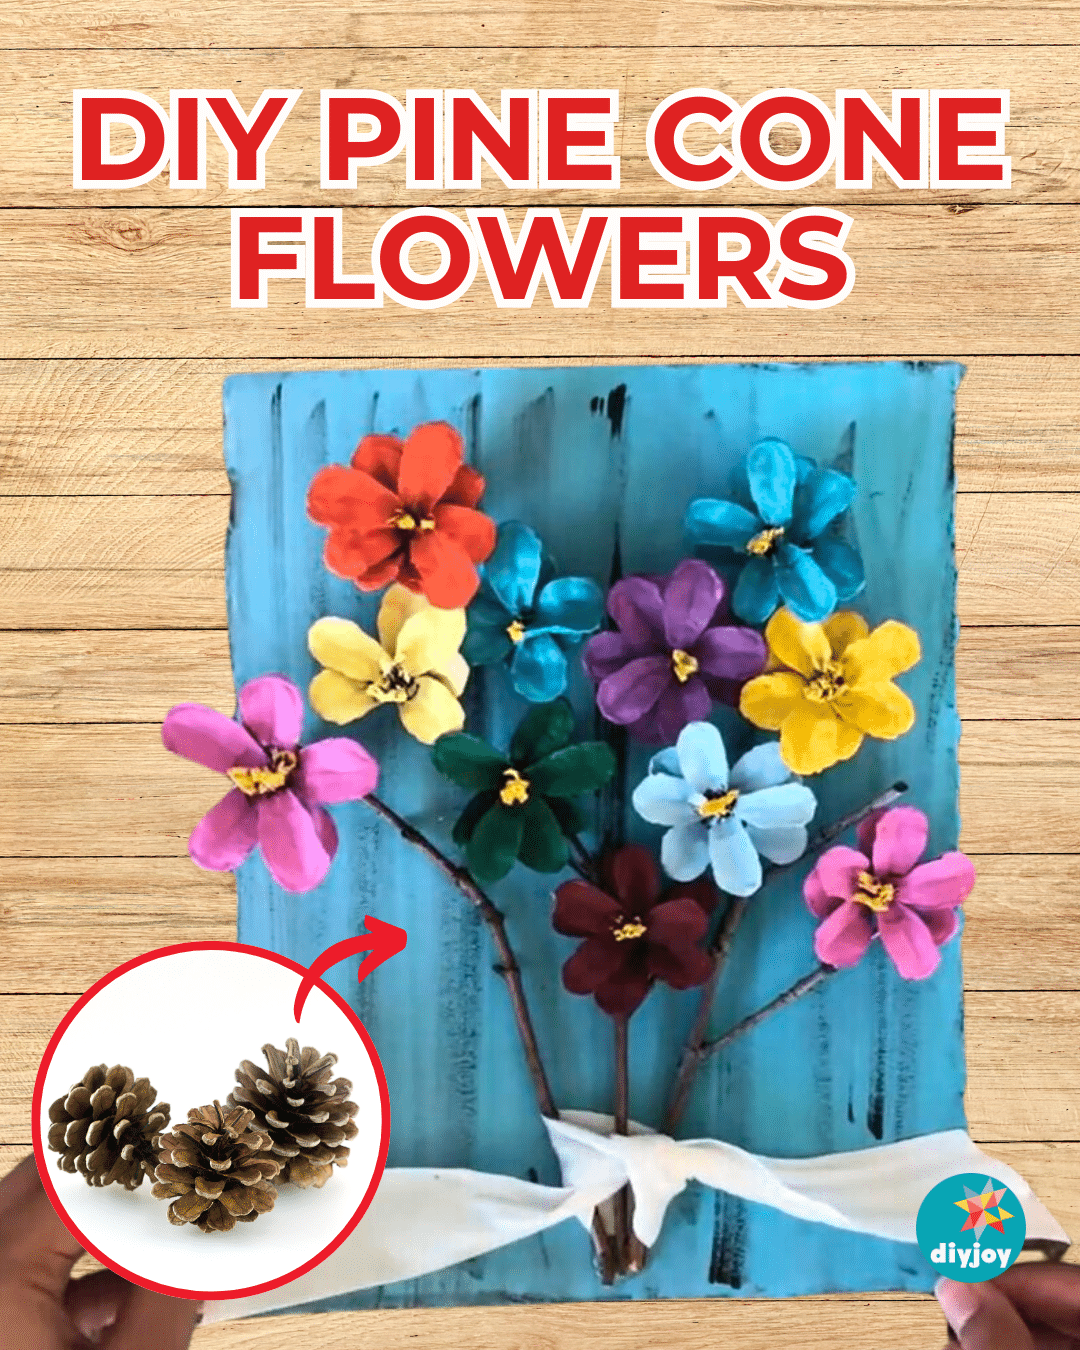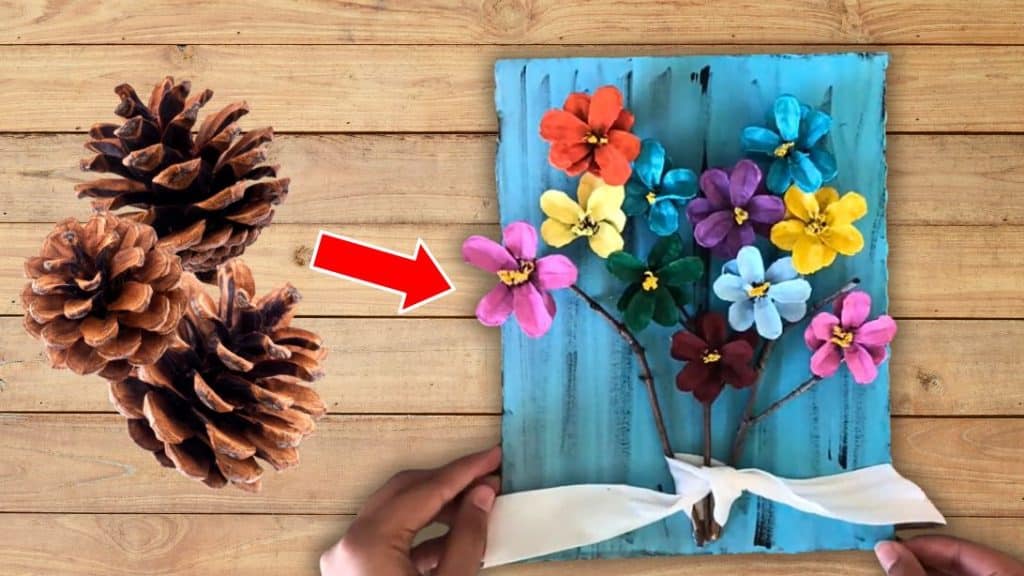
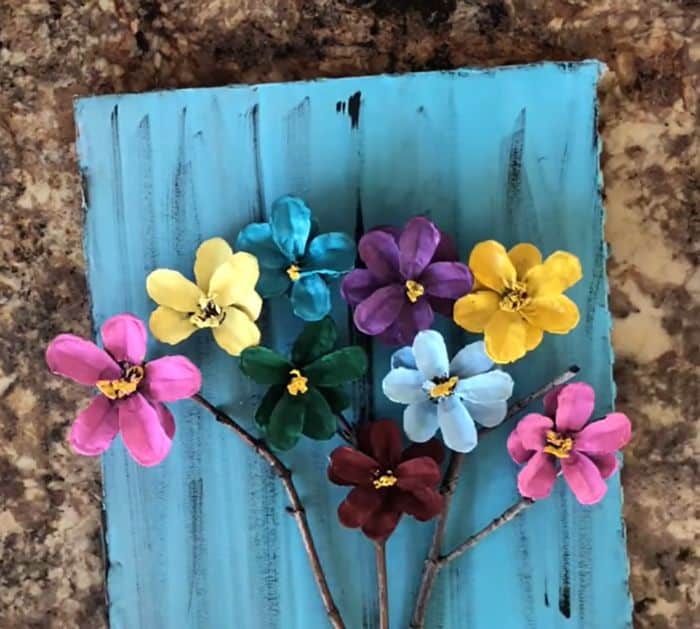
Looking for your next art project? If you are, I have a fun and awesome idea for you. Do you have some leftover pine cones from your previous crafts? Take them out, and turn them into these beautiful DIY pine cone flowers. Aren’t these flowers beautiful? I think this is one of my favorite art projects. I love that it looks like a painting from afar.
RELATED: How To Make A Pinecone Flower Bouquet
There are so many things you can do with pine cones. They are not just for Christmas and autumn decorations, but also for spring and summer. You can even make a wreath or turn them into roses! There are so many ideas to choose from, just search online and you’ll find a lot of inspiration for your next craft. Learn how to make these pine cone flowers through Naturally Creative‘s tutorial below.
Easy Pine Cone Flowers Materials
- pine cones
- sharp scissors
- paint
- paintbrush
- cardboard
- 9.45 in x 7.5 in cardboard
- small dry stems
- hot glue
- ribbon
How to Make Flowers Using Pine Cones
Step 1:
Soak the pinecones in water for about 2 to 3 hours, then wash them properly. Once done, let them air dry for a day. To make the process faster, you can bake them for 45 minutes at 370F. Let them cool before using.
Step 2:
Cut each pine cone into two or three parts.
Step 3:
Paint them in white on all sides then let them dry.
Step 4:
Paint each petal to your preferred color, then paint the center yellow. Let them dry.
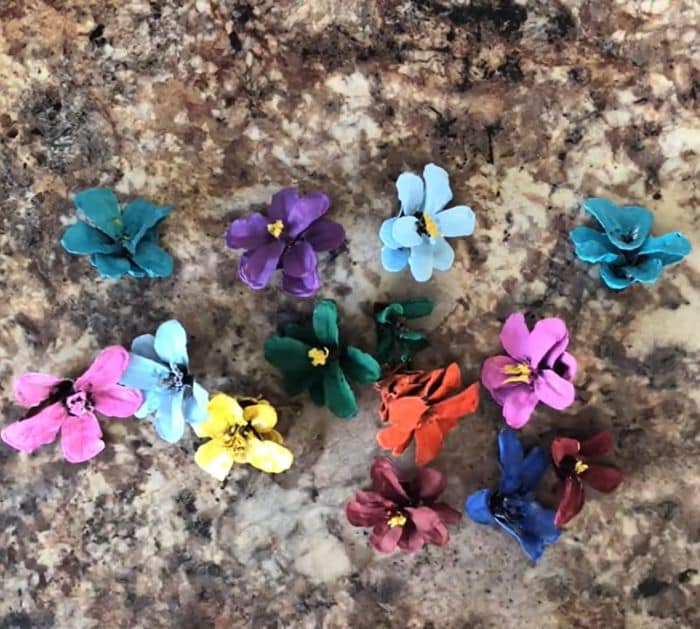
Step 5:
Get the cardboard and paint in your preferred color. Use black paint to make brush strokes and make it look distressed.
Step 6:
Glue the small stems on the bottom part of the carboard. Do not glue the whole stems onto the cardboard so you can tie a ribbon around them. Next, take the pinecone lowers and glue on the stems.
Step 7:
Tie the stems with a ribbon.

