A photo transfer to wood is an easy Mod Podge craft project that adds a rustic touch to all DIY home decor. This upcycling idea also makes great DIY gifts.
This is seriously one of the easiest projects I’ve made and it turned out even better than I was expecting. The photo transferred so cleanly and colorfully. This gift was a hit and something I look forward to trying again.
This is one of the simplest way for photo transfer to wood. All you need is one piece of wood, glue, a paper of your best photo, some Mod Podge and follow the instructions in the tutorial.
I’ve always been intrigued by wood transfer projects. I’ve experimented with several different applications: cutting scrapbook paper, using vintage images from books, and transfers to fabric, but my favorite is transferring personal pictures. I love the rustic, vintage look it creates.
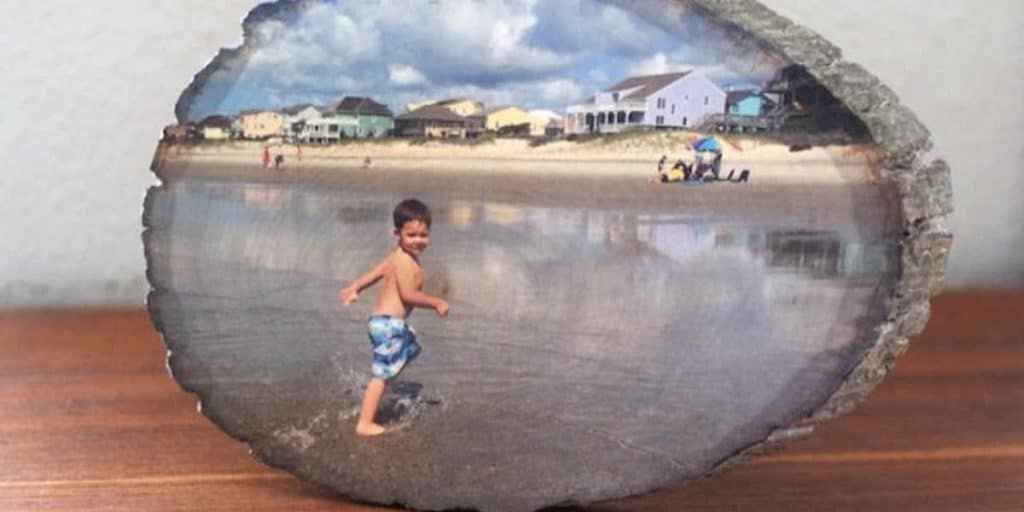
This easy tutorial will teach you how to transfer a photo to wood so that you can create this stunning wood slice photograph display. It is the perfect way to display some of your most treasured photos. It is easy and inexpensive to create and will make a fabulous impact in your home. Plus, this would make a fabulous gift for friends and family, especially newlyweds and new parents. I’m going to do some of these for Christmas gifts this year. I think everyone will love them!
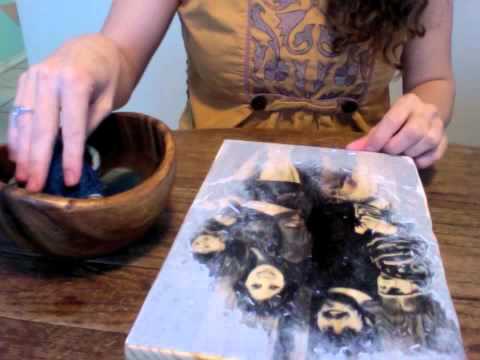
Watch how Crystal Hethcote does this cool DIY project in her step by step tutorial.
How to Transfer A Photo to Wood
A special thanks to Parental Perspective for the use of their photo of the wood photo transfer. Make sure to check out their blog site for more great DIY’s!


