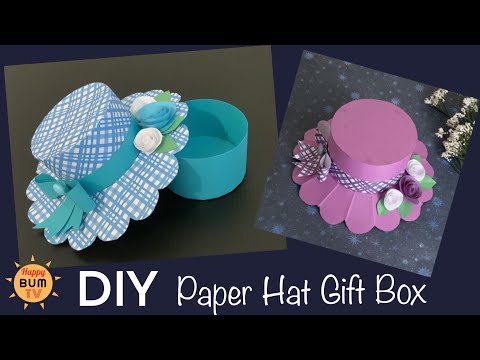
Make your gifts extra special by using a handmade paper gift box! This adorable DIY project is made by Happy Crafts TV on YouTube. It is very cute, easy, and cost-effective.
Materials:
- Cardstock paper
- Double-sided tape
- Glue
- Scissors
- Ruler
Directions:
Step 1
Cut a cardstock paper with an 11 x 2½ inches size, then draw a 1/2 inch line at the top, use a ruler or edge of the cardboard to crease the line easier, then make triangular notches at the half-inch side, at the end remove the last triangle and cut it straight, run the round edge of scissors over it to curve, then place a thick strip of tape on the edges and join both seams together in a circular manner, and fold the pointed edges inward. Place it at the top of a similar colored cardstock paper, then trace the shape twice, cut around the 2 circles, dab glue around the sides of each circle. Insert 1 round paper inside the cylinder, and the other at the bottom of it.
[social_warfare]
Step 2
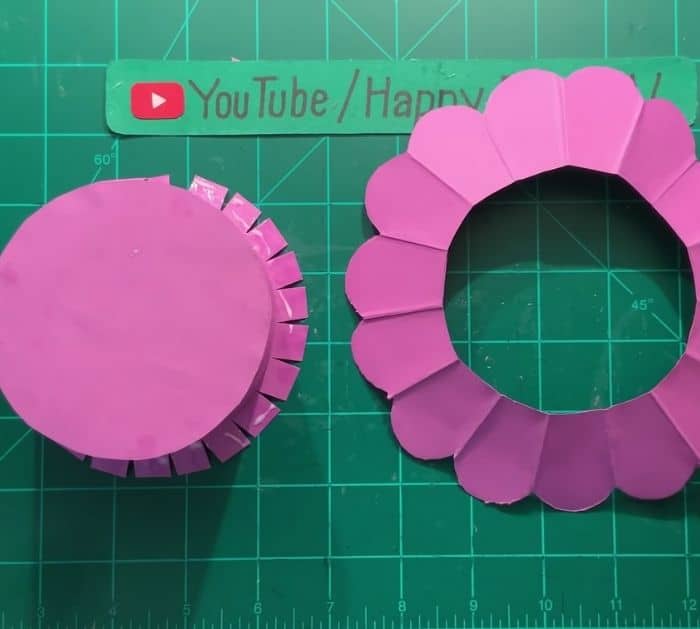
Cut an 11 x 3 inches cardstock paper, draw lines at the top and bottom with 1/2 inch each, crease both sides, then make triangular notches at the top, and cut the ends straight. At the bottom, make squared strips, run through with scissors to curve the paper, join the ends with tape. Spread the square notches below and the tringle notches inwards, trace 2 circles again, stick the other inside, and the other underneath. Make 7 inches radius circle, fold it in half 3 times, crease it with your hands. Open the fold once, then fold 1 flap inward, cut and curve the edge, fold another flap backward, cut and curve. Spread it open, then lay the flat part of the hat onto the large flower-like shape, trace around, cut out the circle in the middle, then insert it on the hat and attach it to the squared notches.
Step 3
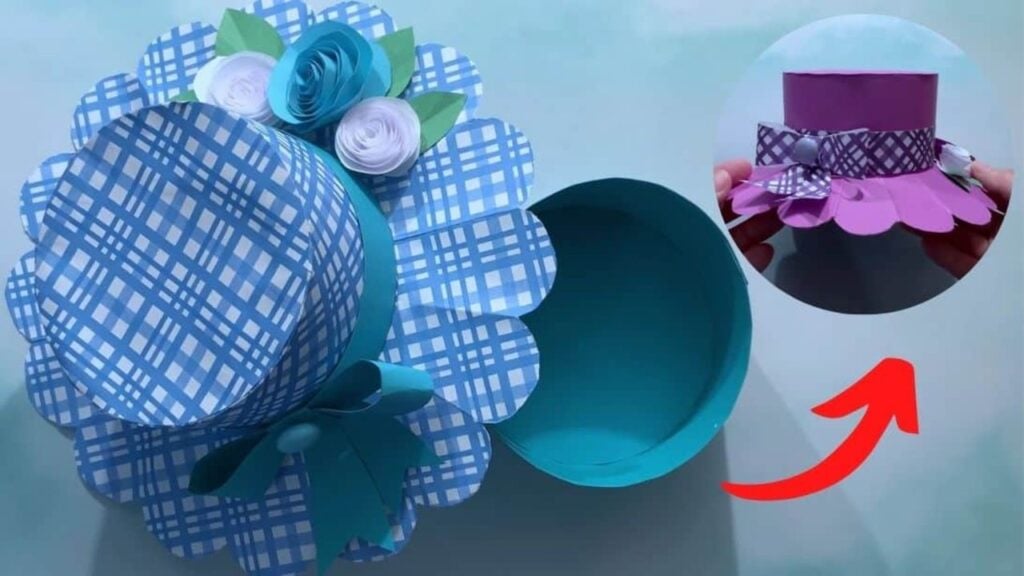
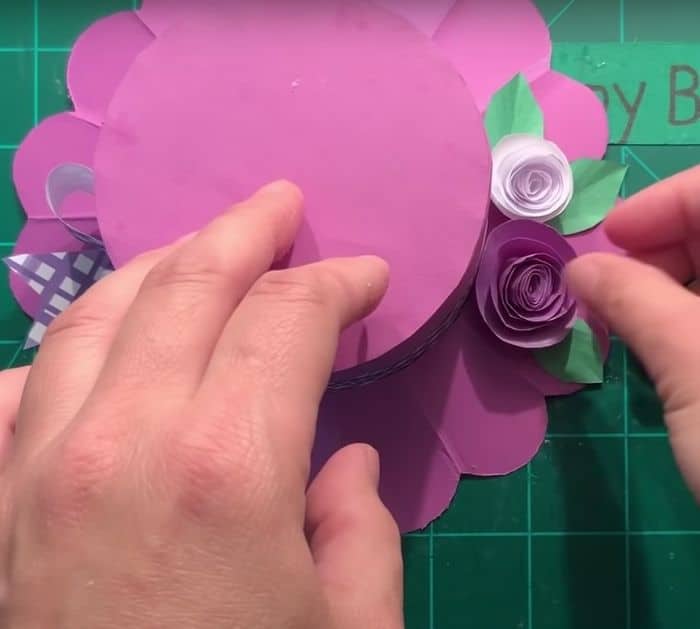
Make an 11 x 3/4 inch strip of paper, put tapes at the back, and wrap them around the bottom of the hat. Cut a 6 x 1-inch strip, fold it in half across, then cut the top and bottom of both sides diagonally. Spread open the paper and fold the flaps inward at the center, then secure with tape. Wrap the center with a 2 x 1/2 inch strip, glue the ends, then place any button at the center. Make 2 pieces of 1 x 2-inch strips and notch the bottom into 2 pointed ends, then attach it on the back of the bow to complete the ribbon, place the ribbon on the bands, and decorate the hat with paper roses and paper leaves.
*All these amazing images are thanks to Happy Crafts TV via YouTube. Do visit her channel to see more videos like this!
DIY Paper Hat Gift Box Tutorial