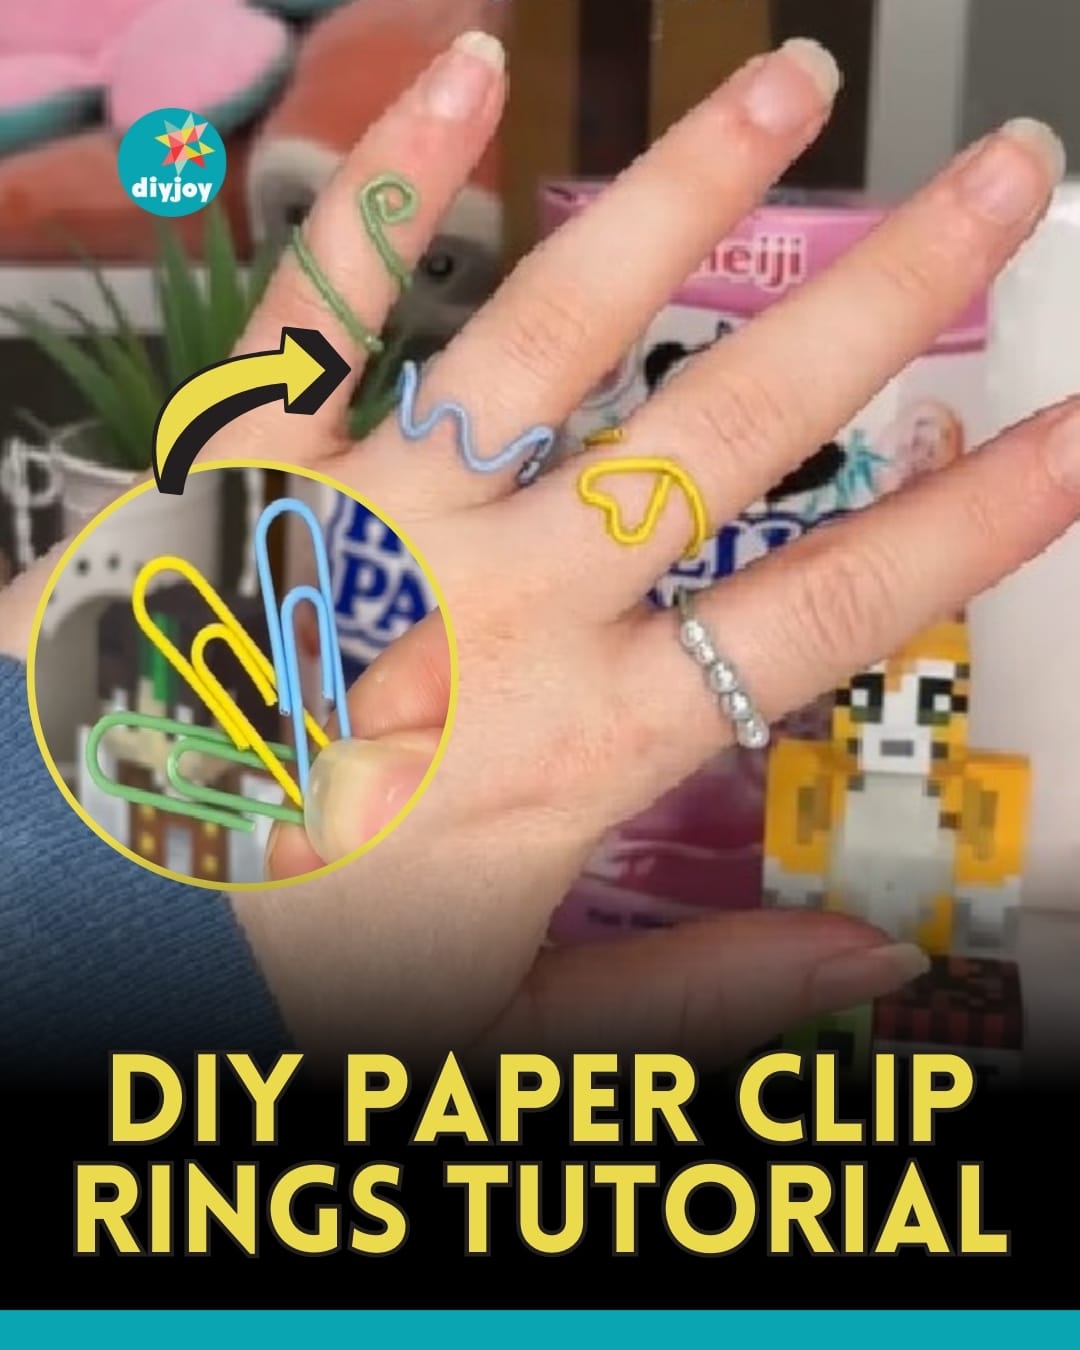
If you’re looking for a fun and quick DIY to make with your friends to pass the time or just want an activity to keep you busy, try making these adorable rings from @celynhaf on TikTok! You will only need paper clips (in different colors), a crafting plier, and some beads to make these rings. It’s not just fun to make but also inexpensive. You can also make this DIY as a family activity any time of the year or as an afternoon project with your friends!
RELATED: Turn Paper Clips Into Gem Stone Rings
This DIY paper clip ring is a yearly activity in my household during the holidays. I always put my teenagers together with their cousins to make these while waiting for the Christmas feast. It’s a pretty enjoyable activity, and it keeps them busy instead of just fidgeting on their phone the whole time. This DIY from @celynhaf may be simple, but simple and easy DIY is actually perfect for hanging out or for passing the time. Check out the video below for the step by step instructions, or keep reading below for the written instructions. Thanks, @celynhaf, for this fantastic DIY project!
Materials:
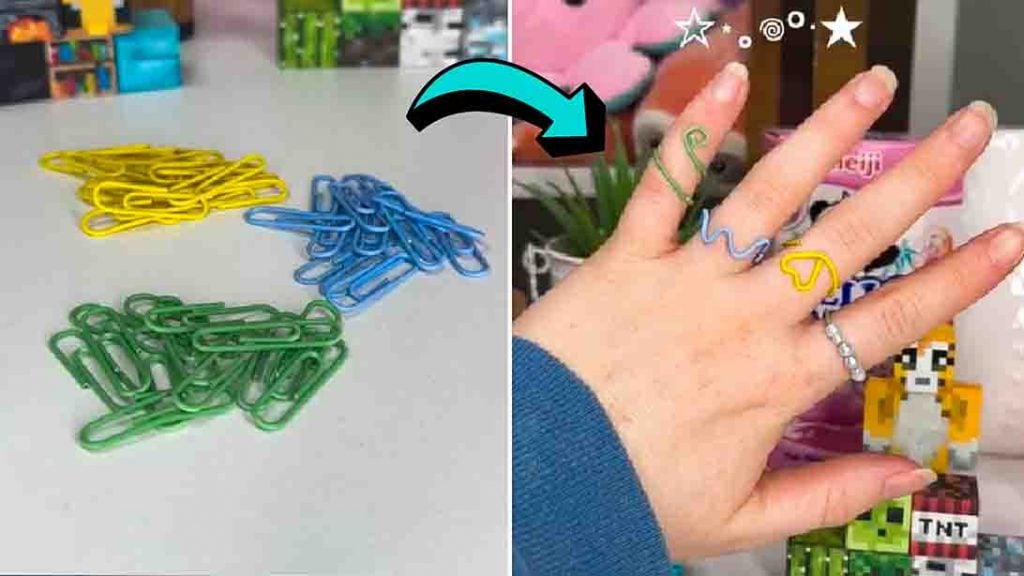
- paper clips (in different colors)
- crafting plier
- beads
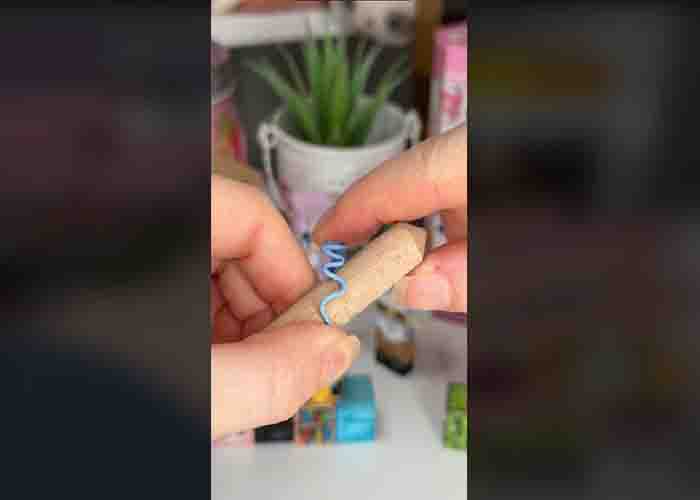
- wooden spatula
Directions:
@celynhaf diy paper clip rings 📎🎨 #diy #giftideas #tutorial #easydiy #art #paperclipring
Step 1
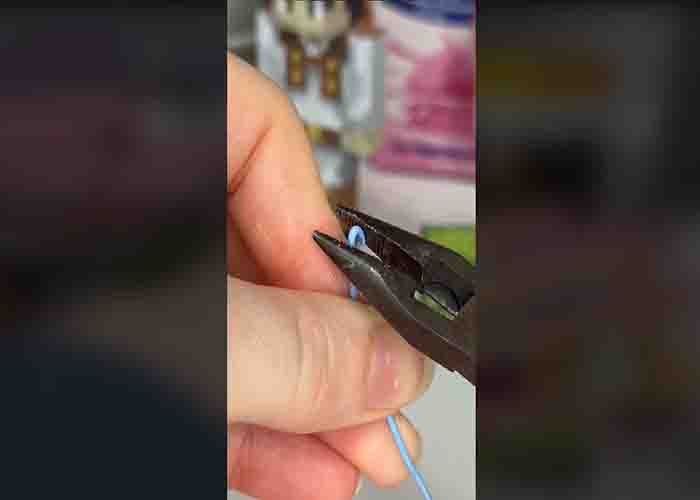
To start the project, straighten the paper clips first. Next, using a crafting plier, shape it into anything you want. You can then incorporate some beads to make your clip rings prettier.
[social_warfare]
Step 2
Once you’re done with your design, grab a wooden spatula (or anything you can use to shape the ring), then wrap the paper clips onto the cylinder to shape it into a ring. Make as many as you like!
DIY Paper Clip Rings Tutorial