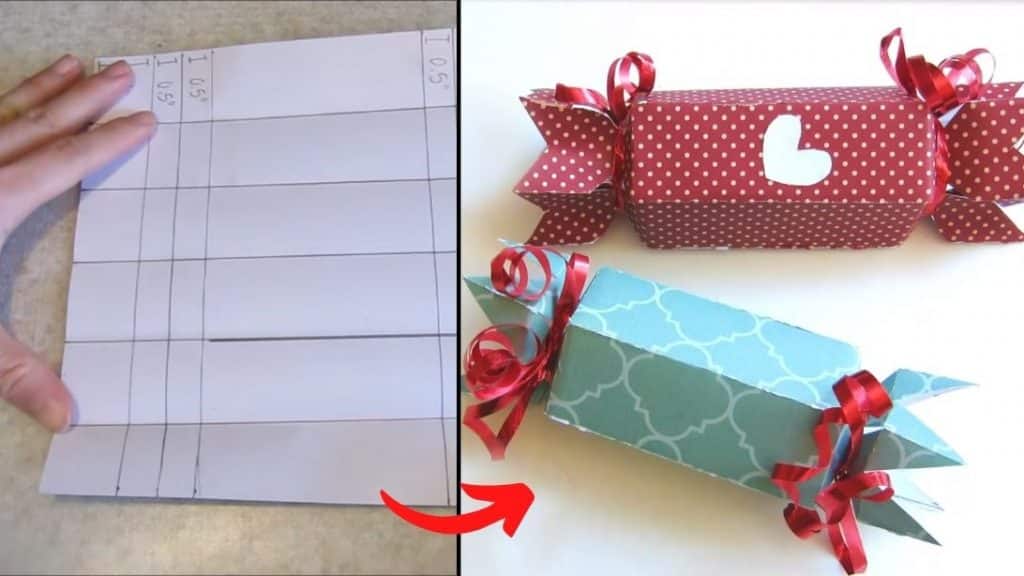
This lovely DIY candy holder is great storage for your candy and treats gifts! This is very easy to do and also cheaper than buying a ready-made treat box from the store. You can also modify this into any size and any type of paper you want. Thanks to Jenny W. Chan – Origami Tree‘s clever idea via YouTube. Now, I can have an adorable candy box in just a few minutes!
Materials:
- 7.5 x 7.5 inches square sheet of specialty/hard paper
- Ruler
- Scissors
- Ribbon
- Craft glue
- Candy
Directions:
Step 1
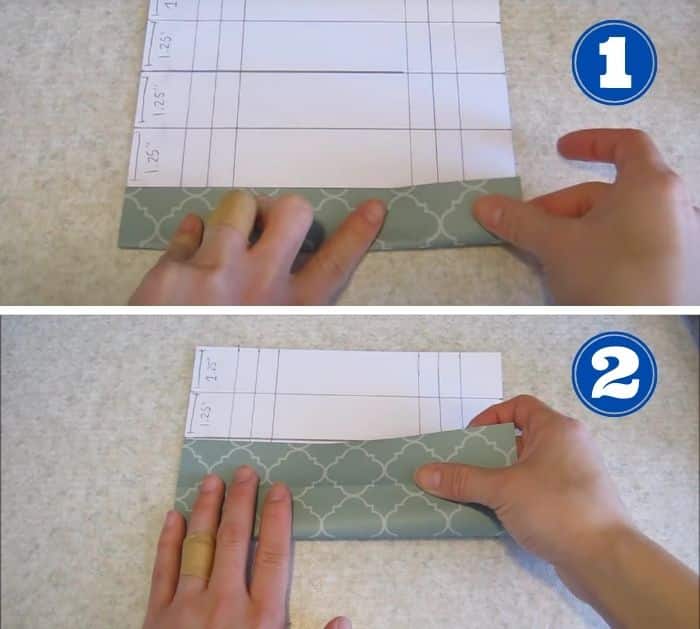
Mark/ divide paper into 6 equal parts with 1.25-inch increments for 7.5 x 7.5 inches paper. Rotate it for 90 degrees, then mark 1 inch, 0.5 inches, 0.5 inches from outer edge to inner, do this marks on the bottom part too, starting from the outer side as well. Draw a line from each side and connect the marks. Rotate it again at 90 degrees, then fold along the 1.25 increment lines (mountain folds).

[social_warfare]
Step 2
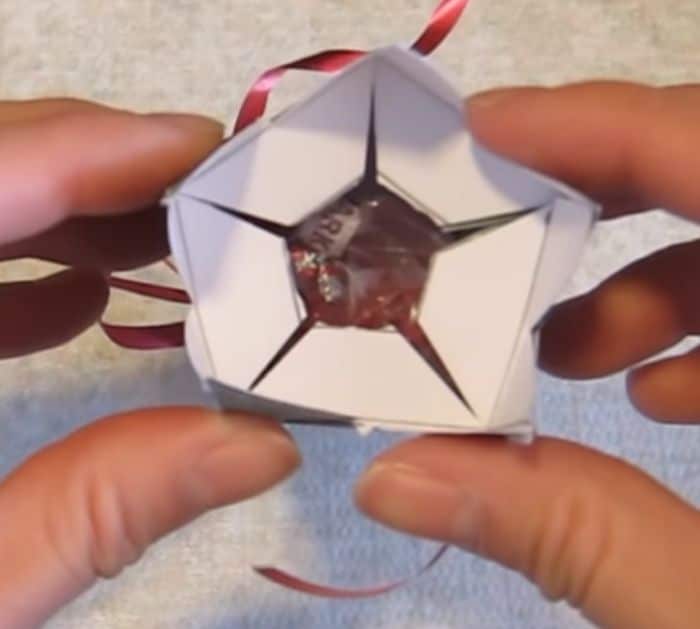
Next, fold along the first 1.25 increment, then divide it into 3 equal parts, cut triangles that reach approximately 1/3 of the way in, do this on the other side too. Then repeat the process with the remaining increments and don’t forget the edges. Rotate at 90 degrees then cut triangles with tips touching the 1-inch mark. Fold the flap down at the 2-inch mark, then fold the flap up at the first 0.5-inch mark, and fold down again on the other 0.5-inch mark. Repeat this on the other side as well. Roll the candy holder and glue the ends together, tie one end with a ribbon, then insert candies, before tying the other end.

*All these images are credited to Jenny W. Chan – Origami Tree via YouTube. Give their channel a visit and subscribe for more!


