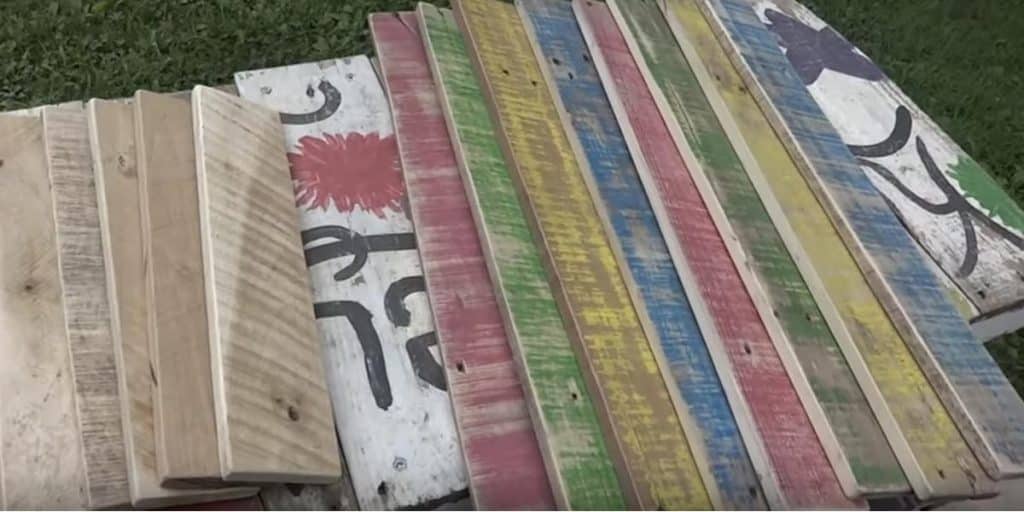
I already loved painted pallet wood that has been sanded, leaving some of the natural wood showing through, but what he does with this is phenomenal and so charming! This is definitely something that you don’t see every day and serves a great purpose!
From the darling fabric he used for the cushion, the combination of natural and painted pallet wood, and the storage to the painted rollers on the bottom, this project scored BIG with me! The fact that this serves as a foot rest AND storage makes it even more useful! We can ALL use some extra storage, right?
I wasn’t lucky enough to find pallets that had already been painted, like he did, but I was able to get the same effect with paint and sand paper. I’m so proud of my ottoman now that I’ve made one like this! It looks almost identical to the one in this tutorial, which is what I wanted to achieve when I made mine.
Now I have a place to put my feet while I’m sitting in my comfy chair! Sometimes there’s a battle about who gets to sit there and rest their feet, but we work it out…I always get my way!
The majority of us love the charm of repurposed pallet wood! I have several things I’ve made from it in my home and they are some of my very favorite pieces. My friends and family have caught onto making things with pallet wood, after seeing some of the pieces I’ve made. They love the fact that pallet wood is readily available and usually FREE!
Now I’m on to my next DIY! There are so many ideas and not enough time to do everything that I want to do! I’m kind of obsessed with doing these things! Since I love this one so much, I just had to share it so you can enjoy yours like I do!
Watch Part 1 of this step by step tutorial, by Mr. DIY Dork, and make sure to watch Part 2 that can be found on youtube.com and have fun making this nifty little rolling storage ottoman!


