Are you jut dying to have a rustic headboard? If so, you’ll be really surprised how easy this headboard is to make! I was shocked at how quickly it was to create! I love rustic decor…I have a lot of great pieces in my home and this is a wonderful addition to them. I love natural wood accents with bright colors. There have been quite a few friends of mine that have gone crazy over this headboard. I’ve actually been thinking about making them to sell. They are so inexpensive and easy that I may just start doing this. I think the thing I like so much about this headboard is that the wood slats are different sizes and different tones. This gives it such a unique and rich look.
The first thing he does is assemble the frame and adds screws to all frame connections. The he laid the different sized wood slats over the frame. The slat layout took the most time…getting the pieces just right. He nailed all of those in place (with his electric nail gun). Note the screws were added to the corners to reinforce the frame. Once he was finished he adds linseed oil and stain to the cut sides of the headboard to give it an aged look. Next he sanded the whole headboard. After sanding a sealant or stain is recommended. This is so easy! Watch the step by step tutorial and see what I’m talking about!
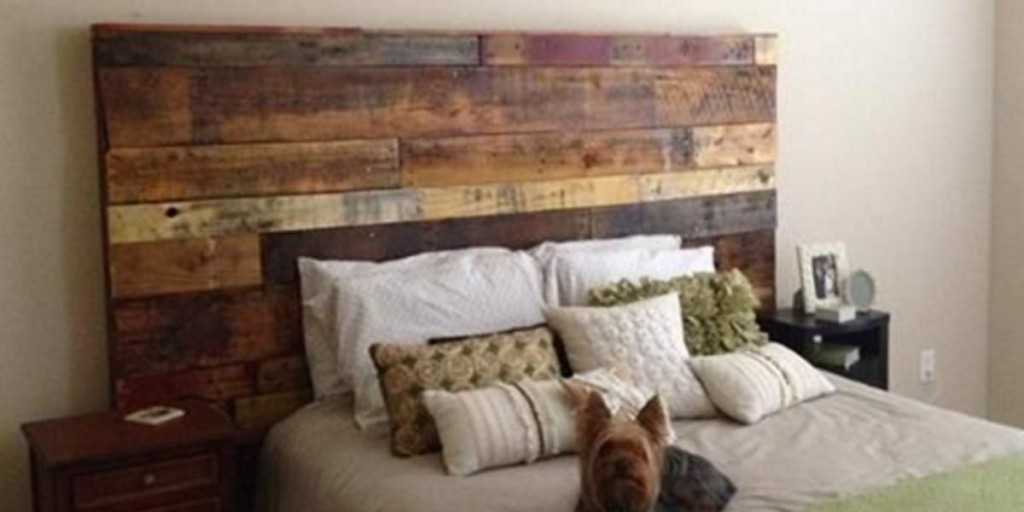
We just love this pallet headboard shown in the photo, done by Revival Woods. Be sure to check out their tutorial and site for more cool ideas.