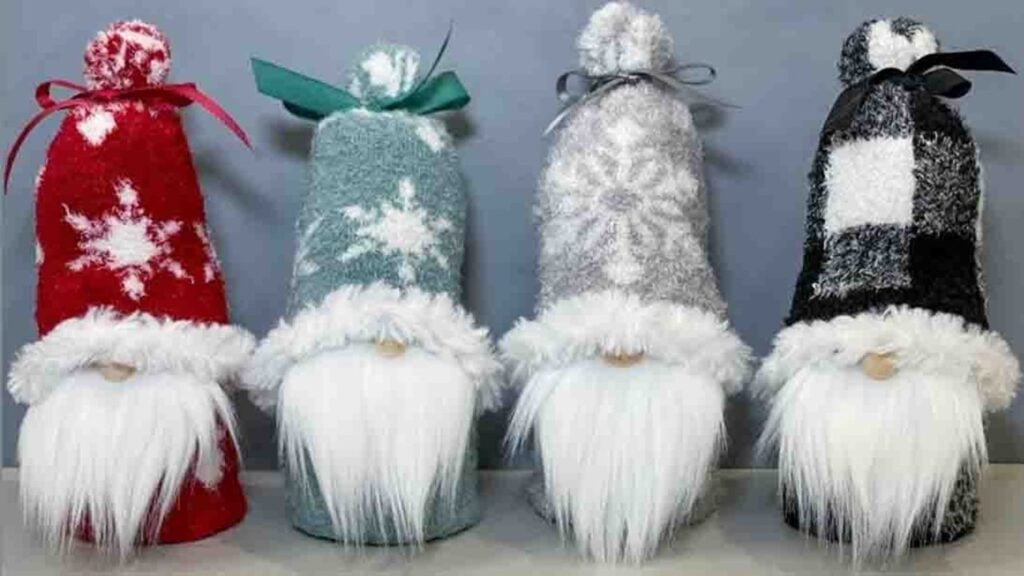
You will absolutely love these DIY gnomes from Patti J. Good! They look so adorable, and they are only made with one sock! It’s the perfect holiday DIY activity to make with your friends and family, and everyone will surely have a good time. You can even display the gnome, as this one looks so Christmassy, don’t you think?
RELATED: DIY Gnome Christmas Ornaments Tutorial
The best part of this project is how easy and inexpensive it is to make. Aside from just one sock, you’ll only need a few basic crafting materials for this. What are you waiting for? Gather your materials now and start making your adorable gnome!
Materials:
- socks
- fur trim (for the hat)
- bead (for the nose)
- 2 pcs. pipe cleaner
- white faux fur
- polyfill
- felt fabric
- ribbons
- hot glue gun
- cardboard
- string
- rubber bands
- 4 pcs. 5/16″ nuts
- scissors
Directions:
Step 1
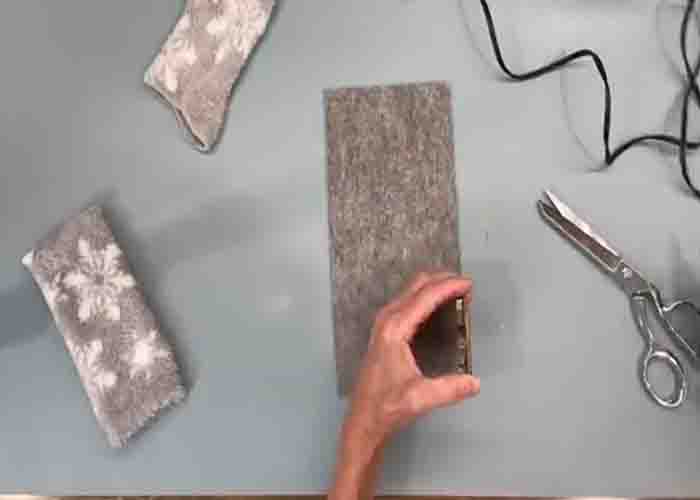
Cut out a 2 1/2″ circle from the cardboard, then glue the nuts in four different places on the bottom. Next, cut the sock straight across the heel, then trim it to straighten the edge. Now, take your 5″ x 9 1/2″ felt fabric, and start to add hot glue while rolling the cardboard with nuts along the bottom edge. Go all the way around until it seals up. After this, take the sock, put it onto the bottom, and pull it up until it’s straight. Once done, fill it up with polyfill. Tie a rubber band, then tie a string to further secure it.
[social_warfare]
Step 2
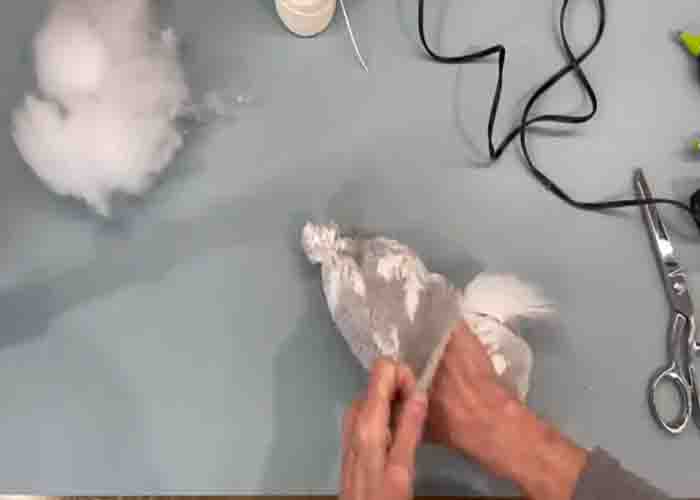
Trim off the top to 1/2″, then fold your pipe cleaners, and put it onto the center. Secure it with hot glue. Next, grab the other half of the sock, turn it inside out, then tie a rubber band on the raw edge of it. After this, turn it right side out, and stick it over the top part of the pipe cleaner. Make a little ball at the top by tying a rubber band onto it. Set it aside. Now, cut out the beard (2 1/2″ x 2 1/2″) from the white faux fur. Attach it to the body with hot glue and let it dry.
Step 3
Once done, pull the hat down, then fill it with a bit of polyfill. After this, pull the back of the hat far enough, then secure it with a generous amount of hot glue. Let it dry, then start gluing the sides as well. Next, glue the bead in the top center of the beard for the nose, then glue the hat over the top of the bead. Finally, start decorating the gnome. Tie a ribbon on the top of the hat, then add some fur trim to the edges of the hat.
DIY One Sock Christmas Gnome Tutorial