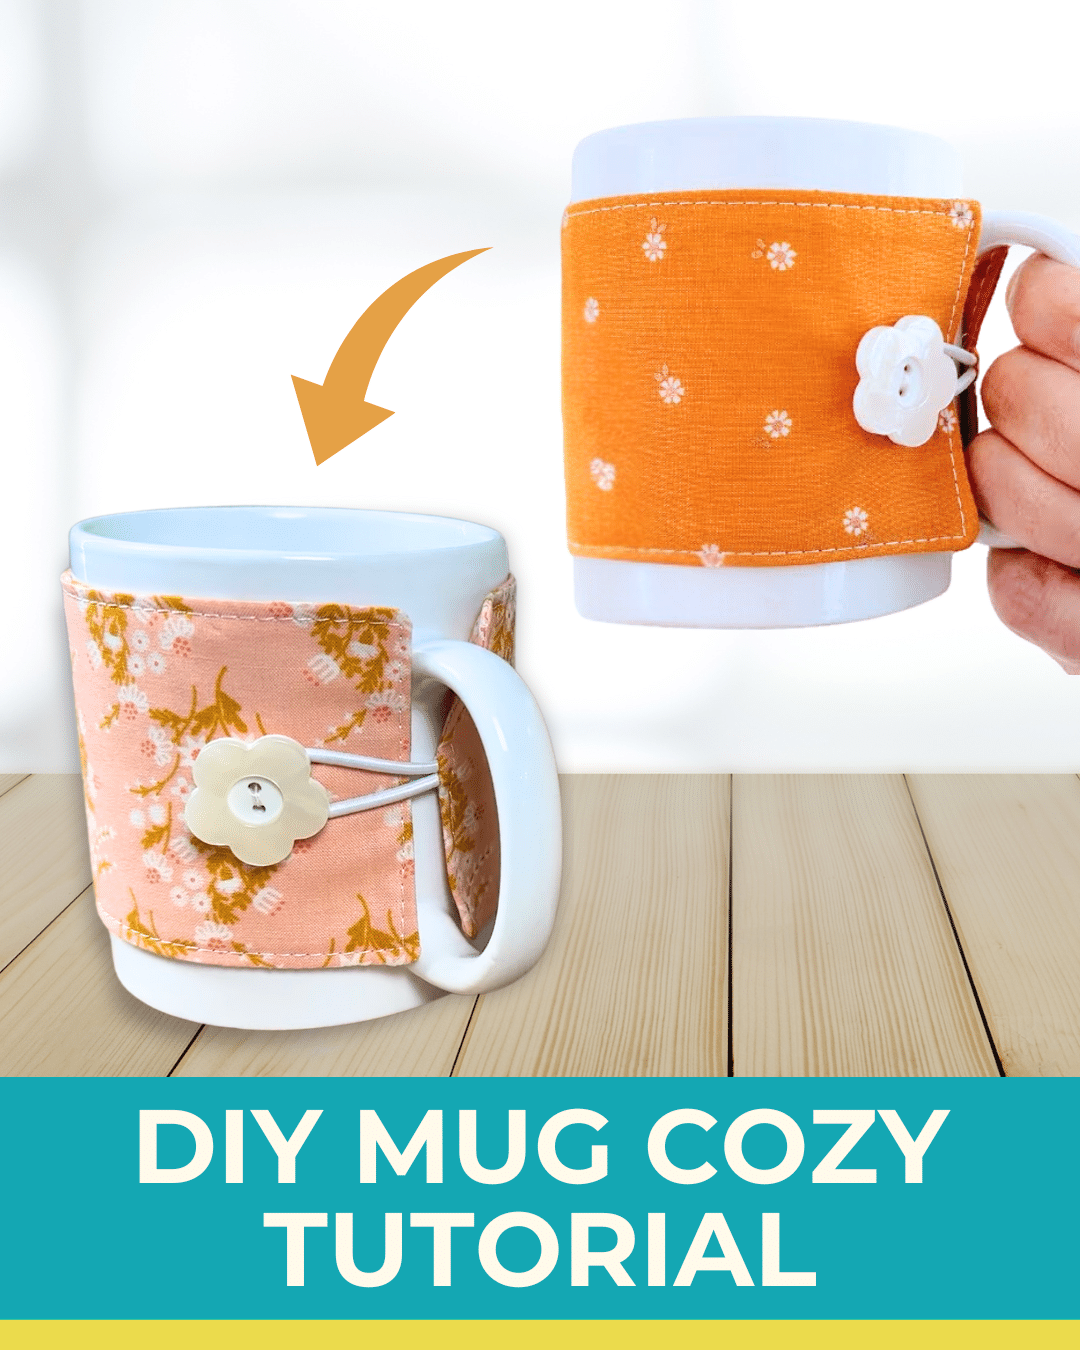
When I want to take a break from my big projects but still want to keep myself busy, I work on small sewing projects. That’s why I always save interesting video tutorials on YouTube for future reference. One project I recently completed is a DIY mug cozy designed by Stacey Lee Creative. I find it absolutely adorable!
RELATED: Easy Sewing Tutorial & DIY Bowl Covers
It’s perfect for the cold months, not only for Fall. Just change the fabric, and it will suit every occasion or Holiday. The flower button is definitely a cute touch. If you love drinking coffee or tea, this project is for you. It’s also a great gift for friends or loved ones this upcoming Holiday. Watch the video below for the full instructions.
Easy DIY Mug Cozy Materials
- 2 pieces of fabric strips
- 1 piece of fusible fleece
- button
- elastic
- mug
- measuring tape
How to Make a Mug Cozy
Step 1:
Measure the circumference of the mug. Use that measurement for the length of the fabric. If you have a chunky handle, you want to make it slightly smaller, maybe a 1/4″ smaller. Next, measure how tall your mug is. Minus 1/2 inches from that measurement and it will be the height of the fabric.
Cut the fusible fleece a 1/2″ shorter than the measurements for your fabric.
Step 2:
Place one of the fabric right side down. Take the fusible fleece bumpy side down on top of the fabric. Press with an iron. Turn it over and press on the other side.
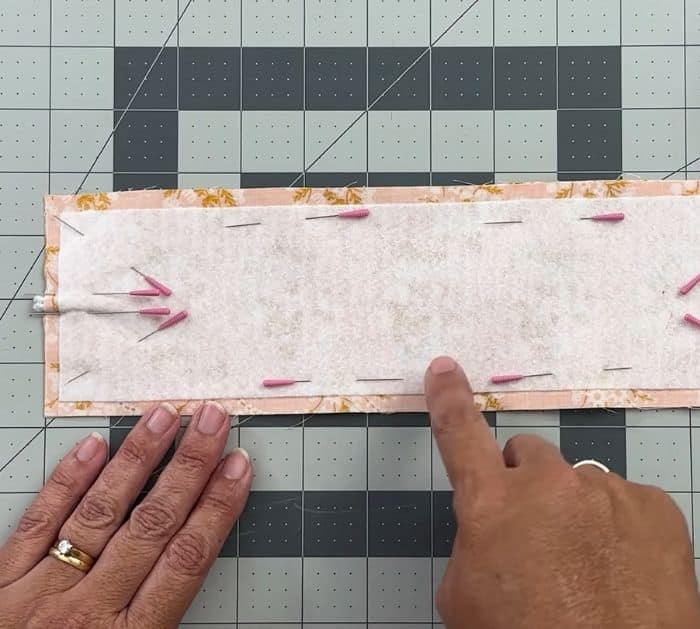
Place them on top of the other fabric, right sides together. Pin it in place.
Step 3:
Cut a 4-inch elastic. Fold it in half and line up the ends. Open the two pieces of fabric at the shorter end and place the folded elastic inside right in the center. The folded part should be inside and the ends should hang a little bit. Pin it in place.

Step 4:
Sew around the entire edge but leave an opening. Trim the corners and flip it right side out. Fix the corners.
Step 5:
Fold the opening, press with an iron, then sew it close.
Step 6:
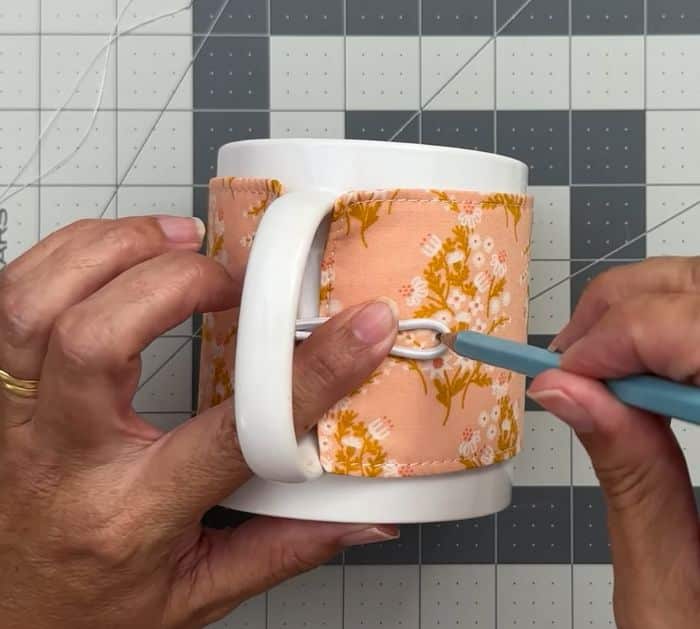
Wrap it around your mug. Pull the elastic so it’s firm but not too tight, then mark the inside end for the button. Sew the button on the mark.


