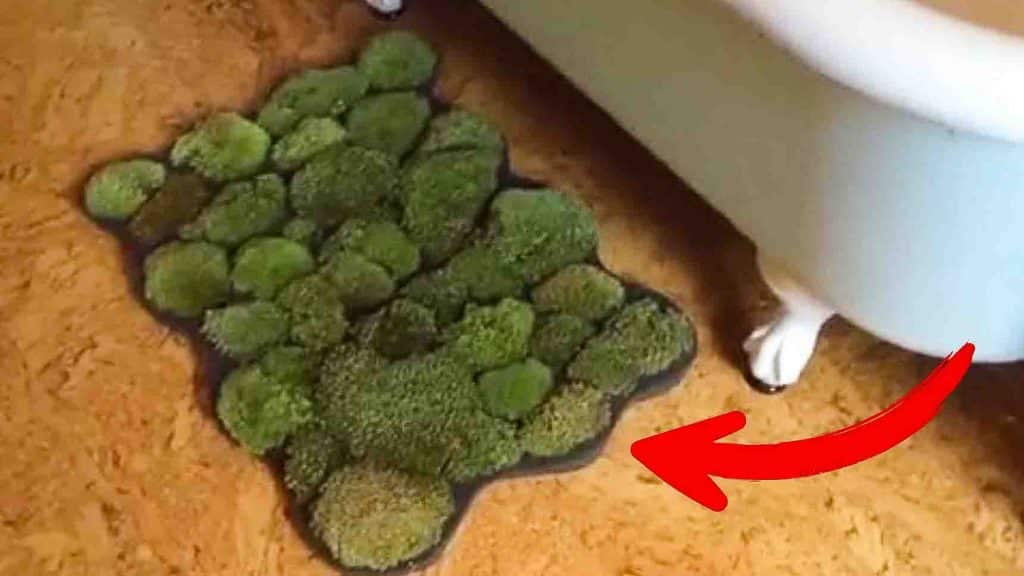
If you’re looking for a DIY activity for the weekend, try making this DIY moss bath mat from ThreadBanger on Youtube with your friends. I swear, this is one of my favorite DIY I made, and it’s my favorite thing in my bathroom! This moss bath mat is just so unique, and I love its texture. I’m sure you will have a great time making this bath mat, and you’ll fall in love with the end product. Watch the video tutorial below to learn the step by step instructions.
Materials:
- foam
- scissors
- cardboard
- marker
- cutter
- faux moss
- glue
- moss-tac
- hot glue gun
- spray bottle w/ water
Directions:
Step 1
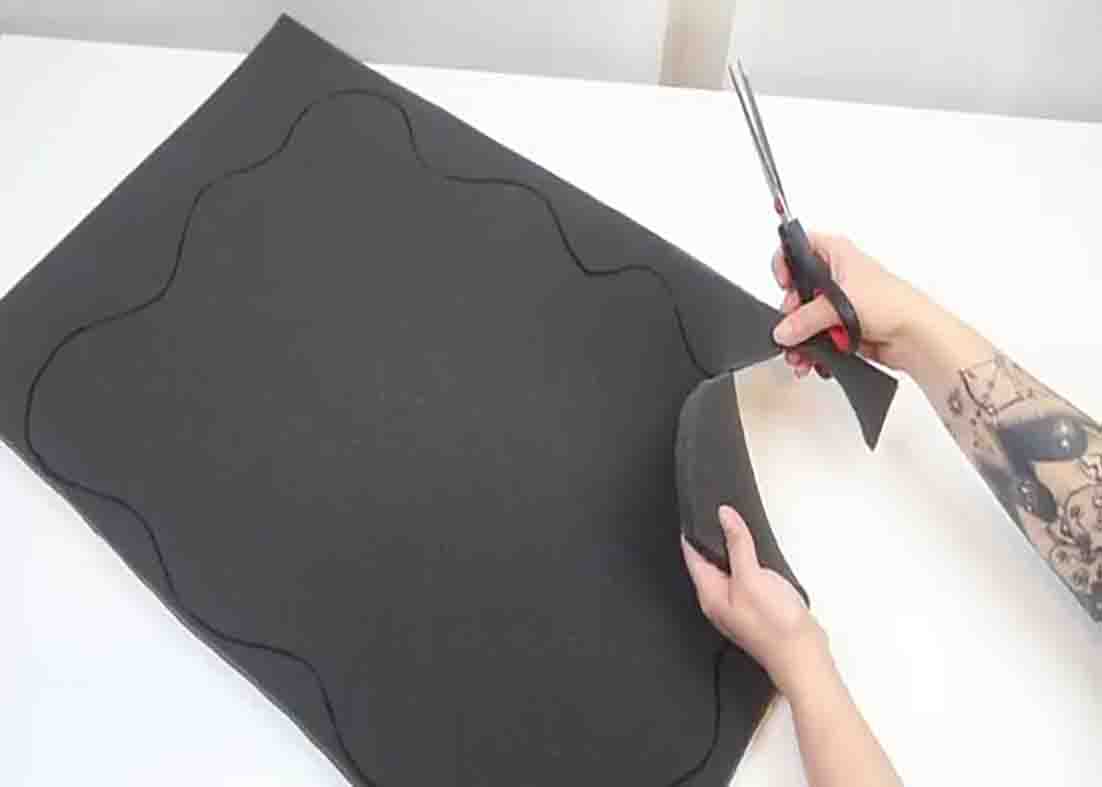
Drew a rough shape of what you like your mat to look like, then cut it out using a cutter. Next, trace two outlines onto the foam with your marker, then cut them out. Now, get your dried piece of moss, trace it to one of your foam, and cut it out. After cutting it, put the piece of moss on top of it so you’ll know what goes where when you’re ready to put the moss in the mat. Repeat these steps until you have all your moss pieces enough to build your mat.
[social_warfare]
Step 2
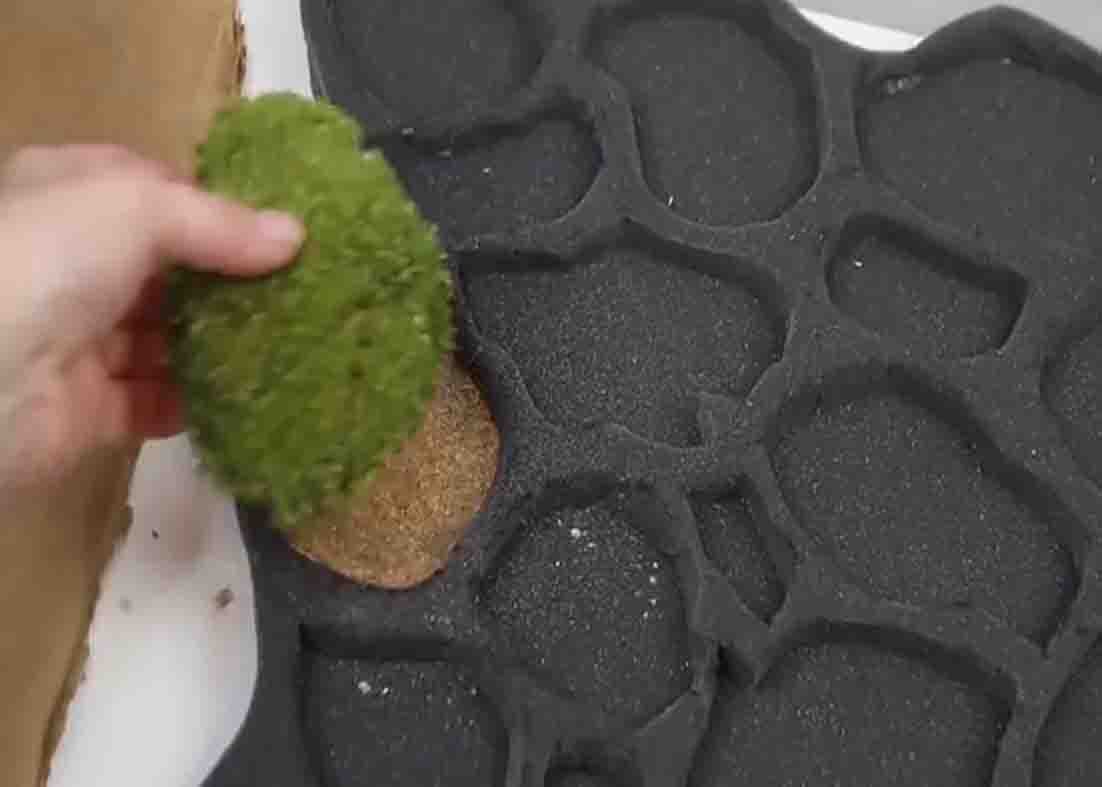
Next, attach the cut-out foam on top of the other piece of foam with glue. (After gluing, go around the edges with hot glue for added security.) Now, sprinkle a little bit of moss-tac into one of the sections, then take the corresponding piece of moss and submerge it for about ten seconds into a bucket of water. After this, spray a bit of water on the moss-tac, then press the moss piece down into that section. Repeat these steps until you finish placing all the moss pieces.
DIY Moss Bath Mat Tutorial