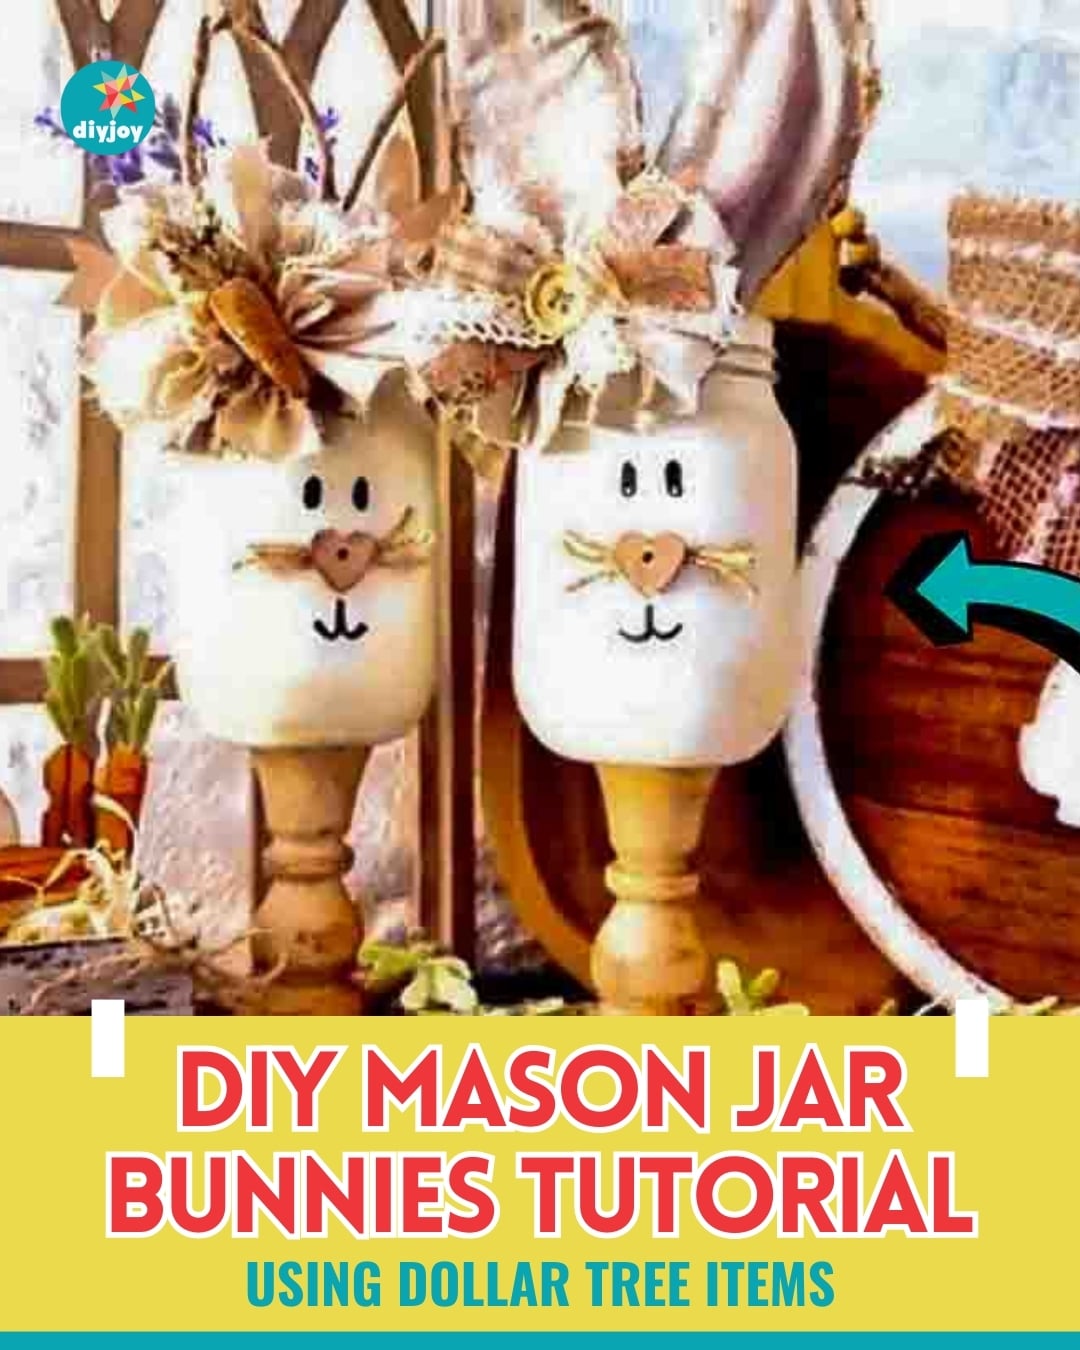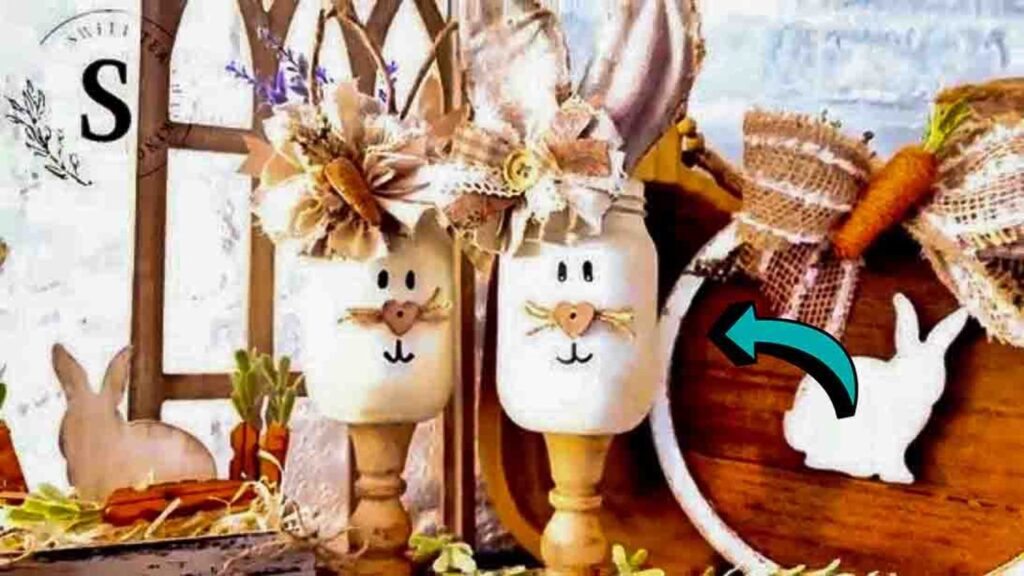
Transform your old mason jars into these whimsical Easter bunnies from Sweet Tea Chalking on YouTube for your Easter festivities! It’s the perfect DIY to make with your friends or family for Easter Sunday and will definitely add charm to your home.
RELATED: How To Make A Cute DIY Felt Easter Bunny
In this step by step tutorial, Sweet Tea Chalking will demonstrate how to make these bunnies with mason jars and a few simple crafting materials, all readily available in Dollar Tree. Whether you’re a seasoned crafter or a beginner in the world of DIY, this tutorial promises fun, creativity, and plenty of bunny-inspired joy. Let’s hop right in and bring some Easter magic into your home!
Materials:
- mason jars
- white chalk paint
- paintbrush
- jute twine
- scissors
- hot glue gun
- canvas fabric
- eyeshadow, for coloring
- marker
- button
- scrap fabrics
- 4″ candle holder
- E6000
Directions:
Step 1
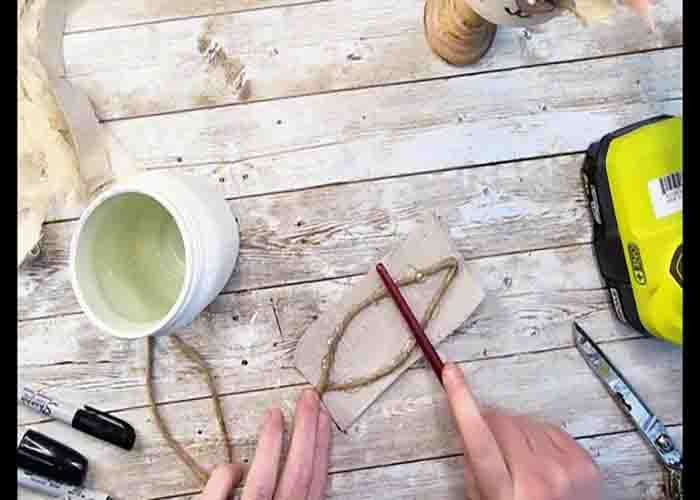
Paint the mason jar with white chalk paint and let it dry. Next, cut out two pieces of 10″ long jute twine, then shape each into an ear. Once done, apply hot glue to each side of the ear, then wrap it with a canvas fabric. Repeat this to the other ear. After this, cut out the excess fabric, then sand the edges to create some loose threads effect. Next, color the inner part of the ears with some pink eyeshadow. Now, attach the ears to the mason jar using hot glue and let it dry.
Step 2
While waiting, you can now start making the face of the bunny. Grab a tiny piece of the jute twine, and use it to create the whiskers. Next, add a button on the center of the whiskers for the nose, then draw the mouth and eyes using a marker. Stack many scrap fabric strips, tie them together to create a ribbon, and then glue it on top. Brush some antiquing wax onto a candle holder, then glue it at the bottom of the mason jar using E6000. Your mason jar bunny is now finished.

DIY Mason Jar Bunnies Tutorial