I love doing photo transfers, but they can involve a lot of rubbing, and that can be a little bit of a pain. I recently found this awesome DIY laser photo transfer to wood video tutorial by The Crafsman Steady Crafttin’, on YouTube, and it was so easy and did not require any rubbing. I was so excited and immediately had a ton of ideas bouncing around in my head of all the possibilities I could create with this fabulous new method. The best part about this easy project is that it works on painted wood and you can also paint a protective coating on it to use as an outdoor decoration.
Materials For Laser Photo Transfer With No Rubbing:
- A laser print (on laser printer paper)
- A piece of wood (I got a piece of sliced wood from Michae’s craft store, where used my 60% off coupon I found on their app)
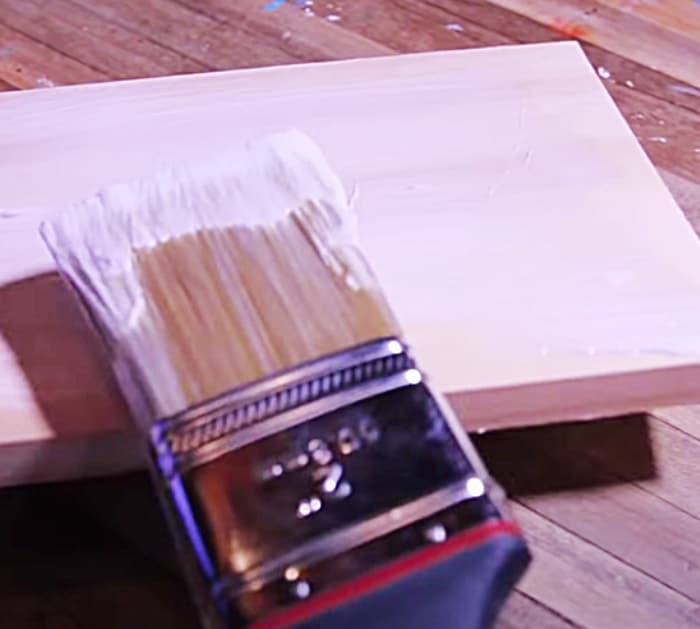
- A paintbrush
- Paper towels
- Liquitex Gel Medium ( Mod Podge or Polyurethane)
Directions:
In this awesome DIY laser photo transfer to wood video tutorial by The Crafsman Steady Crafttin’, on YouTube, you will learn how to make this smile art project in a few easy steps.
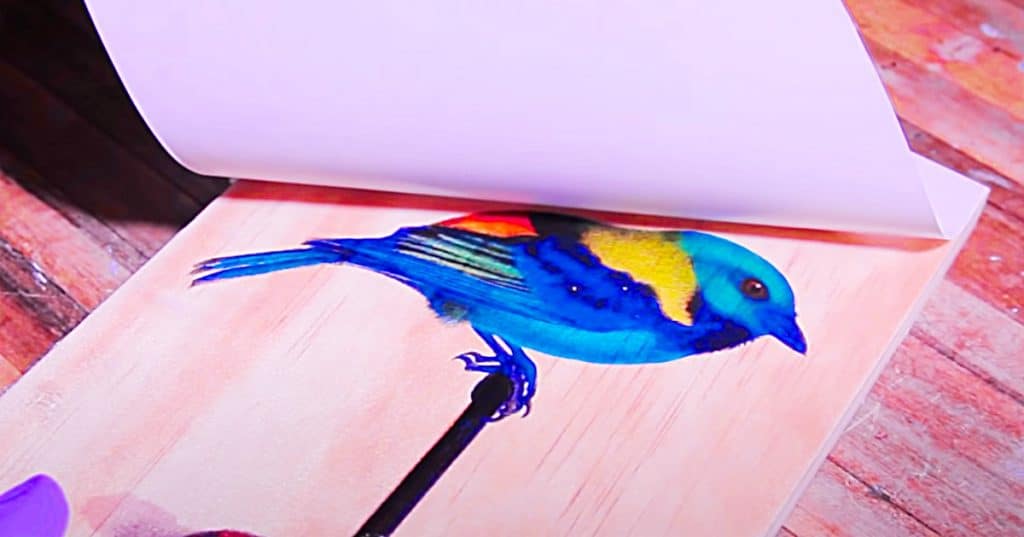
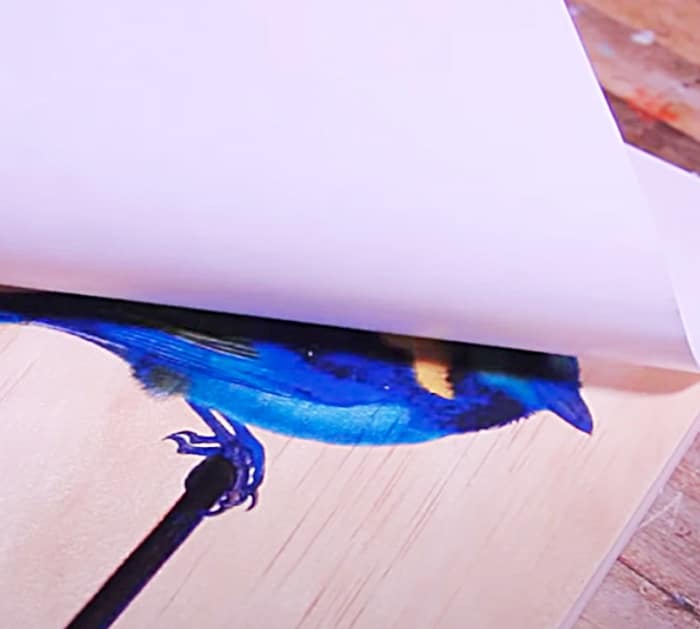
Then, you just place the photo face down and let dry, then gently peel back the paper. It is really that easy!
This is such a cute idea, I made a few that I used Acrylic coating on and I placed them outside on my new porch.
DIY Laser Photo Transfer To Wood With No Rubbing


