
Are you looking for an art activity to bond with your kids on the weekend? Try making this DIY ladybug family from T Art and Craft on Youtube. This DIY project only uses plastic bottles and simple art materials, which I’m sure are already in your home. They’re adorable, and your kids will absolutely love these ladybugs.
Materials:
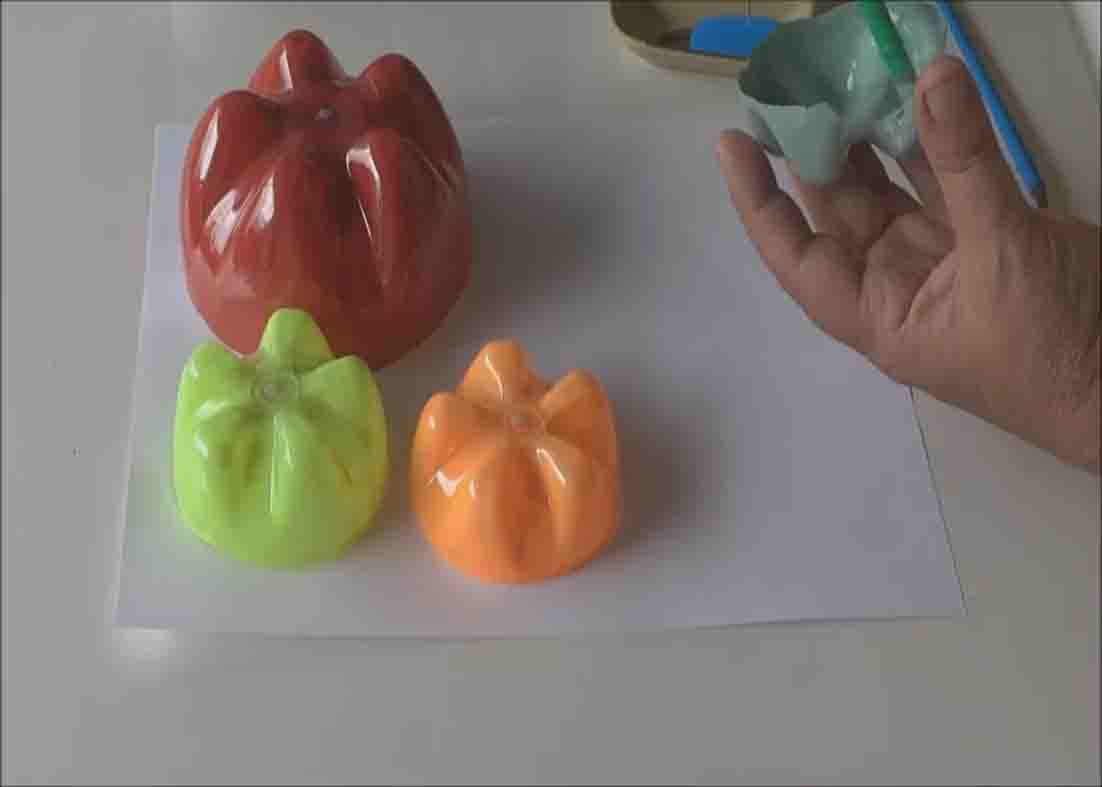
- different sizes of water bottles (only bottoms)
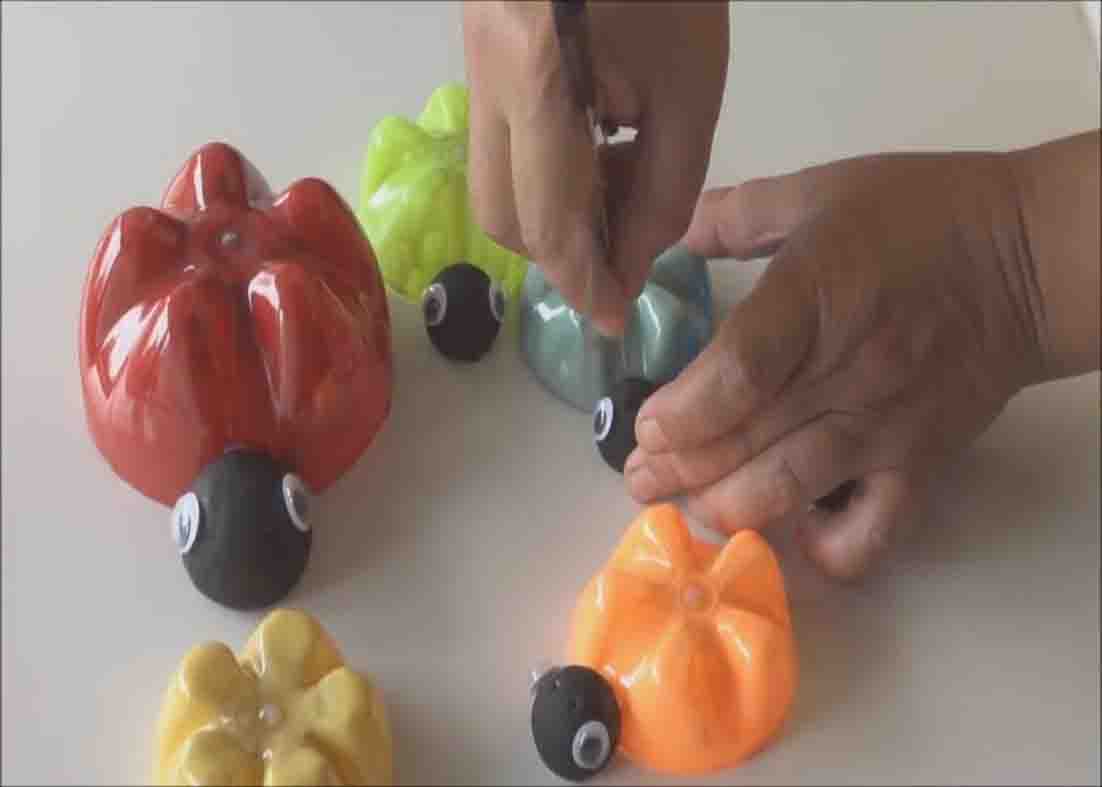
- styrofoam balls (for the head)
- plastic forks
- googly eyes
- hot glue
- acrylic paint (different colors)
Directions:
Step 1
Start by cutting the bottom part of the plastic bottles only. (Use different sizes) Next, paint each of your favorite colors using acrylic paint on the inside. Let them dry completely. While drying the paint, go ahead and make the head of each ladybug by cutting the styrofoam in half and painting them black. Leave them to dry also. Now, get your plastic forks and place the ends over a candle to bend it. Once it bent, go ahead and cut them.
[social_warfare]
Step 2
Glue the head to the body of the ladybug with hot glue, then glue the googly eyes. Poke two holes in each ladybug’s head and insert the antennae. To finish, paint black dots on the bodies of each ladybug.
DIY Ladybug Family from Plastic Bottles Tutorial


