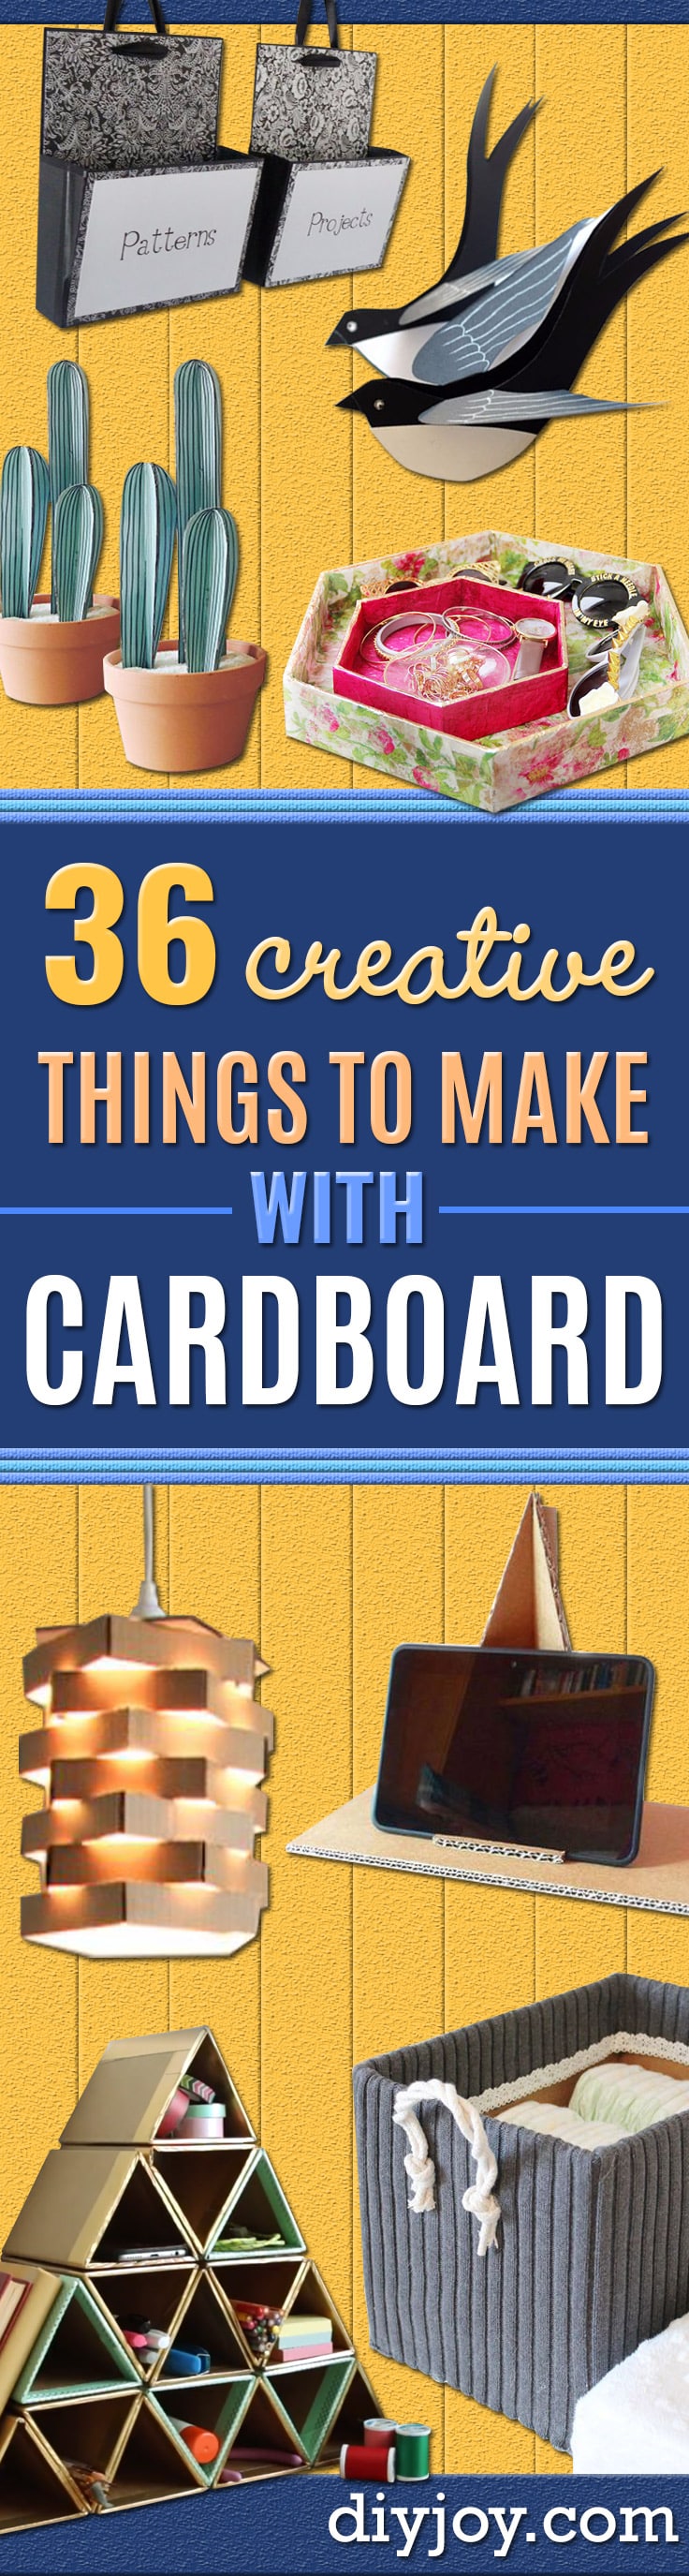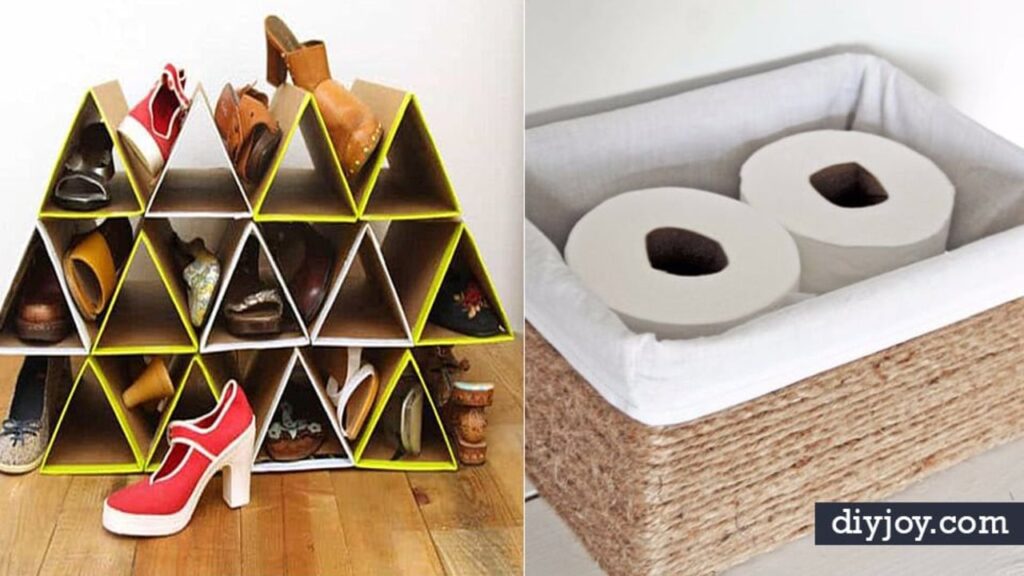
The best craft supply in your house is stacked flat against the garage wall waiting for recycling day. Cardboard is free, it is already in the shape of a box, and it cuts with a knife you own. Below are 19 things to make with cardboard, and the range on them is genuinely silly: a sweater-covered storage bin, a cat house with a pitched roof, a pom pom maker, a play tent that folds flat, drawer dividers that actually fit, and a skeeball ramp somebody built for a fourth birthday party. Most want a box cutter, glue and a free afternoon. A few want paint. None of them want a workshop, and every single one starts with something you were about to flatten.
1. DIY Decoupage Cardboard Trays
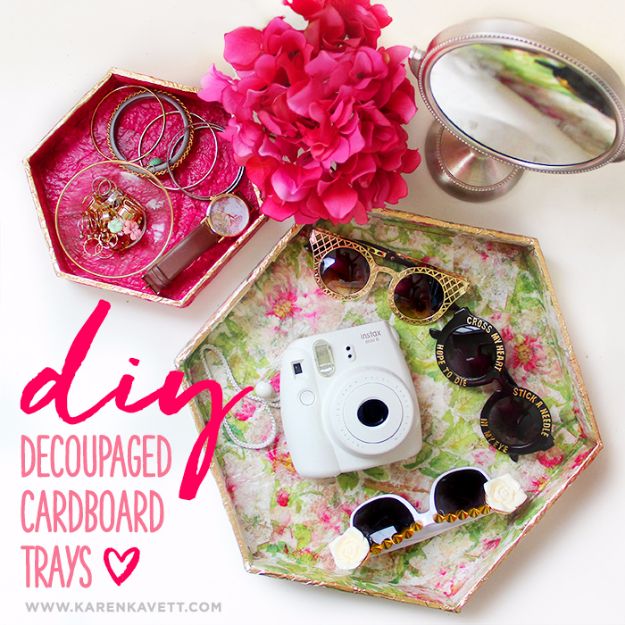
Hexagon trays cut from a shipping box, decoupaged with paper napkins and finished with gold gilding paint around the rim, which is the step that stops them reading as cardboard. There is one warning worth having before you start: Mod Podge turns the white areas of a napkin translucent, so the brown board shows through underneath. Paint the tray white first if your napkin design has pale ground in it. A solid color napkin does not have the problem at all. They stack, they nest, and they hold jewelry, sunglasses and the junk that lives on a dresser.
Get the full tutorial at Karen Kavett.
2. Cute Storage Boxes From Old Boxes
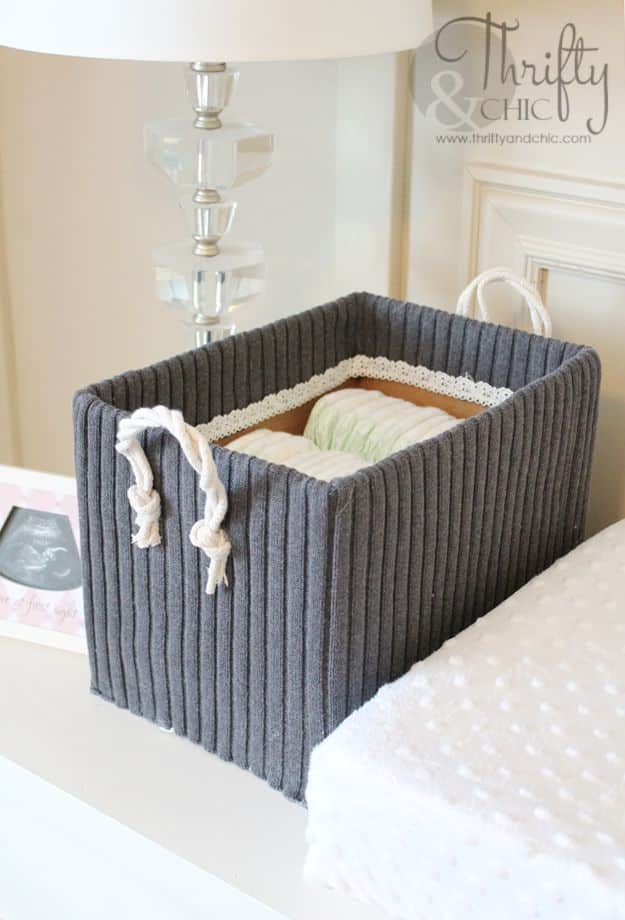
A diaper box and a sweater you stopped wearing, and the result passes for the fabric storage cubes that cost twenty dollars each. Cut the top flaps off with a craft knife, drop the box inside the sweater, mark about two inches above the rim and cut there, so there is enough to fold over into the box. Put the sweater’s own hem at the bottom, because it is already straight and it is the edge you will see. Hot glue all the way round, fold the top in, and cover the raw edge with ribbon. Rope handles, knotted and glued on, are decorative rather than load bearing.
Get the full tutorial at Thrifty and Chic.
3. DIY Cardboard Pie Box
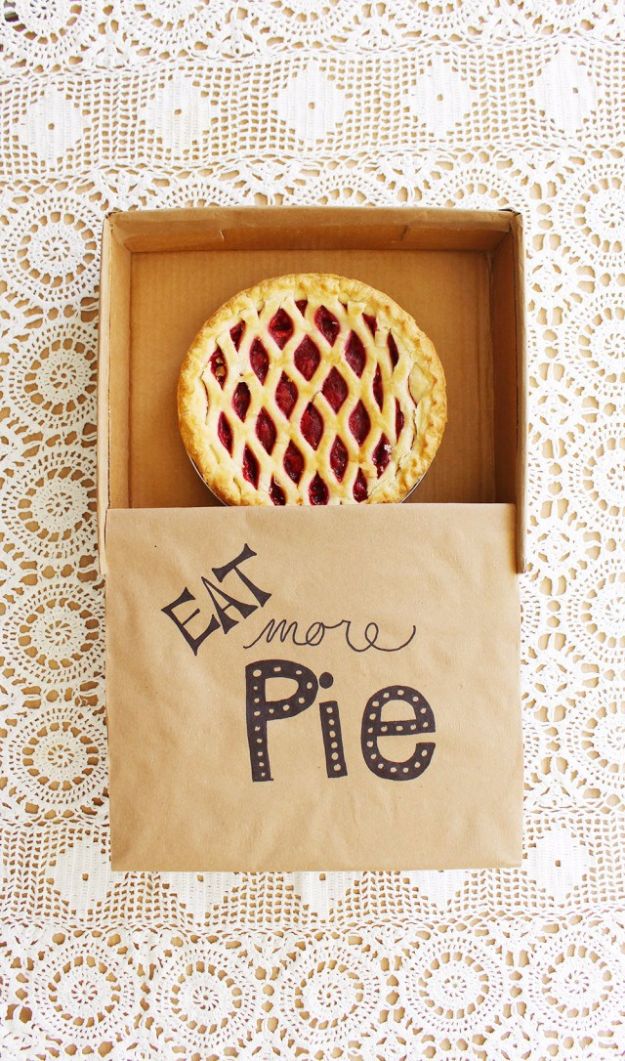
A shallow box sized to a pie plate, with a kraft paper sleeve hand lettered across the front, and it solves the problem every host has in November: getting the pie there, and getting the leftovers home with somebody else. The photograph shows a lattice topped pie sitting in an open kraft box on a lace cloth, sleeve reading EAT more Pie. Bakery boxes are cheap enough to buy, but they are also plain, and a box you lettered yourself is a gift on its own. Sturdy board and a flat bottom are the only two things that genuinely matter here.
Get the full tutorial at A Joyful Riot.
4. DIY Cardboard Owls
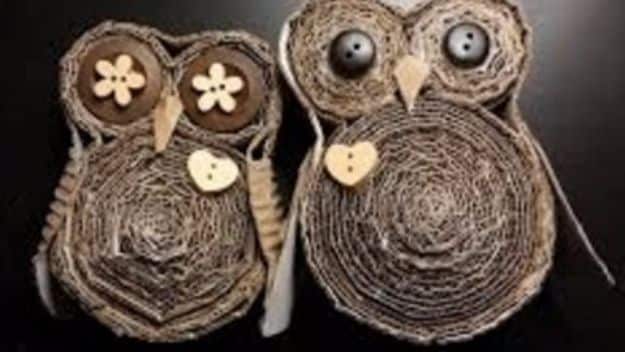
Two owls built from long strips of corrugated cardboard coiled into flat spirals, with buttons for eyes and a triangle of board for the beak. The trick is that the corrugation shows when you coil a strip on edge, so the finished bird has a ribbed texture running through it that looks nothing like a box. Bigger coils for the body, smaller ones for the eyes and wings, and the whole thing goes together with glue and patience rather than skill. Peel the top layer off the cardboard first if you want the corrugation exposed and more obviously textured.
Get the full tutorial at DIY Joy.
5. DIY Belt Strap Bins

A cardboard box lined and wrapped in utility fabric, with handles cut from thrifted leather belts and fixed on with binding screws through the existing buckle holes. Two details are worth stealing. Fold the box top down inside itself rather than cutting it off, because the doubled rim is what lets the bin take a handle without tearing. And spray the adhesive in small sections, not all at once, so you can keep the fabric straight as you go. Cut a rectangle out of each corner before you fold the excess in, exactly like wrapping a present, and clip it with clothespins while it dries.
Get the full tutorial at Iron and Twine.
6. Vintage Kitty Camper Out Of Cardboard Boxes
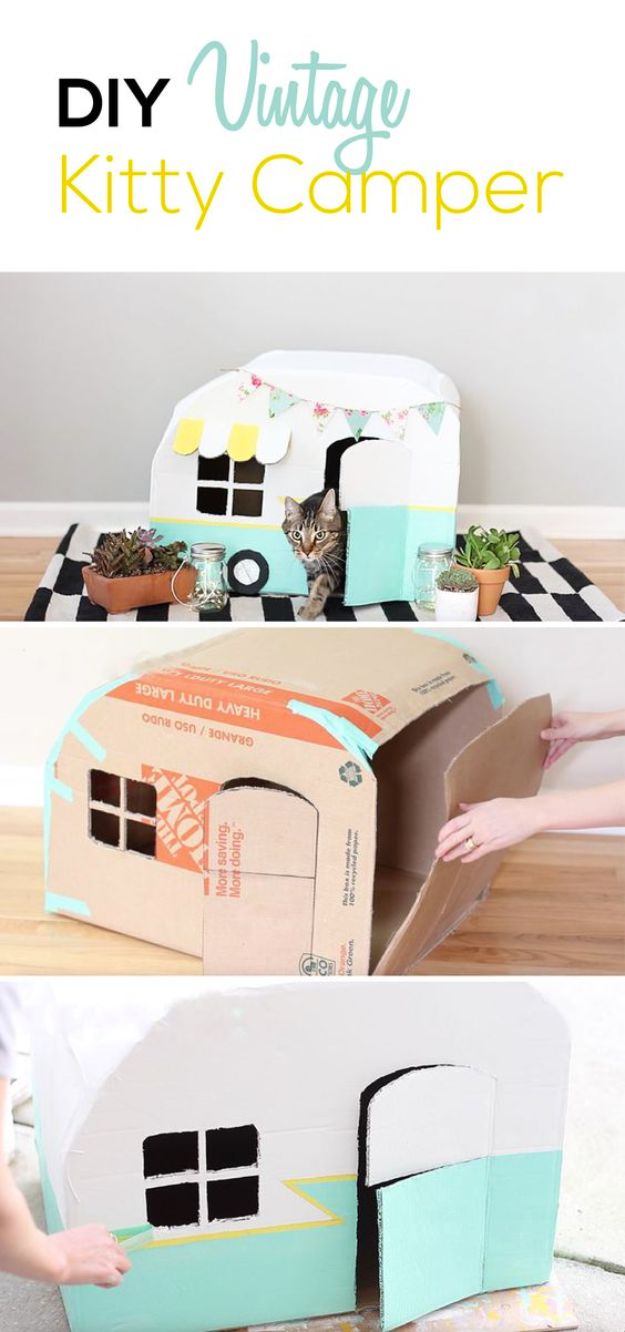
Two boxes become a little caravan with a curved roof, a Dutch door and a round window, and if you own a cat you already know it will be occupied within four minutes. Draw the camper shape on poster board first and trace it onto the flattened box, then slide a scrap board inside before cutting so the knife does not go through both walls. The second box gets broken down for the side walls, bent to follow the curve of the roof. Wheel and awning are traced around a mug, painted and hot glued on. Leave one long side of the door uncut so it stays hinged.
Get the full tutorial at Cuteness.
7. Rope Basket With a Sewn Fabric Liner
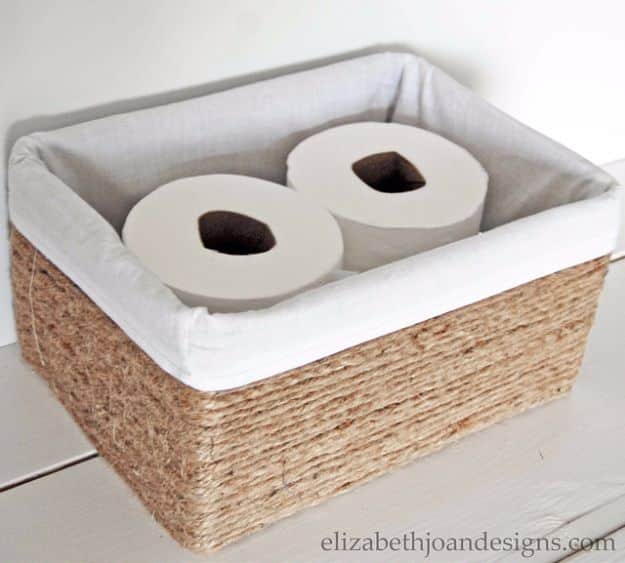
A box wrapped in jute rope with a sewn fabric liner folded over the rim, and the liner is the half that turns it from a covered box into something that looks bought. It is a straightforward four sided liner plus a base, and the awkward part is honestly the arithmetic: measure all four sides and the bottom, add an inch to everything for a half inch seam allowance, then add another two inches to the height so it can flop over the edge. Cheap muslin keeps the cost near nothing. There is a no sew route using iron-on hem adhesive instead of a machine.
Get the full tutorial at Elizabeth Joan Designs.
8. Make Drawer Dividers
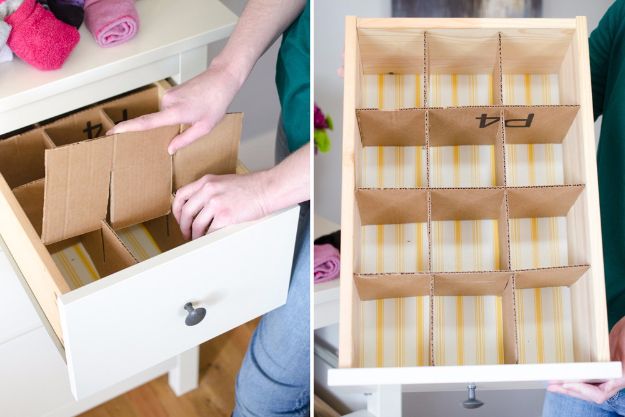
Slotted cardboard dividers cut to your own drawer, which is the entire point, because the plastic ones in the shop are never the right size for the drawer you actually own. Measure the drawer and mark out two sets of pieces, one running the width and one the length. Then cut the slots before you cut the pieces out, about four inches down into each section, since a slot is far easier to cut while the board is still part of a big sheet. Slide the two sets together at the slots and drop the grid in. No glue anywhere.
Get the full tutorial at The Krazy Coupon Lady.
9. DIY Cardboard Pom Pom Maker

A rectangle of thick cardboard with a slit cut down the middle, and it makes better pom poms faster than the plastic gadget you already bought and could not figure out. Cut three sizes while you are at it. Wrap yarn around the arms until the bundle is properly fat, tie it tight through the slit in the middle, slide it off the end, turn it over and tie again even tighter on the other side. Then cut the loops. It comes off looking like a shaggy disaster, and the trimming is the whole secret to a round one.
Get the full tutorial at The Craft Train.
10. DIY Cardboard Easel

An A-frame easel made from one large box in about ten minutes, which is the right answer when you want four children painting at once and have no intention of buying four easels. Cut the top and bottom flaps off, then cut down two of the four corners, and you are left with two hinged panels that stand like a tent. A long strip of duct tape folded back on itself runs between the legs as a stay, held with sticky velcro so it comes undone for storage. Tape the feet to the table, because they are light enough to walk.
Get the full tutorial at ARTBAR.
11. Hanging File Boxes Repurposed from Cardboard Crates
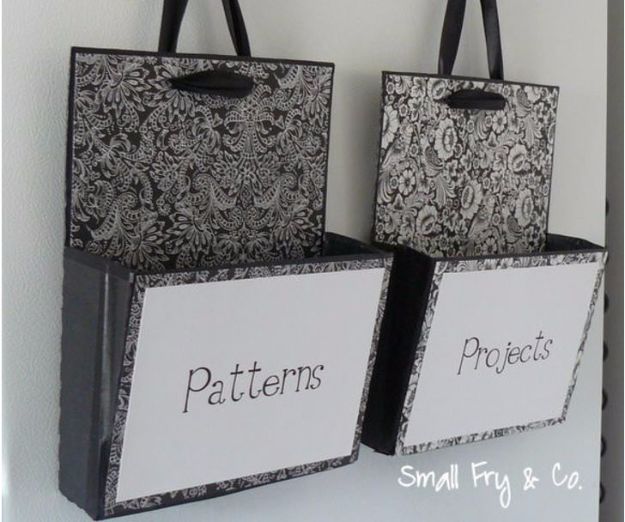
Two food storage crates per file box, one nesting inside the other, cut at an angle so the front slopes away and you can see the files. Find genuinely matching crates first, because these are not all the same size and a mismatched pair will not seat. The inner box gets cut about six and a half inches from the end that sits inside; the outer one loses the sides above that line and the whole top, leaving a flat back. Spray paint both, glue them together, then run black masking tape along every cut edge. That taping step is what makes it look finished.
Get the full tutorial at Small Fry and Co.
12. Black Cardboard Swallow

Flat black swallows with a forked tail and a pale grey wing detail, cut from a printed template and slotted together so they sit three dimensional rather than flat against a wall. Anywhere you hang them, in a stairwell or over a mantel, the silhouette does the work and nobody is going to guess the material. Print the template onto the plain side of a cereal box and paint them, or print onto black card and skip the paint entirely. Vary the heights when you hang them so the group reads as a flock in motion and not as a row of birds.
Get the full tutorial at Krokotak.
13. DIY Cardboard Letter with Découpage

A freestanding letter built from two cereal boxes, paper mached solid and then decoupaged with photographs, which in the photograph here means a capital E covered in pictures of rabbits sitting beside an actual toy rabbit. Mix the paste from equal parts flour and water until it runs like pancake batter, tear the newspaper into one to two inch strips and lay them on in a criss cross. Then the part everybody rushes: let each layer dry completely, a full day, or it grows mold inside. Sand it, paint it, and Mod Podge the photos on, sealing the edges as you go.
Get the full tutorial at Attention to Balance.
14. Collapsible Cardboard Tent

A painted A-frame play tent that folds flat against a wall when nobody is in it, built from a TV moving box and a couple of sheets of craft paper. The clever move is cutting the box straight through its midsection so the whole thing opens and closes on that seam, and trimming the bottoms of the legs level so it does not rock. Windows are rectangles cut in each side and backed with painted craft paper, so make sure each window is narrower than your paper. Tape the edges with duct tape and trim them with a craft knife for a clean line.
Get the full tutorial at Handmade Charlotte.
15. DIY Cardboard Cat House

A peaked roof cat house painted like a cottage, and the build is far simpler than the result looks. Start with a box roughly twenty to twenty-four inches across, big enough for your cat to turn around inside. Cut the two flaps off the longest side with a utility knife and a metal ruler, then cut the two flaps that are left into triangles to make the roof peak. A separate sheet of cardboard folded down the middle becomes the roof, and it wants a couple of inches of overhang on every side. Hot glue it on, cut the door and windows, then paint.
Get the full tutorial at Happiness is Homemade.
16. Recycle Cardboard Boxes into Pretty Storage Boxes with Editable Labels

Shipping boxes covered in patterned gift wrap with oval labels on the front, and the labels are the part that makes a shelf of mismatched boxes read as a set. Unfold the box completely and cut the paper against it; wrap with a one inch grid printed on the back measures itself. Spray the adhesive onto the box rather than the paper, then lay it down in stages, lid first, folding each section before you press the next one flat. Stick the whole thing down at once and it tears apart the moment you fold the box back into shape. Blot an ink pad along the edges to finish.
Get the full tutorial at Catch My Party.
17. Cardboard Skeeball

A nearly life size skeeball ramp built from cardboard and hot glue for a fourth birthday party, with the target rings at the top and rows of little lights running up both sides that are actually water balloons. The detail that makes it play properly is the bump at the top of the ramp; without that rise, the ball rolls up and stops instead of hopping into a hole. Worth knowing before you click through: the page is a proud show and tell with photographs rather than a step by step, so you are reverse engineering from pictures.
Get the full tutorial at My Beau Baby.
18. Cardboard Conversation Hearts
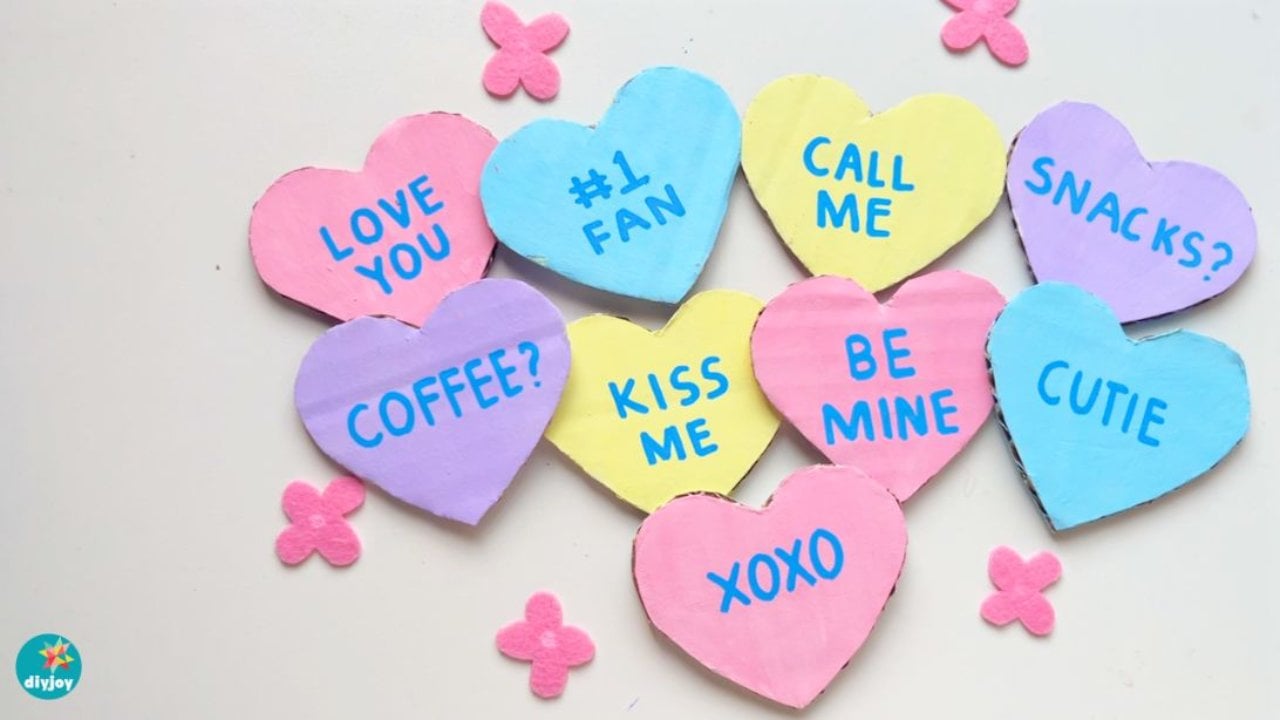
Big pastel conversation hearts cut from a shipping box, painted and strung on yarn, with the messages written on in marker. The trick is the white coat: paint each heart white first, let it dry, then lay the pastel over the top, because pastel straight onto kraft brown goes muddy and dull no matter how many coats you pile on. Write the sayings after the color is fully dry. Alphabet stickers work if you would rather not trust your own handwriting, and a strip of lace or ribbon glued round the edge hides the raw cardboard cut.
Get the full tutorial at DIY Joy.
19. Turn Empty Rolls into a Heart Garland
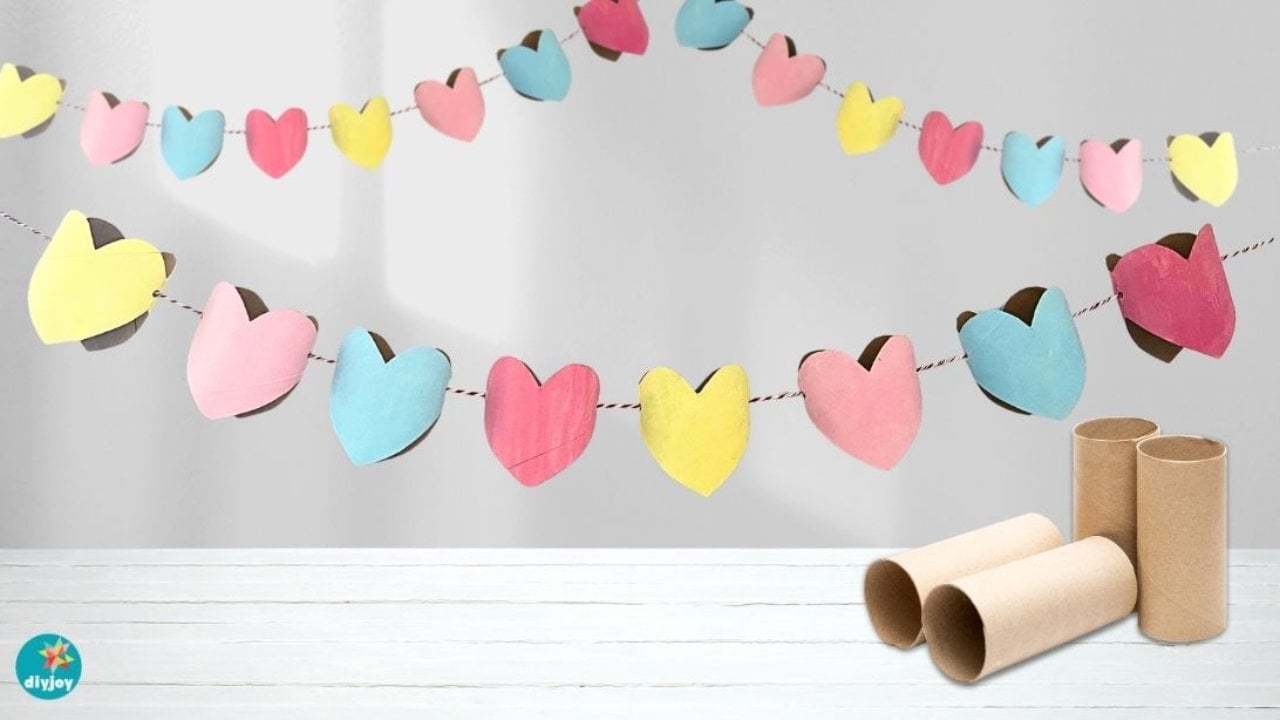
Empty toilet roll tubes flattened, traced round a heart pattern and cut, then painted and threaded onto twine. Flattening the tube is what gives you the heart shape almost for free, because a squashed roll already has two round lobes and a point. Paint both sides white first and let it dry completely, then go over with your color. Make the holes with something pointed before you thread, one on each side of every heart, and the garland hangs flat instead of twisting. Scissors, paint and string, and the material cost is genuinely zero.
Get the full tutorial at DIY Joy.