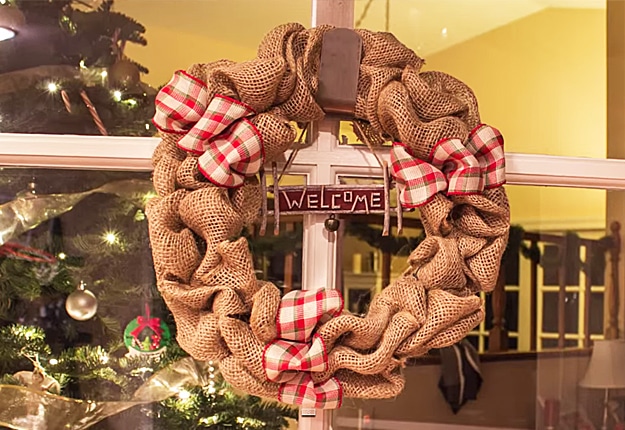
Learn how to make a burlap wreath with this 2 minute DIY video tutorial! My front door went from drab to shabby chic in a snap with this adorable burlap wreath. This easy DIY country craft perfectly pairs with all your other rustic home decor. I like to dress mine up a bit for each season, adding little ornaments when putting up my Christmas decor and embellishing with pastel ribbons to contribute to Easter decor.
To make the basic wreath, use these easy step by step instructions and short list of supplies to make this easy DIY outdoor decor. If you’re looking for the perfect home decor DIY project for beginners, it doesn’t get much easier than learning how to make a wreath with burlap.
How to Make a Burlap Wreath
Supplies:
- Wreath Frame
- Burlap Ribbon
- Wire
Instructions:
Step 1
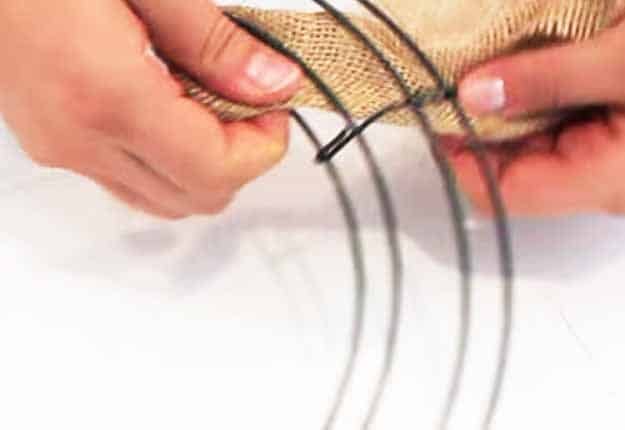
Take the burlap ribbon and fold it into quarters and securely attach it into the first ring of the wreath frame.
Step 2
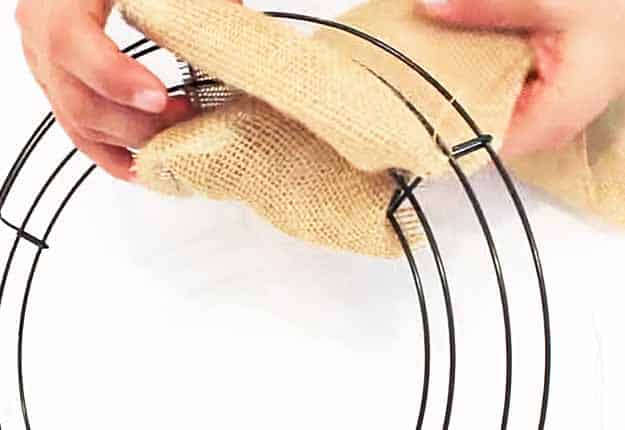
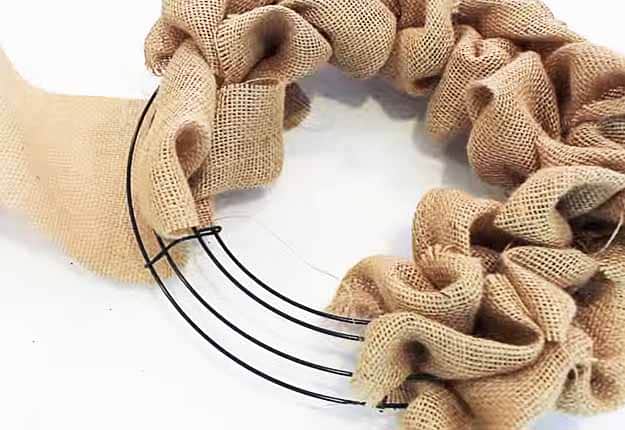
Take the first bit of the burlap and push it through the first portion of the wire frame. Continue this for the second and the third ring.
Step 3
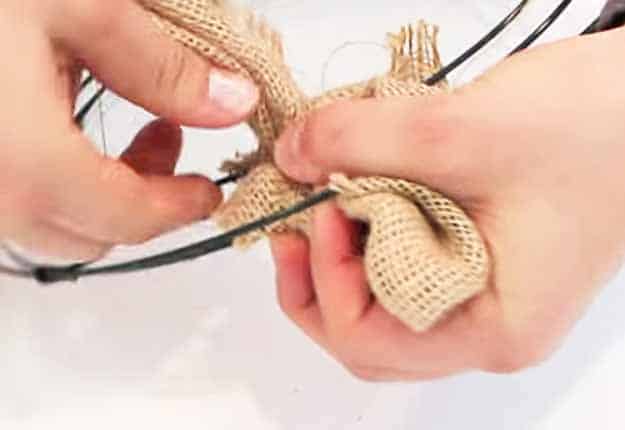
Once completed, you will then do the twist. Bunch up those three rings, turn over the wreath frame and twist the back part and hold that twist tightly.
Step 4
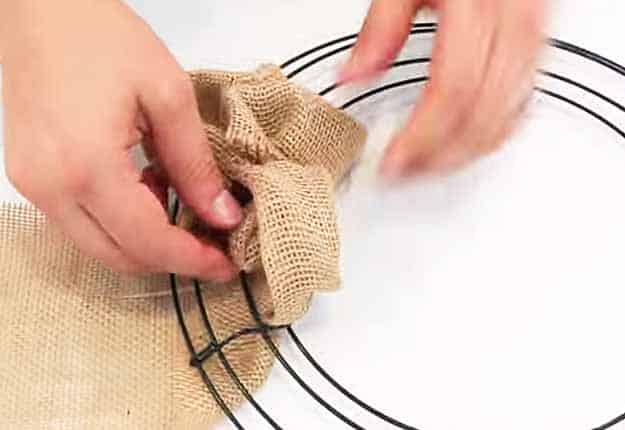
You will then take the burlap and push it through the first ring again. Do the second and the third ring again.
Step 5
After three loops, you need to turn the frame over and twist the back and continue with the loops through the first ring again. Continue all the way through the wreath until you get all the way to the end.
Step 6
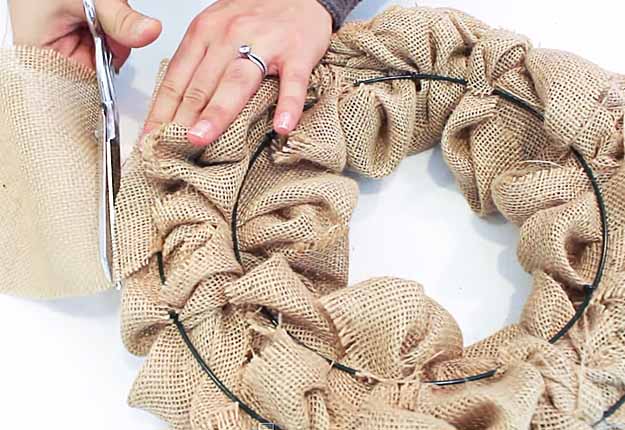
Once done, cut off the remaining portion of the burlap and fold part of the burlap and securely fasten it to the wire frame.
And your Burlap Wreath is done!

Add your own adornments to dress up your wreath seasonally, or just to fit your other home decor. I’ve used ribbons, fake flowers and berries, and during Christmas I’ll even add a couple of ornaments to add to the holiday decor.
Tell us your favorite embellishments and any tips on how to make a burlap wreath you have in the comments section below!

