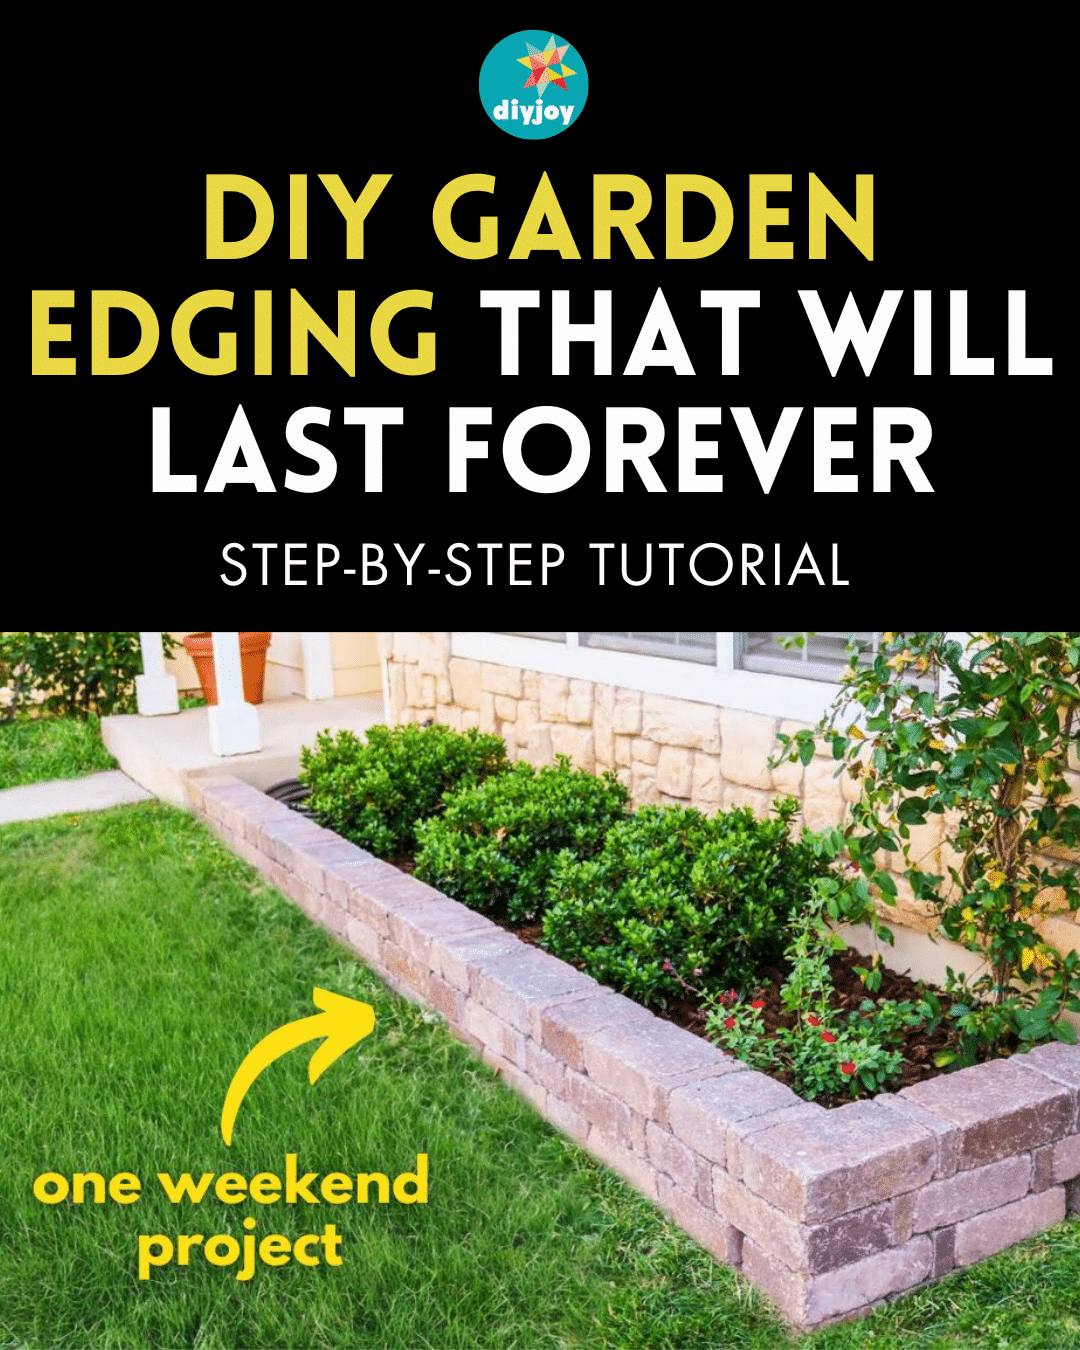
Have you ever thought of upgrading your garden? Add garden edging! It enhances the visual appeal and can even increase the value of your home. You don’t need any special equipment for this DIY garden edging, just basic tools and simple materials. Handyman Startup will teach you the step-by-step process of making this simple yet effective border that will last for years.
RELATED: DIY Tabletop Indoor Garden Using Small Clay Pots
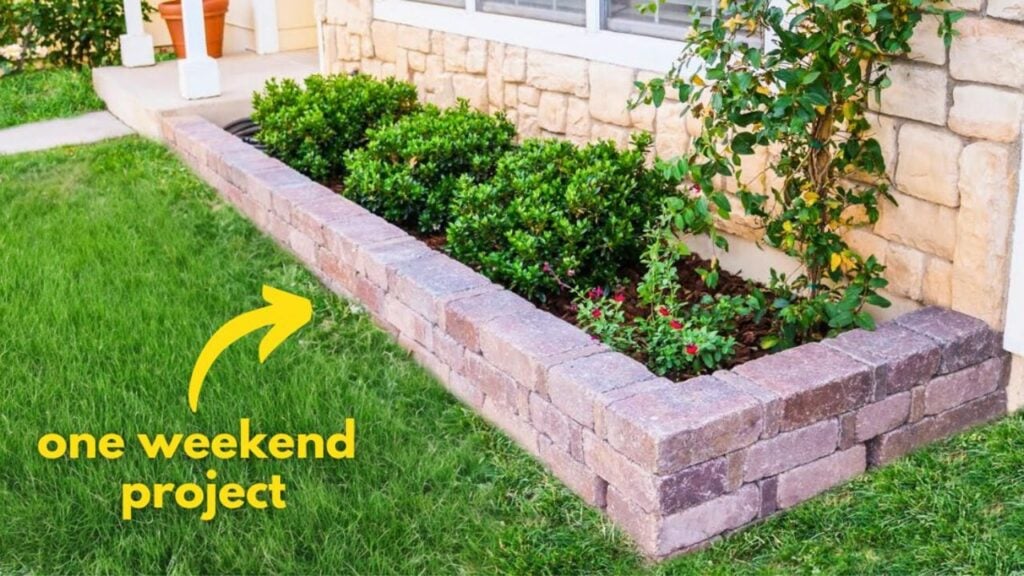
This project is very easy, and you can finish it in just one weekend. You can also use the same process in making a retaining wall-raised garden bed. Just make sure to tamp the soil well and level each layer properly so it won’t warp and tip over. Take your time when layering the blocks!
For more DIY garden projects, check these out: How to Make a Brick Raised Garden Planter, Easy DIY Upcycled Glassware Garden Flower Tutorial,DIY Vanishing Waterfalls Planter Pot Fountain
What You Need to Make a Garden Edging
- level string line
- hammer
- stakes
- gravel base
- 3/4 inch gravel
- constructions adhesive
How to Make Garden Edging
Step 1:
Start by hammering stakes where you want the front edge of the wall to line up. Position the string where you want the top of the wall to be then pull it tight. Use a line level to get the string perfectly level. Later, this string line will be used as a guide.
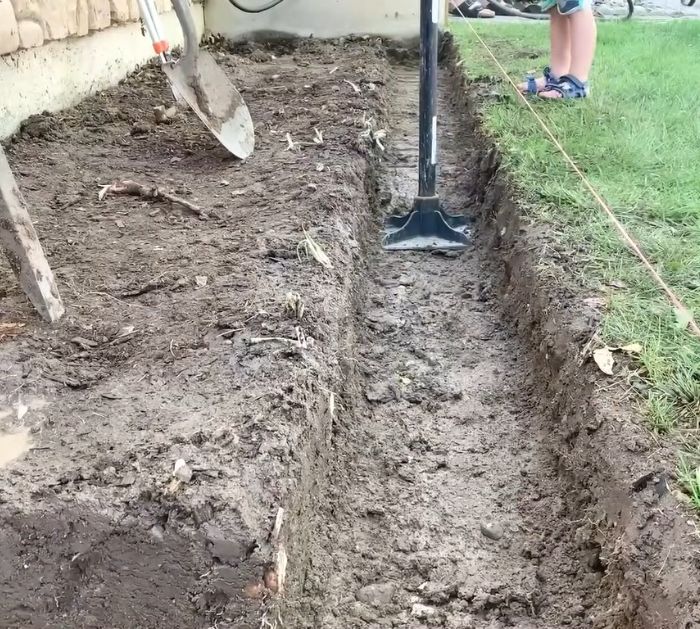
Step 2:
Wet the ground and start digging. You want your trench to be as twice as wide as the blocks you are using. However, if your garden wall only retains a few inches of soil, you can make the gravel base a couple of inches wider than the blocks on each side. For the depth of the trench, you want to shoot for at least 6 inches below ground level. That will allow you a 4-inch gravel base and to bury the first block by at least 2 inches. Use the string line as a guide.
Step 3:
Pack down the soil using a hand tamper.
Step 4:
Add the gravel base to make a 2 inch layer. Tamp each layer down with a hand tamper. You want it to be damp so it compacts really well. Get the gravel base as leveled as you can. Tamp it down well.
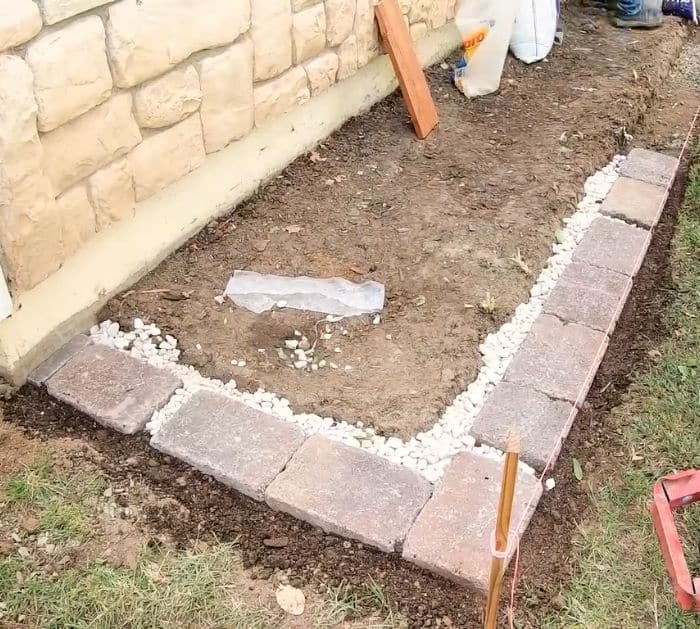
Step 5:
Place one block at the end of the wall. Position using the string line so your walls are nice and straight. As you lay each block, you need to level it and use a rubber mallet to set in place. Having a bag of leveling sand can make the process easier. You want the top of the blocks to be flat and lined up with each other.
Step 6:
Remove a block every couple of feet and add 3/4 inch gravel to act as drainage. Add dirt in front of the wall and pack it down using a scrap piece of wood.
Step 7:
Add the second row of blocks, making sure you stagger the joints. Remove each block making sure to keep them in order, then add construction adhesive to each block and press down firmly to lock the blocks together. Leave some drainage on this row. Repeat the same process for the next rows.
Ultimate DIY Garden Edging That Will Last Forever