This beautiful DIY Fall wreath home decor by The DIY Cottage is the perfect front door design for this season! I love how vibrant the colors are, how full the leaves and flowers look, and of course the thankful sign in the middle. It’s very easy to make – just follow these simple steps. I am certain everyone will compliment this lovely project. Watch the video below for the full instructions and tips.
Materials:
- 18″ grapevine wreath
- various orange florals
- various fall leaves
- various berries
- pliers or wire cutters
- pair of scissors
- hot glue
- pine cones
- small pumpkin decor
- florist wire
- thankful sign (or any wooden sign that fits the fall season)
[social_warfare buttons=”Facebook,Pinterest,Twitter,WhatsApp”]
Instructions:
Step 1:
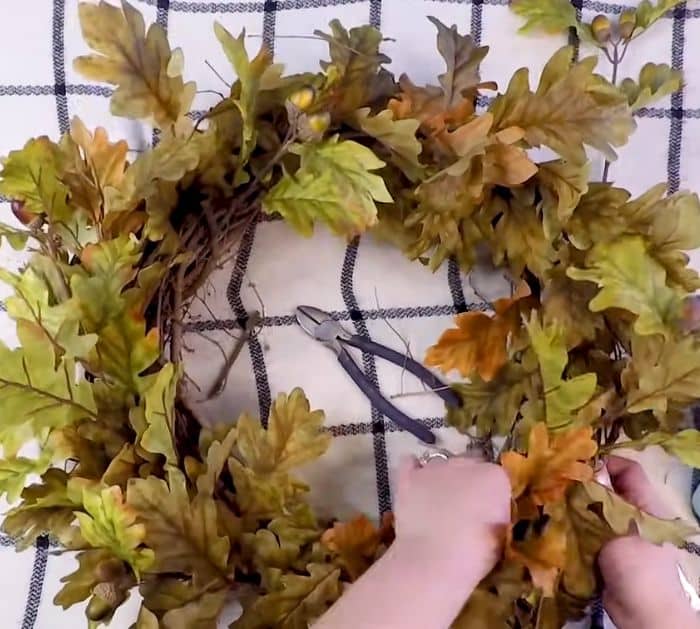
Start by tearing the stems of the florals, leaves, and berries apart using wire cutters. Leave the stems as long as you possibly can so you have more leeway to adjust them or you can still reuse them in a different project.
Step 2:
First, tuck the leaves in the grapevine wreath. Make sure all of them are going in the same direction. You can use hot glue if some of the branches are loose and you can’t tuck them in. It’s better to fill it all up around with the leaves first. You can also glue some of the leaves on the wreath to cover some of the areas.

Step 3:
Lay the flowers and tuck them in the same direction as the leaves. You can also cut the stems and just glue the flowers to make them look fuller.
Step 4:
Tuck the berries to the sides behind the leaves and florals. But make sure you can still see them.

Step 5:
Glue a few pine cones around the wreath then use the florist wires to reinforce them. Then add the small pumpkins using hot glue.
Step 6:
Lastly, attach your sign using the florist wires.


