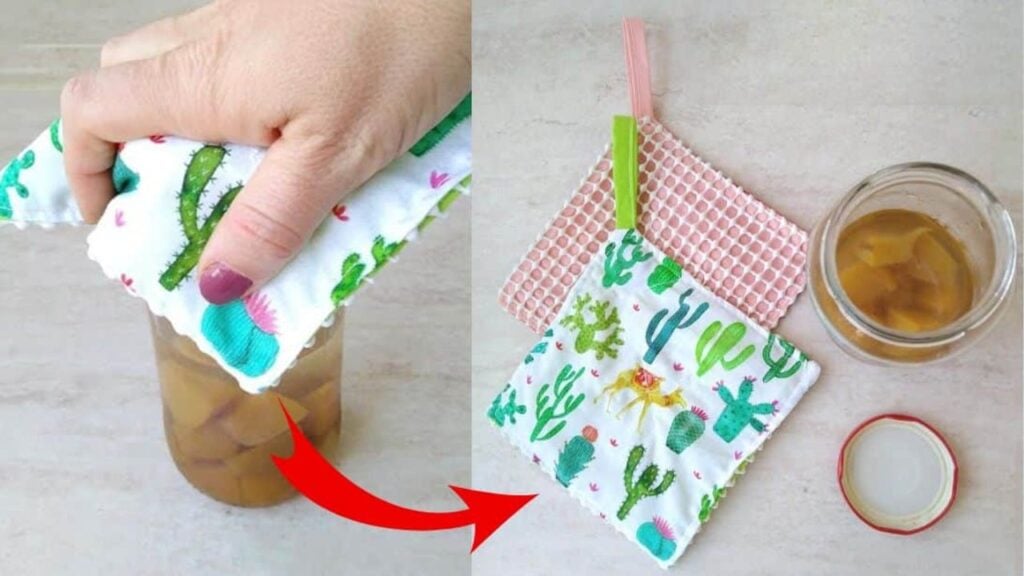
Having a hard time opening jars and don’t want to trouble anyone for help, then you might find this fabric opener handy! This fun and very useful sewing project by Hello Sewing on YouTube is so easy, simple, and quick to make. Try it out now and see for yourself.
Materials:
- 2 pieces of cotton fabric at 7 x 7″
- 7″ long ribbon or 7×1.75″ of the same fabric, for the loop
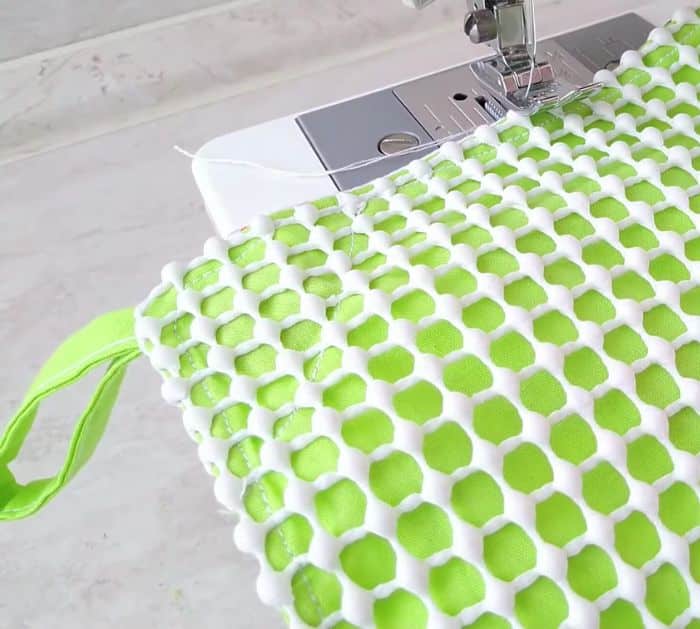
- 7×7″ rubber shelf liner or non-slip carpet pad
- Magnet, optional
- Matching thread
- Scissors or rotary cutter and a cutting mat
- Ruler or measuring tape
- Sewing machine
Directions:
Step 1
Cut 2 pieces of cotton fabric and 1 piece of rubber shelf liner or non-slip carpet pad into about 7 by 7 inches square, then cut a piece of fabric into a 7 by 1.75 inches strip for the loop. Start by making the handle, get the strip, then fold it in half lengthwise, and press with an iron. Open the fabric strip, then fold both edges towards the middle crease matching their ends, and press it again. Now, fold it in half once more, then press, and sew it together on the long side. Lay one square fabric with its right side facing up, then place the rubber piece on top with its right sides facing down, and align the edges. Fold the fabric strip down in half, then place it on the corner and above the rubber piece. Place the other cotton fabric on top with its right side facing down, then pin or clip them around in place, and start sewing all around the edges with a ¼-inch seam allowance making sure to stitch at an angle right at the corner where the looped fabric strip is placed and leave a gap for turning later.
[social_warfare]
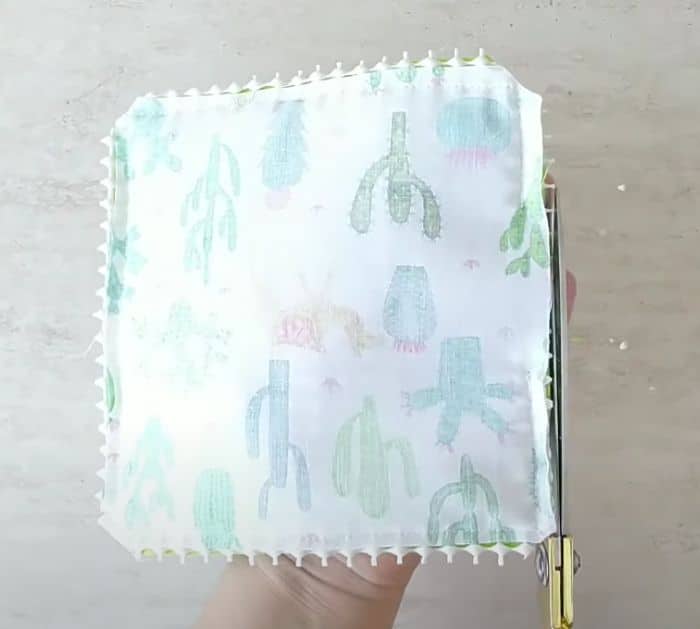
Step 2
Trim off all the corners as well as the bulk of the seam allowance, then turn it right side out through the gap, and poke the corners nicely. Press it well with an iron making sure to use a piece of ironing paper or cloth on top to not shrink or burn the rubber piece. Put the magnet through the opening, then stitch all around the edges making sure to sew at an angle once you reached the area where the looped fabric strip is and that the edges of the opening are tucked in nicely. Push the magnet all the way to the corner where the strap is, then stitch across just below the magnet to secure it in place. To ensure that the layers don’t shift around as you use the opener, stitch an X mark across the center of the piece.
*All image credit belongs to Hello Sewing via YouTube. Follow and subscribe to her channel for more!
DIY Fabric Jar Opener Sewing Tutorial


