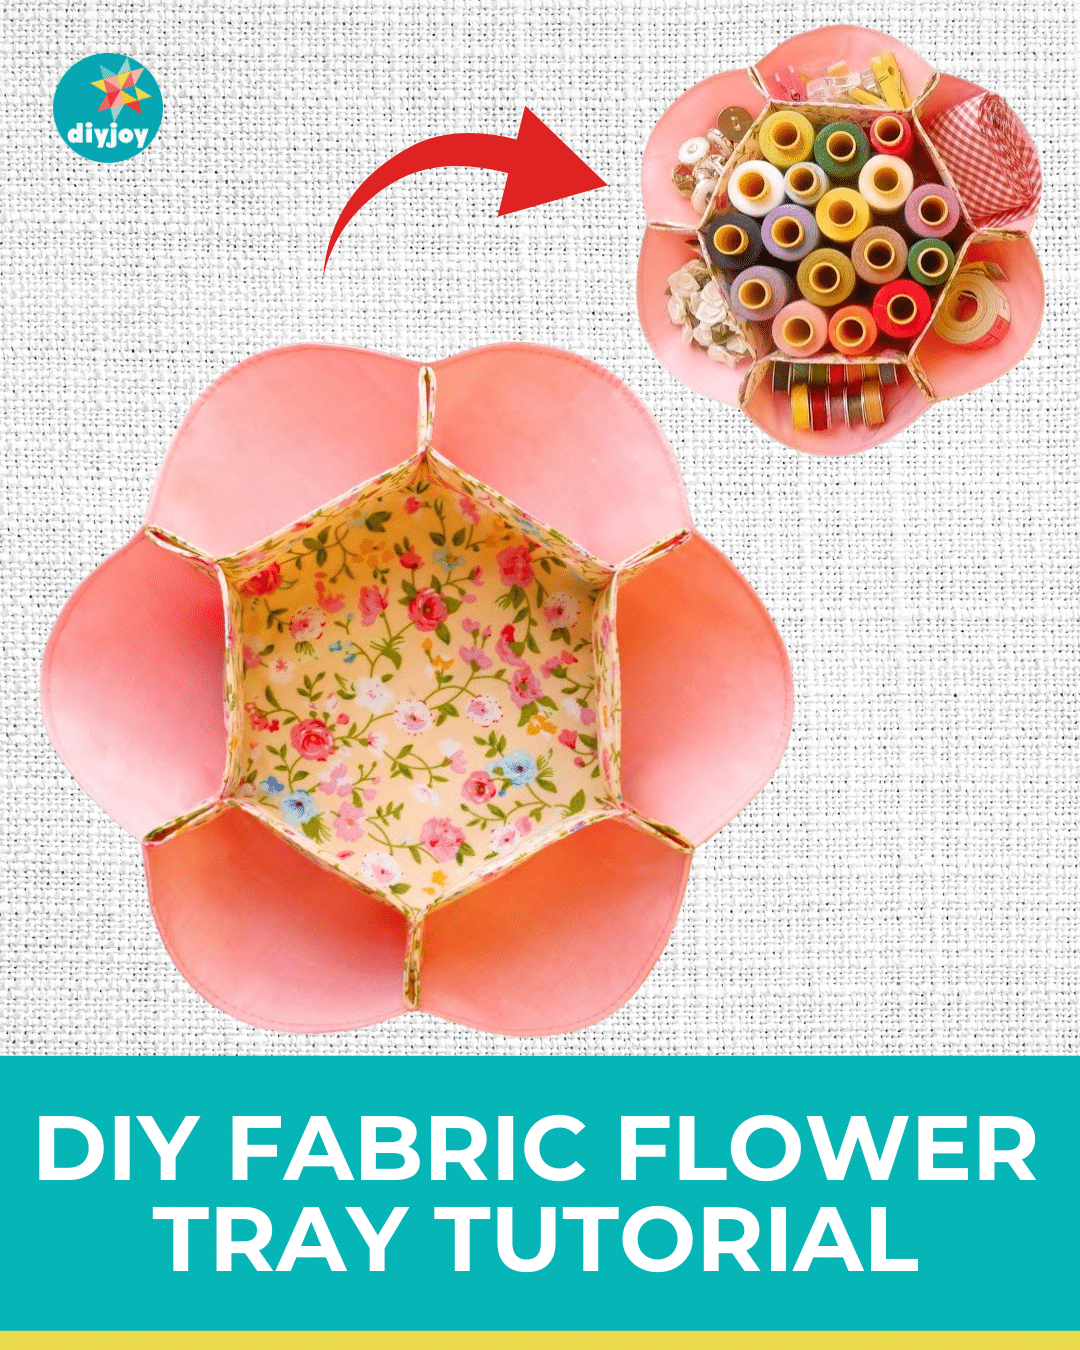
Do you have leftover fabrics from past sewing projects? Turn them into this adorable DIY fabric flower tray! I am so in love with this sewing idea by Thuy crafts. How can you not be, right? Not only is it cute, but it is also functional. You can use it as a tray when doing a project. Place your pins, threads, clips, ribbons, and buttons. Aside from that, you can also use it to store your jewelry or keys.
RELATED: How To Sew A Denim Tray Using Old Jeans
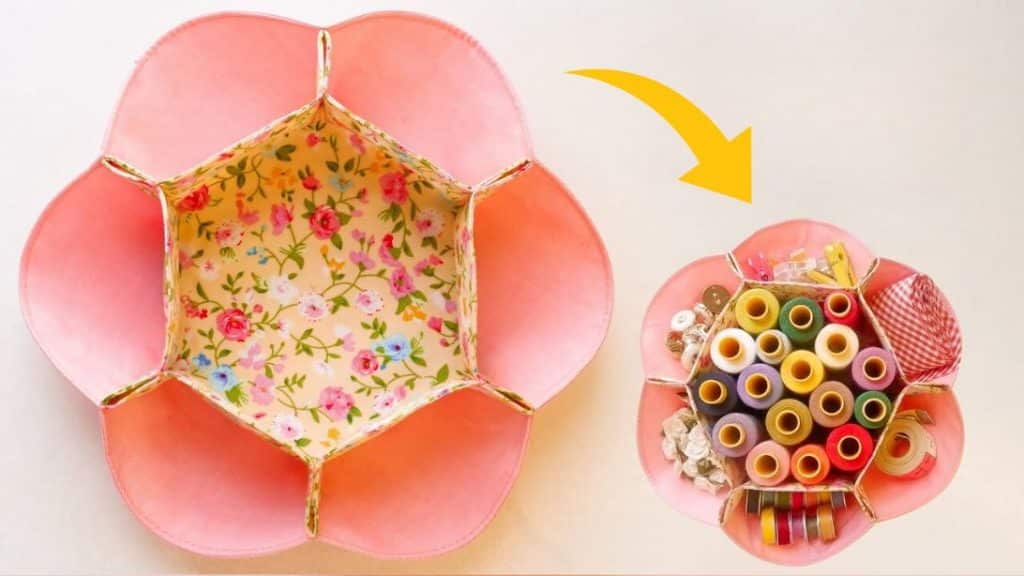
Wondering if you can make this flower tray in different sizes? Yes, you can. The video below will show you step-by-step instructions on how to do it. This one measures about 8 inches in diameter, so you can fit many items in it.
If you are looking for a quick and easy sewing project, give this flower tray a try. It is easy to make and is perfect for beginners.
Here are other projects you might want to try: 10 Minute Sewing Projects
Easy Fabric Flower Tray Materials
- interfacing
- 9″ round template
- 2 pieces of 10″ square cotton fabric A (first fabric)
- 2 pieces of 10″ square cotton fabric B (second fabric)
How to Make a Fabric Flower Tray
Step 1:
Fold your interfacing in half then place your 9″ round template and trace it. Cut the circles.
Step 2:
Get one square fabric A, then place it wrong side down. Place one circle interfacing on the top wrong side down. Press with an iron.
Repeat with a square fabric B.
Step 3:
Place fabric B with interfacing on top of the other square fabric B right sides together. Sew all around the circle but leave a small opening.
Repeat with fabric A with interfacing.
Step 4:
Cut the excess fabric for both circles. Make sure to leave a 1/8″ allowance, but make it bigger in the opening. Flip each one right side out and flatten. Sew the openings close.
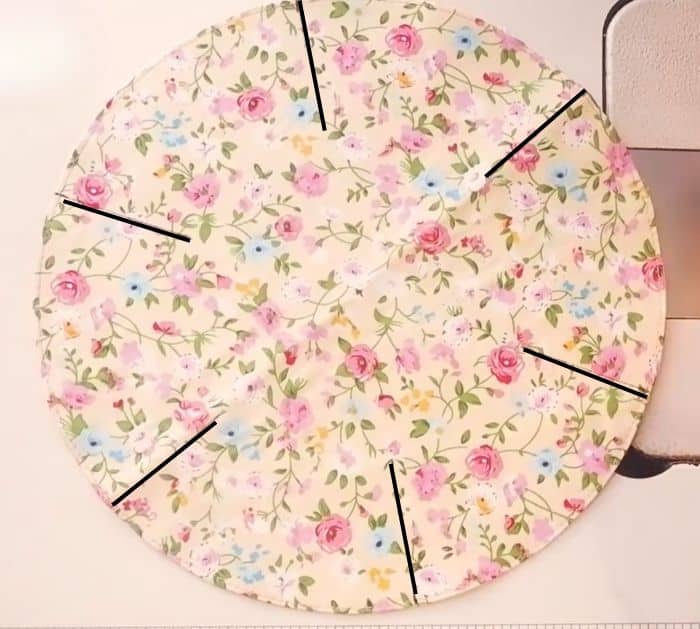
Step 5:
Get the fabric A circle and fold it in half twice. Mark the center in the middle, top, and bottom. Open and measure half of the circle. Divide the measurement by 3, and mark the edges of the circle. Do the same for the other half.
Draw a 1.96-inch or 5-cm horizontal line on each mark. See the photo below for reference.
Step 6:
Place circle A on top of circle B. Clip or pin in place. Sew directly on the lines.
Step 7:
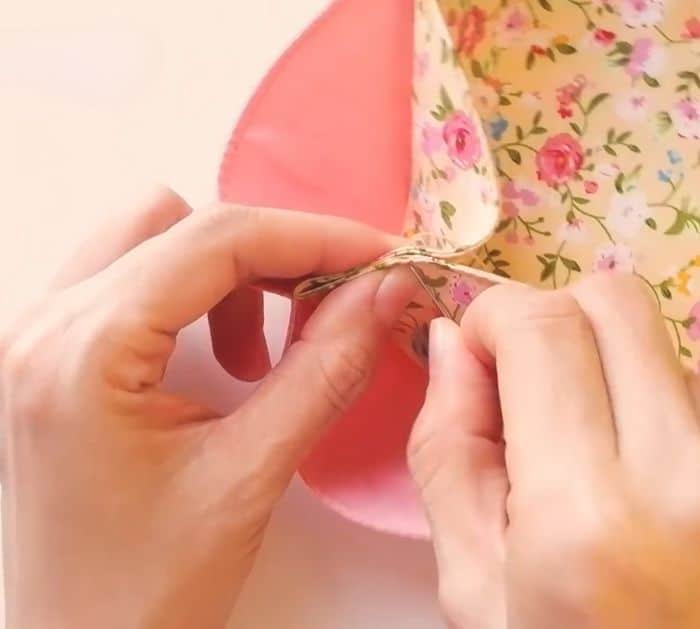
Measure 1″ from the lines and mark. Make sure you measure from the same direction all the time.
Hold the left and right sides fabric beside the line and hand stitch on the mark. Sew the photo below for reference. Do the same for all the lines.
DIY Fabric Flower Tray