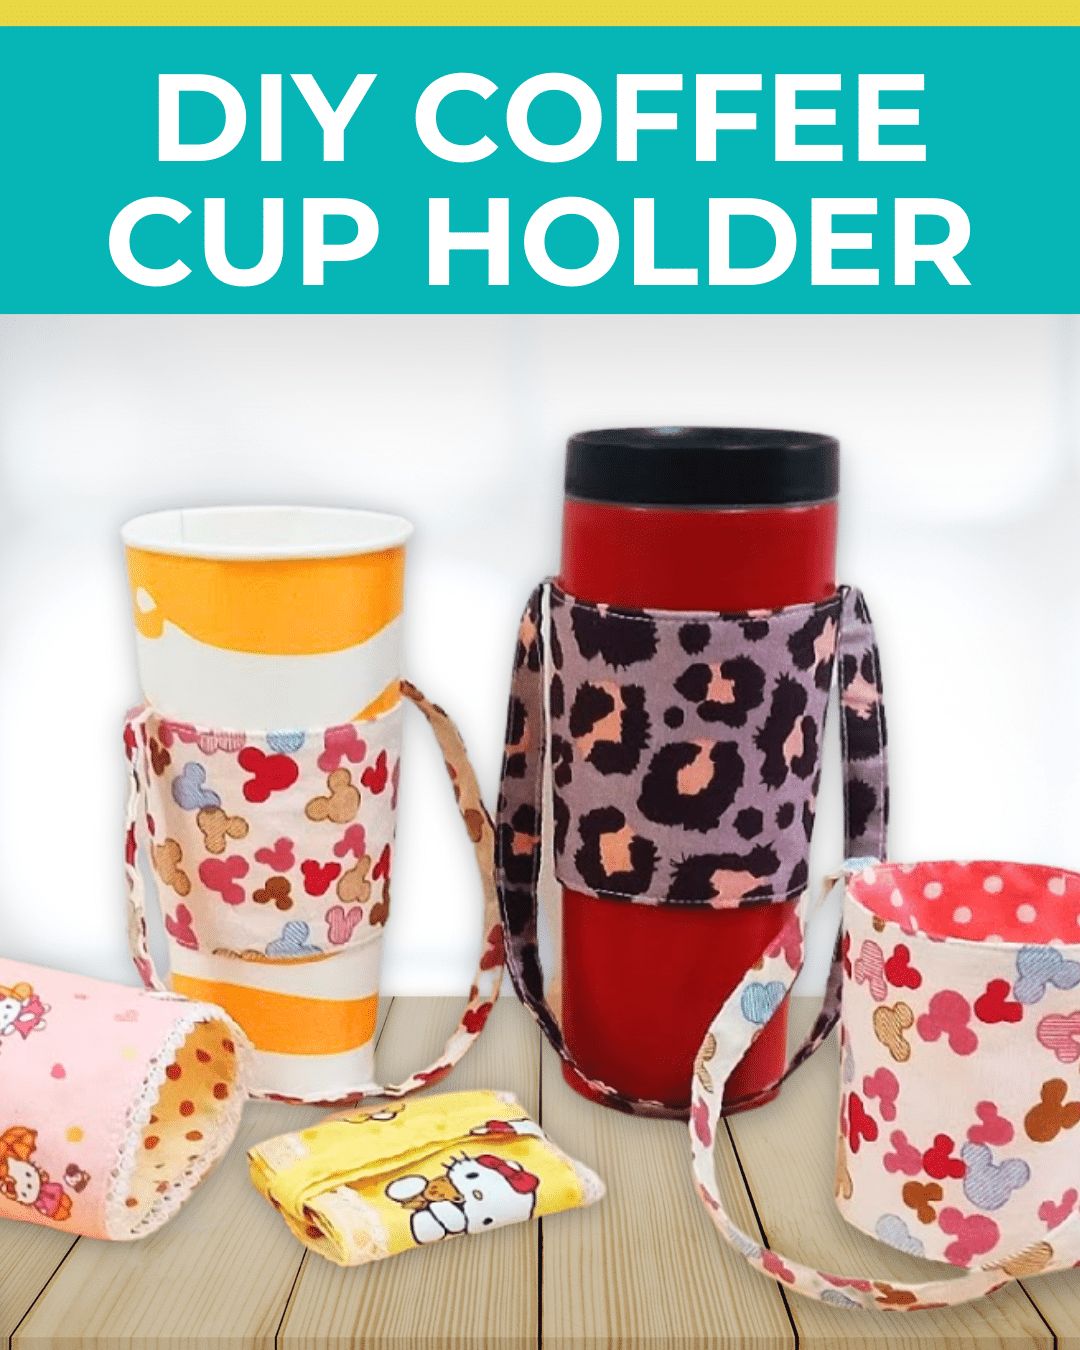
Do you always have a drink in your hand? If so, Angela & Jerry’s DIY fabric cup holder is the perfect sewing project for you! Make the strap longer so you can hang it on your shoulders. It’s the solution to keeping your hands free when going out for a jog or walk, allowing you to still hold other things if you don’t like wearing a bag.
RELATED: DIY Fabric Cord Organizer
This DIY fabric cup holder is also a fantastic gift idea for friends and family. It is lightweight, washable, and customizable. You can make the straps as short or as long as you want and even personalize each holder by adding your family’s initials or embellishments. It is a thoughtful and practical gift.
Here’s another fun project for you: DIY Fabric Flower Tray
Easy DIY Fabric Cup Holder Materials
- pattern
- sewing machine
- thread and needle
- scissors
- interfacing
- inner fabric
- outer fabric
How to Make a DIY Fabric Cup Holder
Step 1:
Draw the pattern. Get a piece of paper and your bottle or cup. Wrap the paper around your bottle or cap. Trim the excess. Get an object and use it as a ledge. Take a pen and place it on top of the ledge. Rotate the cup while holding the pen to draw a circle. Make the ledge higher, then repeat. Cut the pattern.
Step 2:
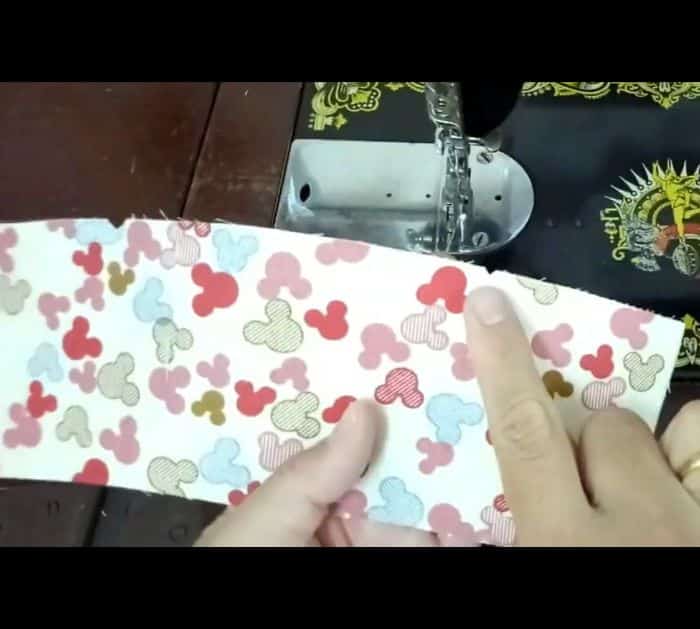
Cut the pattern from your interfacing, inner fabric, and outer fabric. The size depends on your cup or bottle. Next, cut a 14 inches x 2 inches strip from your outer fabric.
Step 3:
Place the outer shape on top of the interfacing and press with an iron. Set aside.
Step 4:
Get the strip and fold the long sides toward the center. Stitch on both edges.
Step 5:
Fold the unit from step 3 in half, then fold it again, leaving 0.4 inches. Trim a little bit of the corner. Sew the ends of the sewn strip on the crease lines.

Step 6:
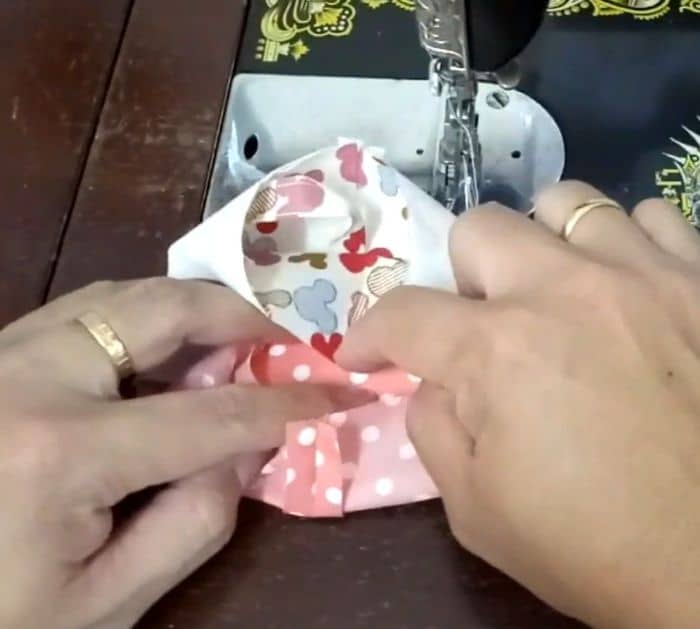
Place the inner shape on top and trim it the same way as you did with step 5. Pin it on the right side of the unit. Sew on the bottom, then press the seams open. Sew the ends together, then press the seams open.
Step 7:
Fold one side of the top part towards the center and one side of the bottom part towards the center. Next, press the other sides together. Sew together, leaving a small opening. Flip it right side out. Top stitch on the outer edges.


