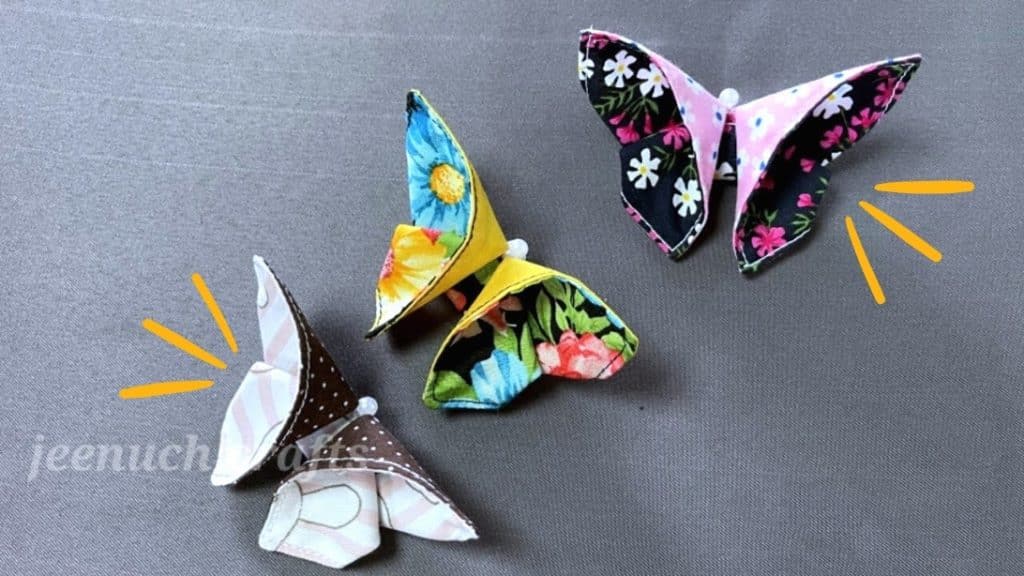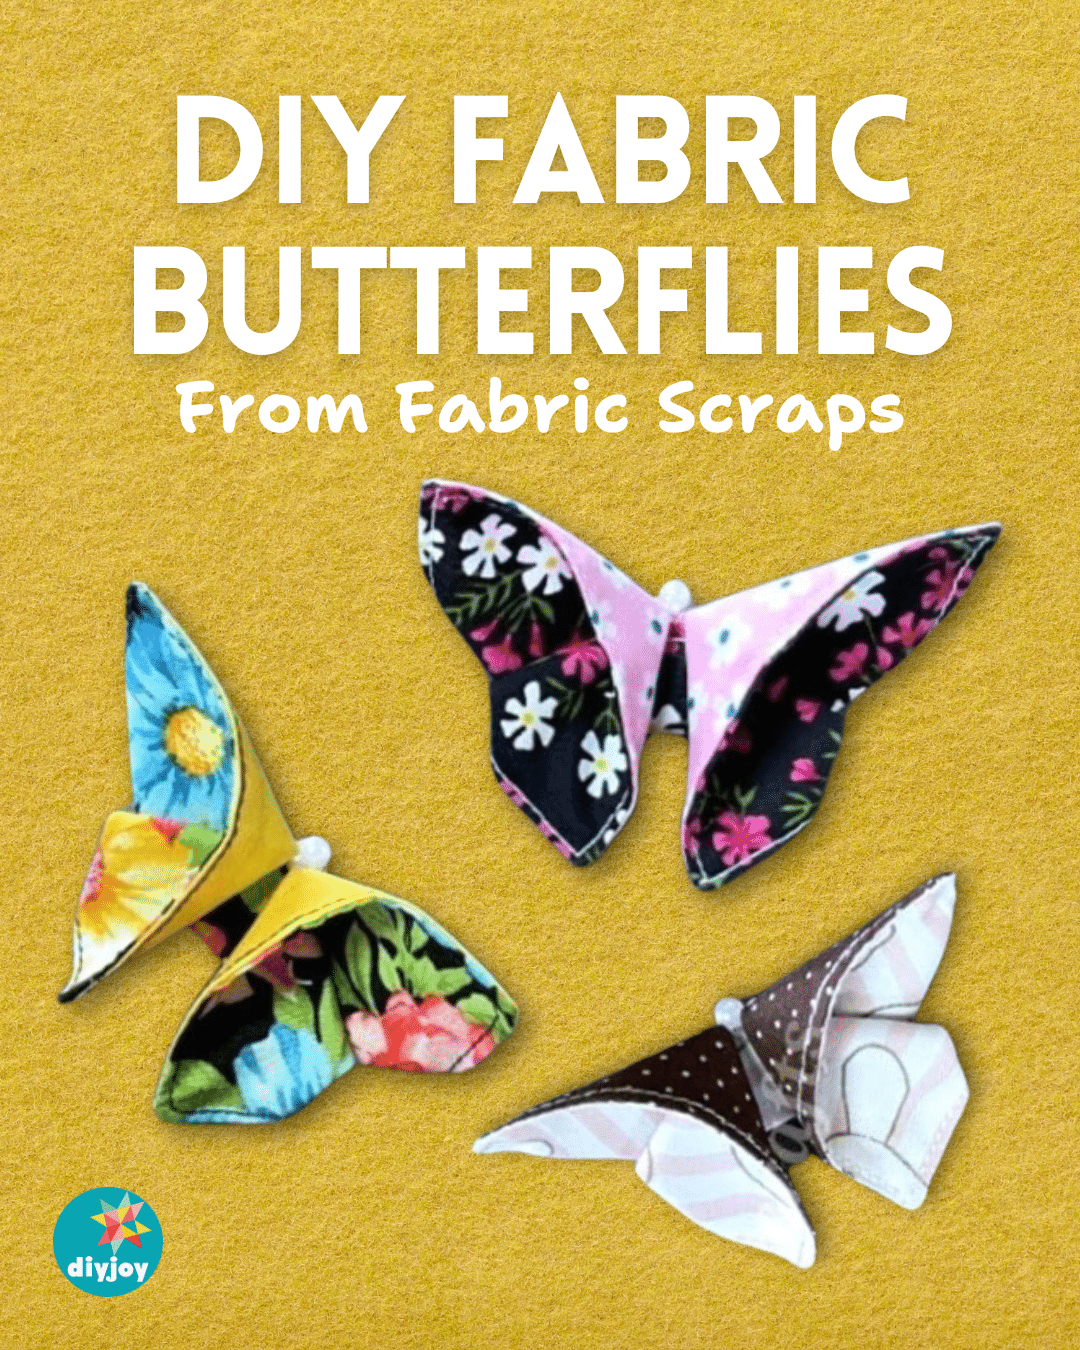
These DIY fabric butterflies from jeenuch crafts on Youtube are so adorable for any embellishments. If you love making designs for dresses, bags, hats, or other things, then you will definitely enjoy this sewing project. Who would’ve thought that making this decoration can be so easy? Go get your fabric scraps from past crafts as you can still repurpose them and turn them into this beautiful origami. For a sparkly look, you can add glitters on the wings. You can make many of these and connect them together to make a lovely garland for stage designs. If you want something extra, create flowers to match the butterflies. What are you waiting for? Go to your sewing machine and start making fabric butterflies. Happy sewing!
Materials:
- 2 pieces of 5 inches by 3.5 inches cotton fabric
- beads
[social_warfare buttons=”Facebook,Pinterest,Twitter,WhatsApp”]
Instructions:
Step 1:
Place the two fabrics on top of each other with the right side down. Then using a pencil mark an opening on one side of the fabric. Next, sew the edges together and leave the opening. Once done cut the corners and pull the right side out. Use a pencil to straighten the corners. Then press down using an iron.
Step 2:
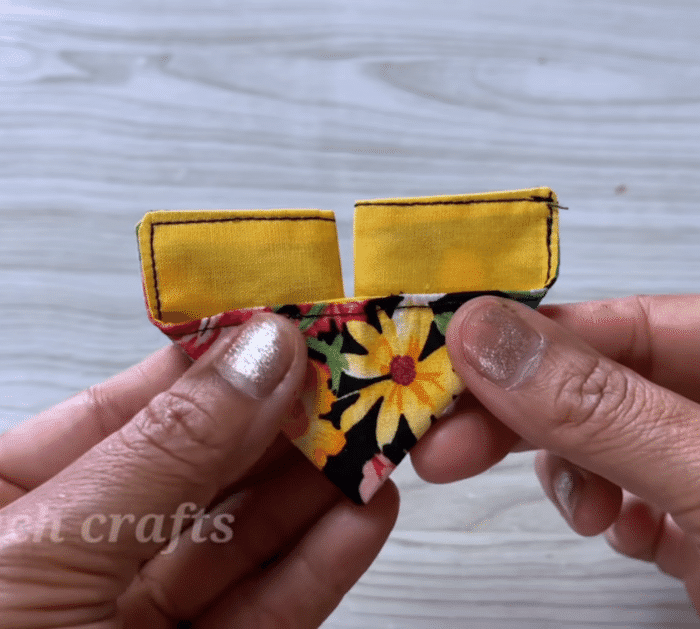
Sew all of the edges, then fold the fabric in half twice. Open one corner while holding the other corner making a triangular shape. Do the same to the other side. Now it will look like a triangle with 2 rectangle ends. Fold the rectangle on the right down and sew on the middle. Repeat the process to the other left side.

Step 3:
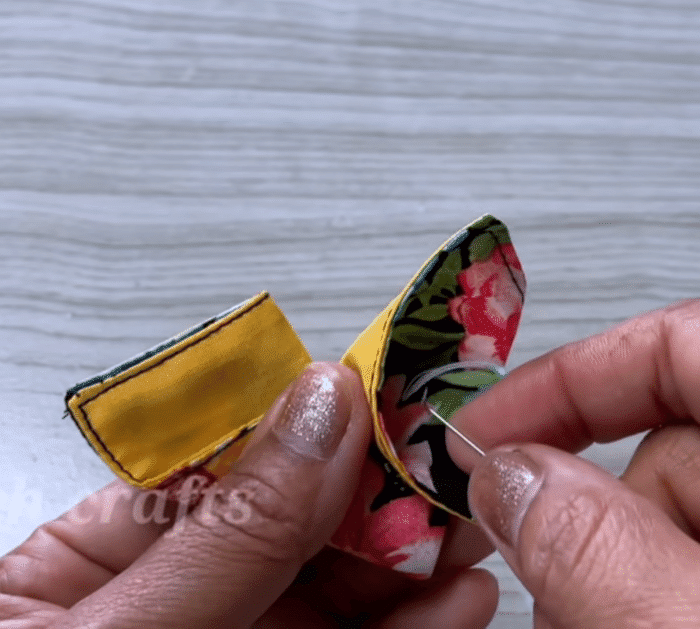
Flip the butterfly and fold the triangular tip on the bottom until the horizontal line of the fabric. Then sew it to secure. Next, get a thread and needle and sew a bead on the tip. Make as many as you can, and use different fabrics and bead colors for variations.


