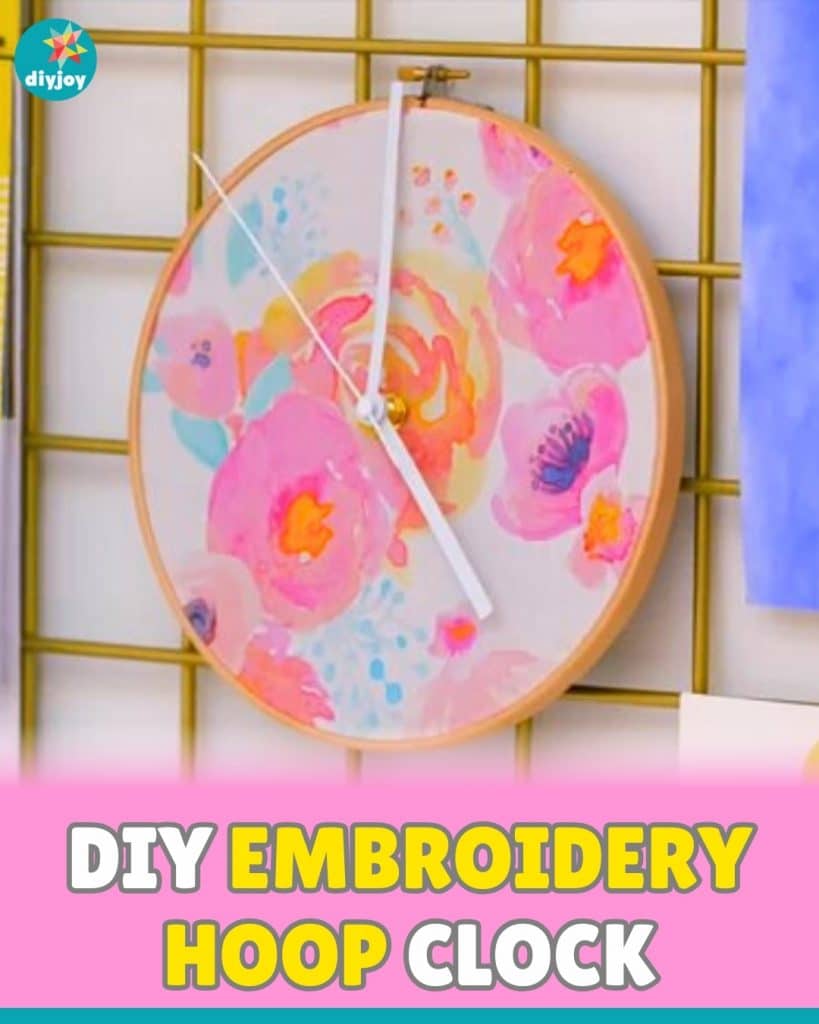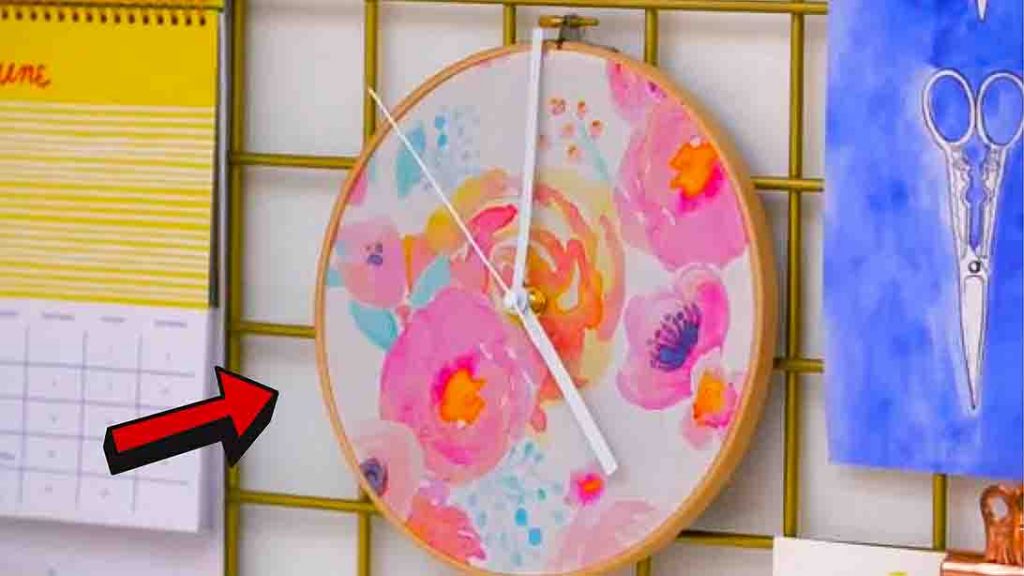
An embroidery hoop clock is more than just a decorative piece—it’s an opportunity to showcase your creativity and personalize your space. Whether you’re a seasoned crafter or a newcomer to the world of DIY, this project offers a delightful blend of fun and uniqueness. The process of making this DIY clock from HGTV Handmade is straightforward, making it accessible for beginners, while still providing ample room for customization to suit your personal taste.
RELATED: How To Make An Oversize Dollar Tree Living Room Clock
Imagine transforming a simple embroidery hoop into a stunning clock that complements your home’s aesthetic. By selecting a fabric that resonates with your style, adding personalized touches, and carefully assembling the clock mechanism, you’ll create a one-of-a-kind timepiece that reflects your individuality. This project not only serves as a functional item but also becomes a conversation starter, offering a handmade touch that store-bought clocks simply can’t match. Learn how to make one by simply watching the video tutorial below for the easy to follow instructions.
Materials:
- embroidery hoop
- battery-powered clock kit
- cardboard
- printed fabric
- scissors
- pencil
- ruler
Directions:
Step 1
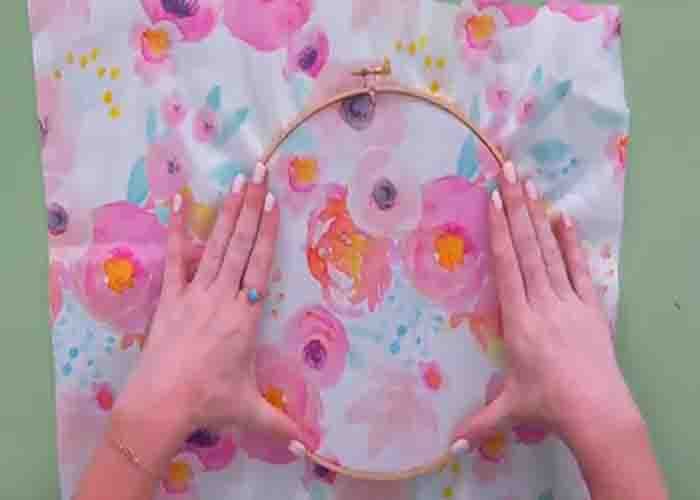
To start, trace the inner part of the embroidery hoop to a cardboard, then cut it out. Next, separate the hoop, place the fabric, print facing up over the smaller hoop, then place the larger hoop on top to secure it. Pull the fabric to tighten it, then cut the excess.
Step 2
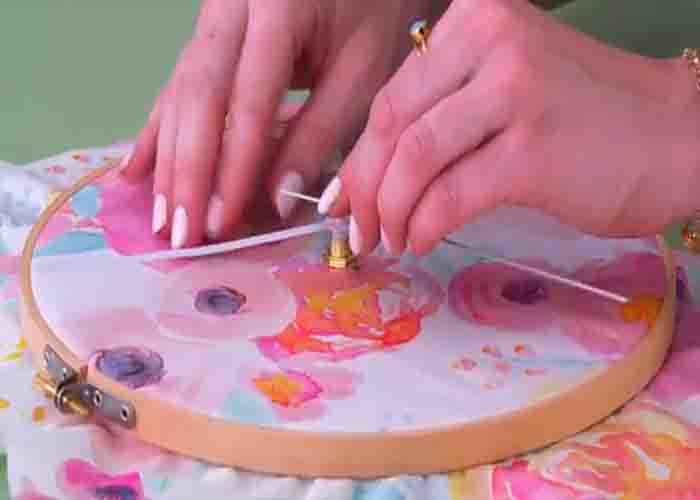
Next, flip the hoop over and place the cardboard at the back. Now, flip it over again, then find and mark the center point using a ruler. Punch a hole, then place the battery-powered clock kit. Your DIY clock is now finished. Place it anywhere you like!
