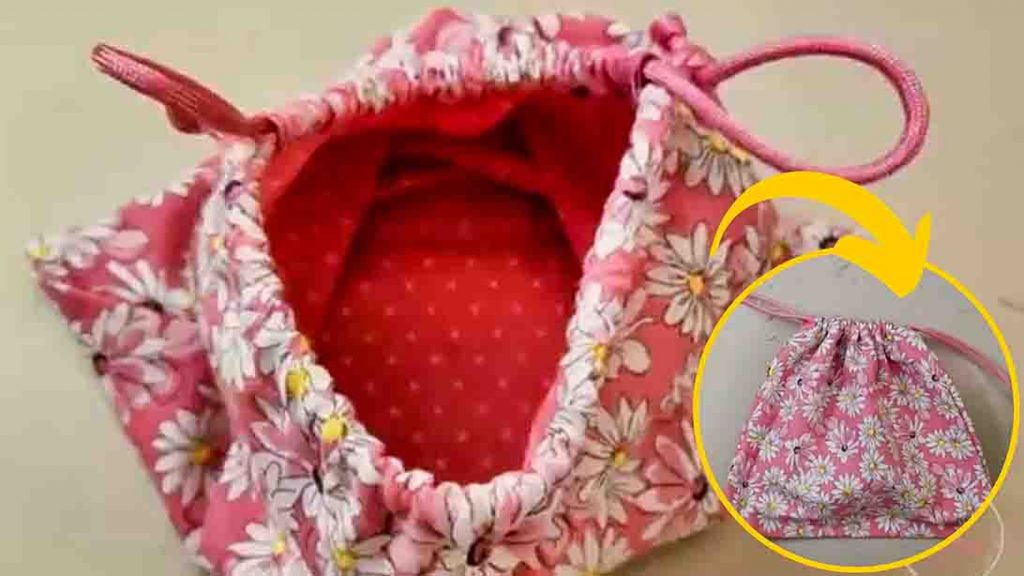
Are you feeling a little crafty? Stars Crafts Designs on YouTube has a simple project for you! This simple DIY lined drawstring bag is a quick, easy, and beginner-friendly project you can do on a weekend. And if you’re looking for something hand-made to sell at your local craft fair, this is perfect! What are you waiting for? Watch the video tutorial below to learn the step by step instructions.
Materials:
- 2 pcs of different fabric designs
- scissors
- sewing machine
- iron, for pressing
- iron pad
- drawstring (or drawstring threader)
- ruler
- tape measure
- marking pen
- pins (or clips)
Directions:
Step 1
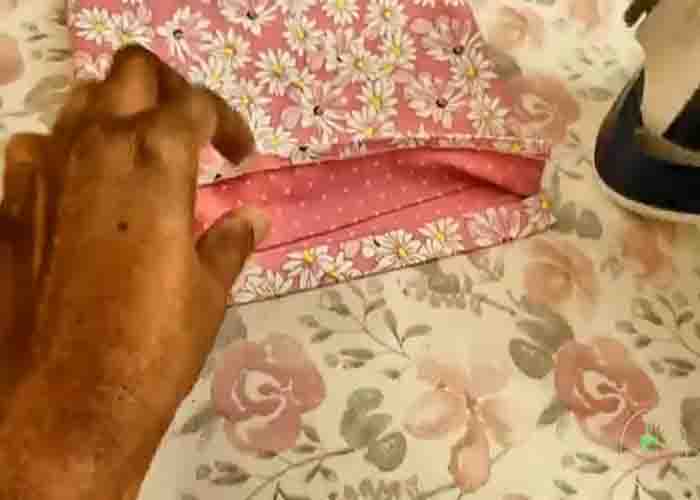
To start, measure and cut each fabric to 20″ x 11″ (you can also measure them to your preferred size). Next, fold both pieces of fabric in half on their right side. After this, measure and mark 1 1/2″ down from the top of each fabric, then pin both sides. Once done, backstitch at the beginning and end of these seams, then open them and press. Next, stitch along the sides of the bag that form a V for all four sides. After this, turn the right sides out, then insert the lining inside the outer bag with the wrong sides together. Line up the side seams and the top, then pin and sew along the top edges to attach the lining to the bag.

[social_warfare]
Step 2
After sewing, turn the top once just past the stitch line, press, then turn it under again near the bottom of the casing, and press again. Once done, backstitch at the beginning and end of the bag casing. Now, if you’re using a regular drawstring, attach a safety pin at one end, then feed it through the casing. Tie a knot at the end to secure.


