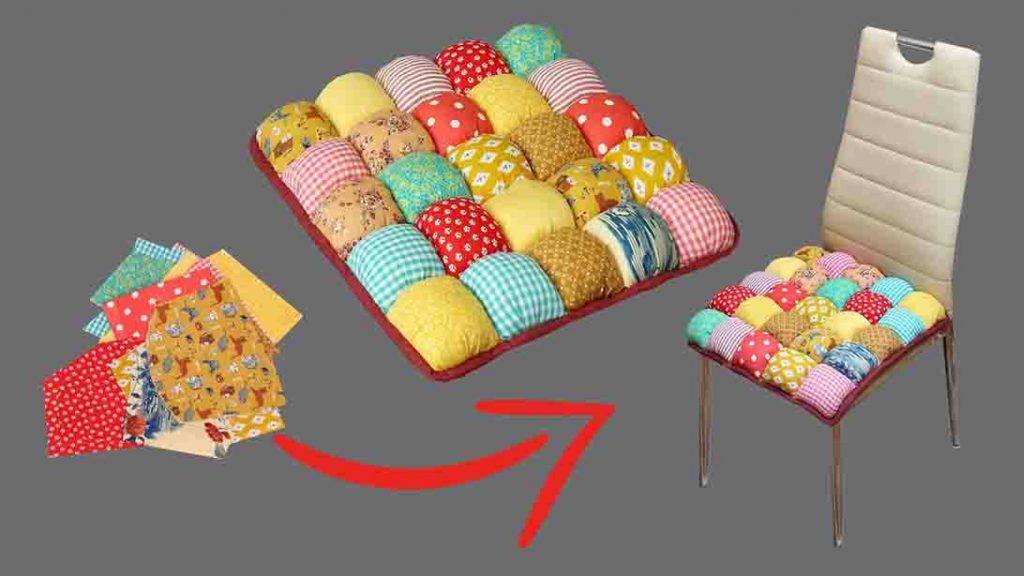
Are you looking for a project to use your fabric scraps? Look no more; Miarti – Sewing Tips on YouTube has an amazing project for you. This DIY chair cushion may look complicated, but it’s actually pretty easy to make. It’s the perfect project for your scraps, don’t you think? Make this today by watching the video tutorial below.
Materials:
- fabric scraps
- 13 cm x 13 cm template (you can use a piece of cardboard)
- 11 cm x 11 cm template
- fabric marker
- scissors
- holofiber
- large cotton fabric
Directions:
Step 1
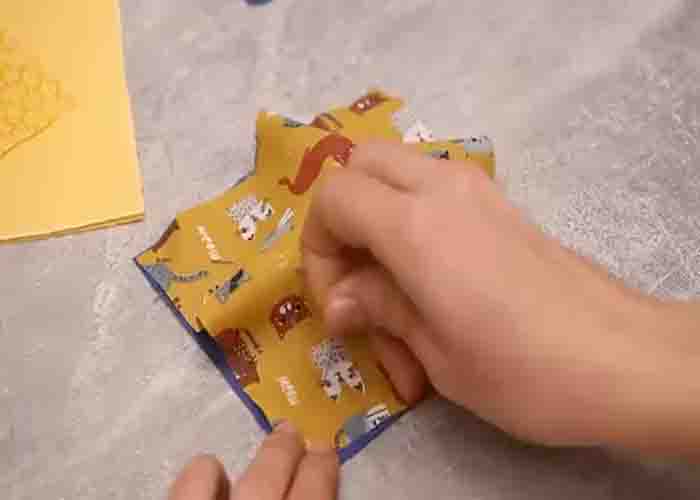
To start, gather your fabric scraps and trace your 13cm x 13cm template on each piece. Cut them afterward, making 25 pieces. Next, trace your 11cm x 11cm template to a large scrap of fabric, then cut. Make 25 pieces in the same color. Now, grab one 11cm x 11cm fabric, fold it in half, then cut a small slit in the middle. Do this to the rest of the fabric pieces. Now, lay one 11cm x 11cm fabric, then place one 13cm x 13cm fabric on top, right side outside. Pin the edges, lining it to the smaller fabric underneath, then pin the excess fabric on top by folding in on the center on four sides. Sew the edges afterward.

[social_warfare]
Step 2
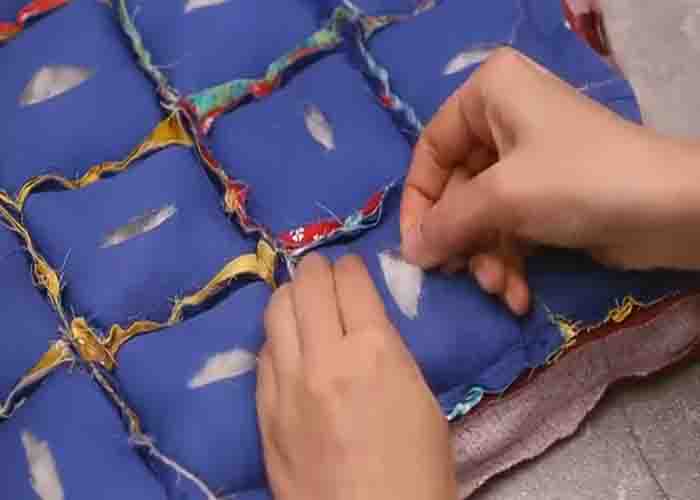
Repeat these steps for the remaining fabric pieces. After this, lay five pieces in a row, pinning the sides together. Make five of these, then sew the pieces together. Once you have five, pin them together on the long edges, then sew. Next, pin a 6cm width inlay on the chair cushion all around the edges, then sew. After this, stuff each piece through the slit with holofiber, then hand-sew each to close.
Step 3
Next, lay the chair cushion, right side down, on top of the cotton fabric, then cut it down to the same size. Place it underneath to cover the ugly side. Now, make four long fabric strips with some cotton fabric, and sew them on each corner underneath the chair cushion. Once done, hand-sew the remaining half of the inlay over the cotton fabric. Your DIY chair cushion is now finished!


