Upcycling well-loved furniture is a great way to customize it to your style. Turn your dresser into a beautifully finished hamper by following A Butterfly House’s step-by-step tutorial.
Materials:
- Dresser
- Jigsaw
- Pry bar
- Hammer
- Wood panels or plywood
- Screws
- Nails
- Wood glue
- Bard’s nails
- Paint primer
- Plastic wrap
- Plastic putty knife
- Paints
- Wax primer
- Stripping agent
Directions:
Start by removing all the drawers and starting to clear out the inside of the dresser.
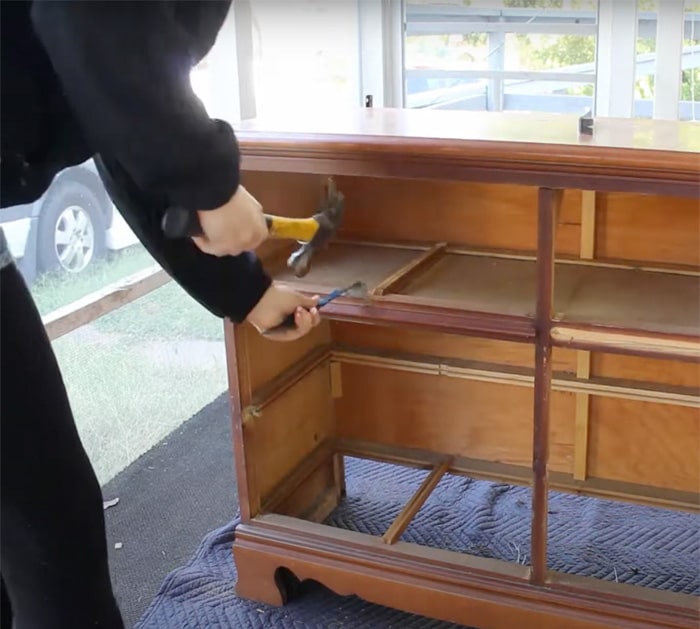
Remove the structural pieces you wish to remove that are no longer necessary. For stubborn parts that won’t pull out, you can use the pry bar.
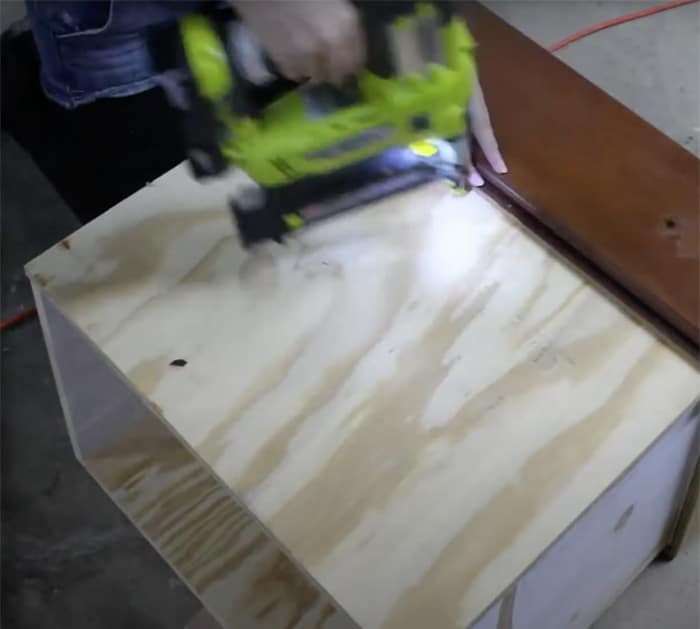
Once you have cleared the dresser, measure and start work on the main drawers using new wood panels. You can use the drawers that came with the dresser as the base.
This tutorial used pocket hole screws to connect the sides of the drawers together and angle brackets for extra support.
Once the drawer’s sides are connected, secure the new structure to the base drawer. Remove the drawer fronts of the main drawers to be used on the new ones. Use wood glue and broken nails to temporarily attach the old dividers and the two drawer fronts. Then, secure it with screws.
Once the drawers are built, work on adding drawer slides to the sides of the drawers. Make sure everything is well secured before installing the drawer slides. Reattach the front trim pieces to the dresser.
Woodfill and sand all the holes that are seen. Prime the piece and paint it over with the color of your choice.
For the top surface, strip the finish off by brushing on some citrus trip or any other stripping agent and covering with some plastic wrap. Let it sit for 30 minutes. After 30 minutes, remove the plastic wrap and start scraping using a plastic putty knife.
Clean up the remaining gunk by pouring and scrubbing mineral spirits on the dresser. Sand down the top surface with an orbital sander, starting from 40 grit to 240 grit.
Finally, stain the surface with some wax of your choice.
DIY Dresser to Hamper Project