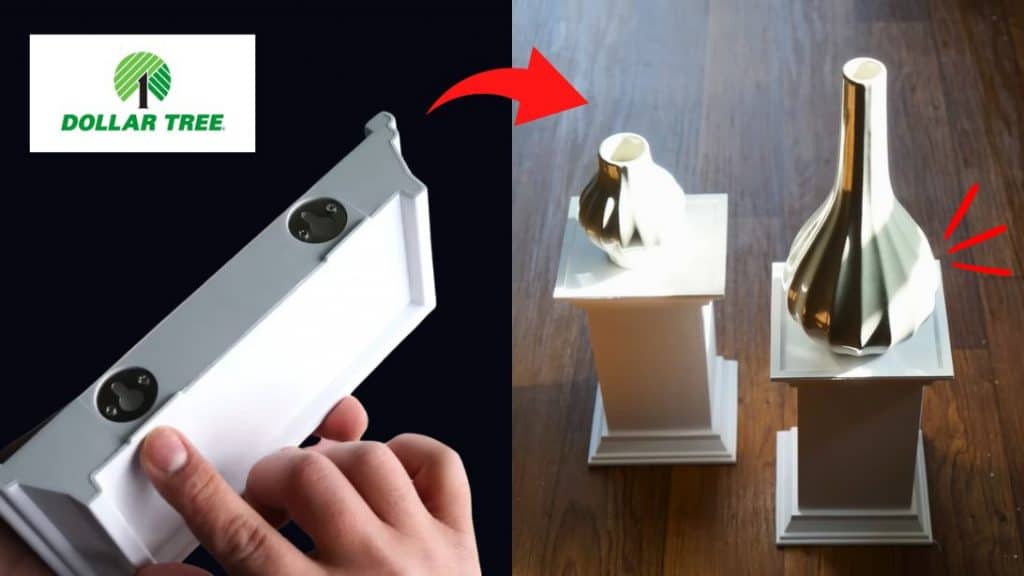
Love classic decor pieces but on a budget? Don’t worry – you can make these DIY wooden storage pedestals using Dollar Tree items! With this tutorial by Gazelle Creative Studio, you will learn how to turn floating shelves and panels into these gorgeous decorations for your home. You can use it to store some of your items or even as a side table.
Materials:
From the Dollar Tree:
- 4 floating shelves
- 4 signs or panels
- several wooden tower blocks
Others:
- 8 square dowels (from Walmart)
- E6000
- cutting tools
- spackle
- paints
- mod podge
[social_warfare buttons=”facebook,pinterest,twitter,whatsapp”]
Instructions:
Step 1:
Remove the screws from the floating shelves and cut the steps with a knife. Put the two floating shelves together and glue them to make a square. Repeat with the other 2. Let them dry for 24 hours.
Step 2:
Get one panel and cut a little bit at the top. Repeat with the other 3. Make sure they have the same measurements.
Step 3:
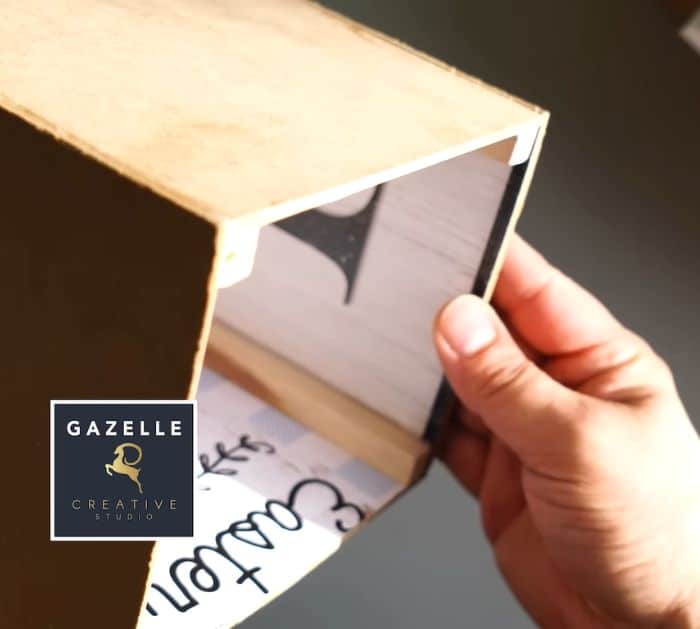
Get four square dowels and glue them to the edges of one panel. Repeat with the other panel. Let them dry completely.
Step 4:
Glue the remaining panels to the sides of the dowels to make the base. Make sure that the designs are facing inward. Clamp them in place while the glue dries for about 24 hours. If you are going to use panels, you do not need to glue dowels on the sides as they are already thick.

Step 5:
Use the spackle to close the gaps between the panels and floating shelves. Once dry, sand them for a smooth finish.

Step 6:
Glue the body with the bottom with E600. Use spackle to close the gap between the base and the body. Do not glue the top, so you can use still remove it and use it as storage.
Step 7:
Paint the pedestal with your preferred color. Once dry, seal them with mod podge. Let them dry completely.


