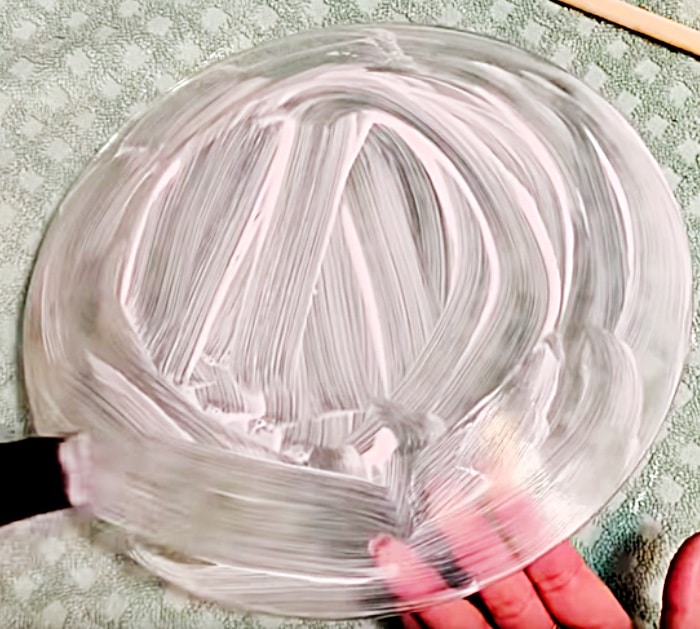
I love to do decoupage, so when I saw this amazing Dollar Tree Decoupage Christmas Plate DIY, I was so thrilled. I couldn’t wait to get to Dollar Tree and buy my materials so I could start this wonderful project! I picked up some inexpensive glass plates and then I went to Michael’s Craft Store and got some Modpodge Decoupage Glue, some foam craft brushes, and a Christmas themed fat quarter of fabric. I started my project by giving my plate a good wipe down with rubbing alcohol to get rid of any fingerprints or dirt that would cause the Modpoge not to adhere properly, then you turn your Dollar Tree glass plate face down on a towel or soft surface and then I cut a piece of my Christmas themed fat quarter fabric and large enough to cover the bottom of my plate but leaving excess room to cut away, be mindful of how you center your image. Then I painted Modpodge all over the back with my foam brush.
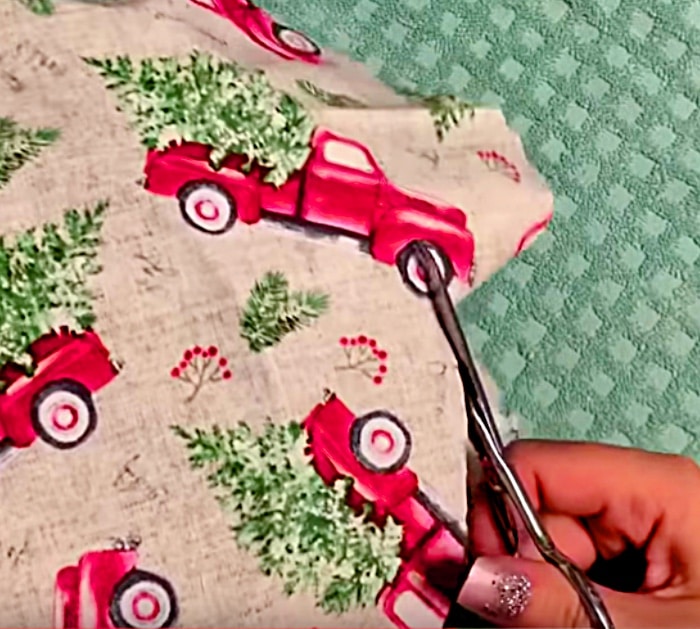
Then I Stuck my fabric right side to the Modpodge Decoupage Glue and trimmed it with a pair of scissors.
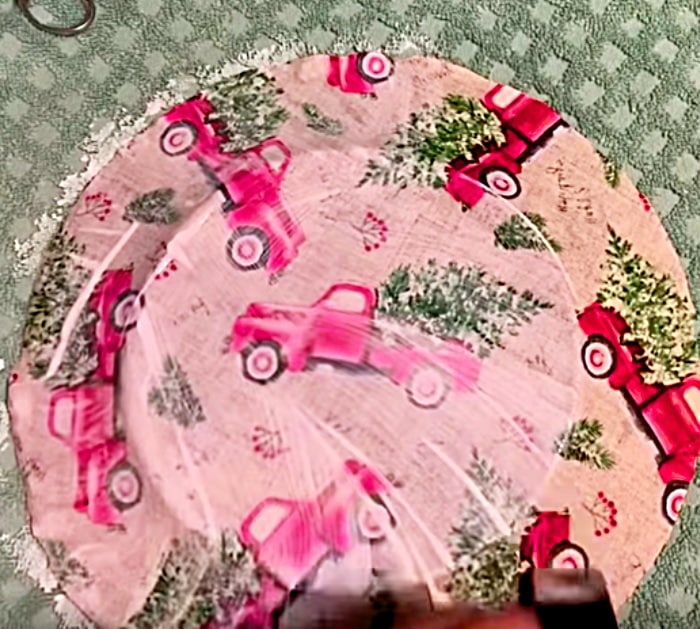
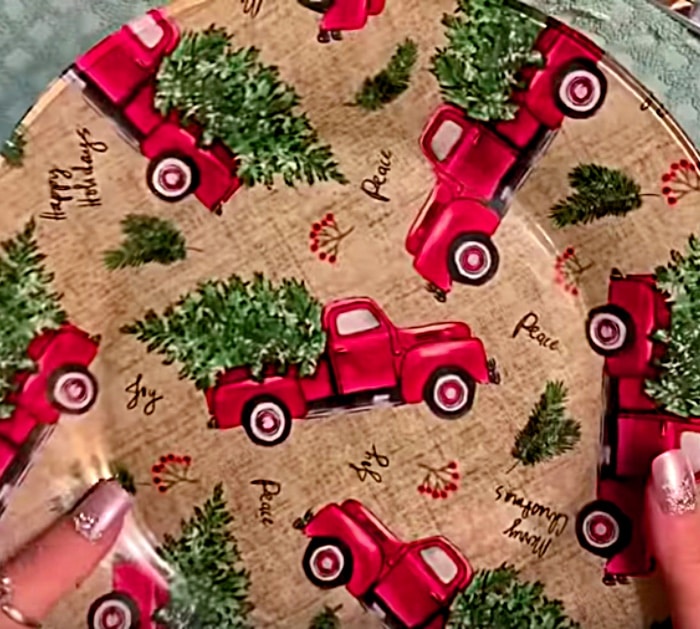
Then I brushed Modpodge all over the back of my fabric, really working in all those lines.
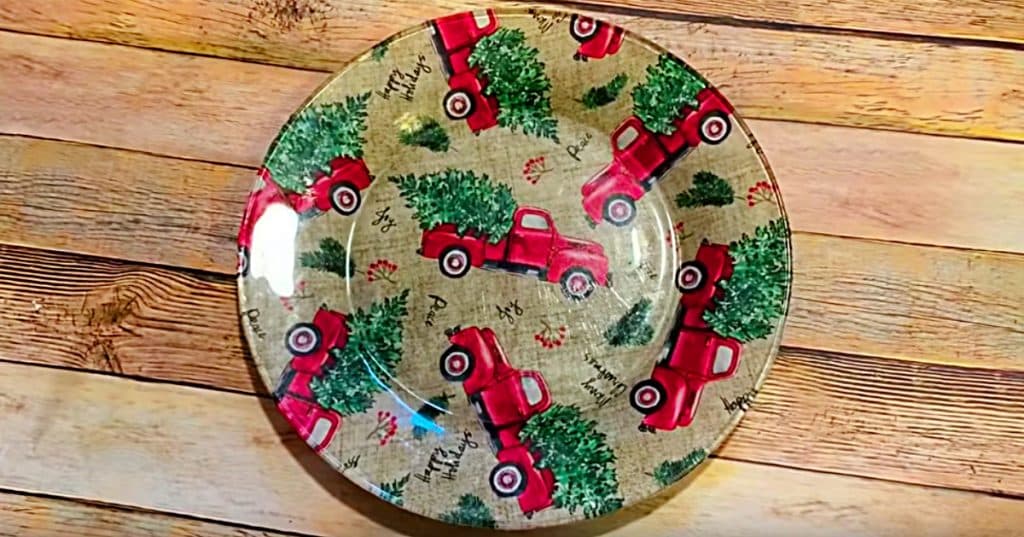
Then I let that dry and I cannot tell you guys how happy I was when I saw the results of this amazing project! The result was absolutely visually stunning!
I hope everyone tries this DIY Decoupage Plate using Modpodge and a Christmas themed fat quarter, you will love it!
DIY Dollar Tree Decoupage Christmas Plate


