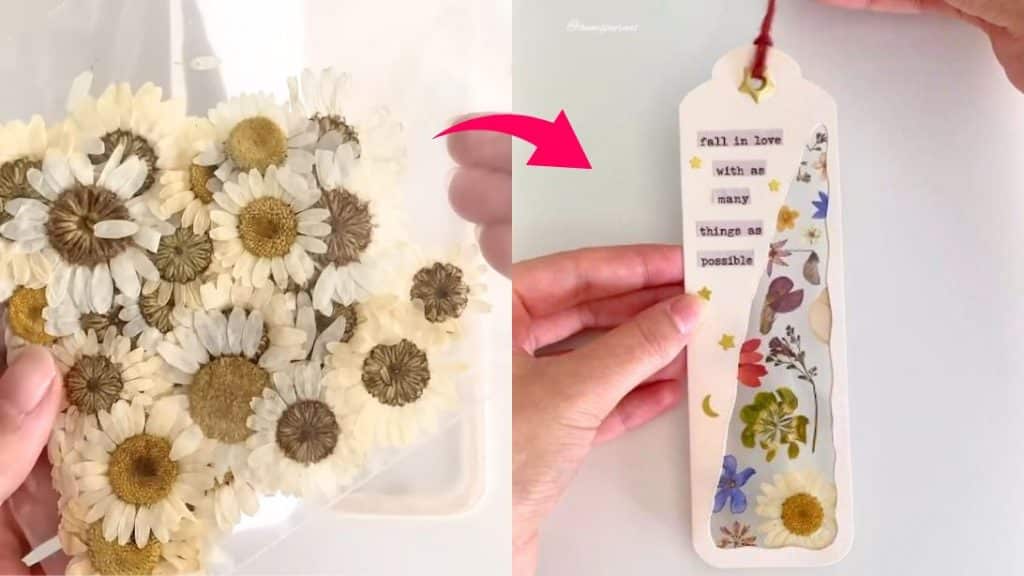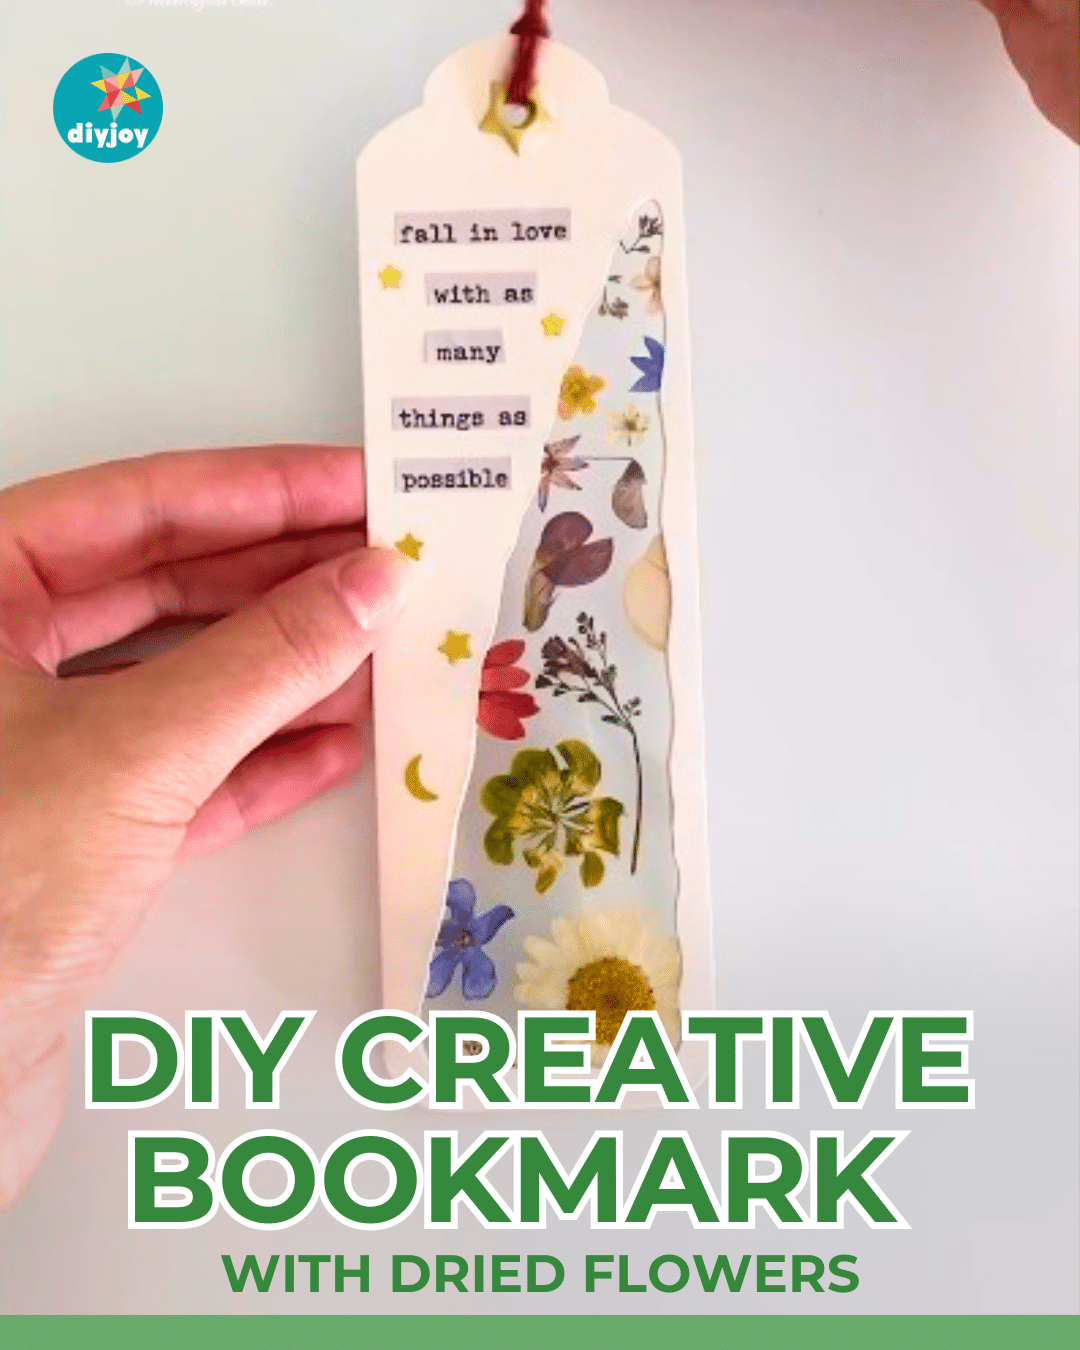
If you love journaling or reading books, this DIY creative bookmark with dried flowers is the perfect project for you. This bookmark by Paper Wrld is absolutely lovely. It has a clear part where you can add different dried pressed flowers and see them on both sides of the bookmark. You can arrange them however you like and even use your favorite pressed flowers.
RELATED: DIY Corner Bookmark
This bookmark is an easy DIY project you can easily make at home. It is customizable so it makes a great gift for your friends or family members who love reading books. You can even add their names or decorate them depending on their personalities.
Here’s another bookmark project you might want to try: 4 Easy-to-Sew DIY Fabric Bookmarks
DIY Dried Flowers Bookmark Materials
- dried flowers
- double sided tape
- cutter
- puncher
- round corner trimmer
- stickers
- card stock
- tag puncher
- clear plastic sheet
- string
- eyelet and rings
How to Make a Flower Bookmark
Step 1:
Decide the size that you want. Double the width. Use those measurements to cut the card stock. Fold it in half crosswise.
Step 2:
Make a hole in one end using a tag puncher, then round the corners using a round corner trimmer. Alternatively, you can use a puncher and a pair of scissors.
Step 3:
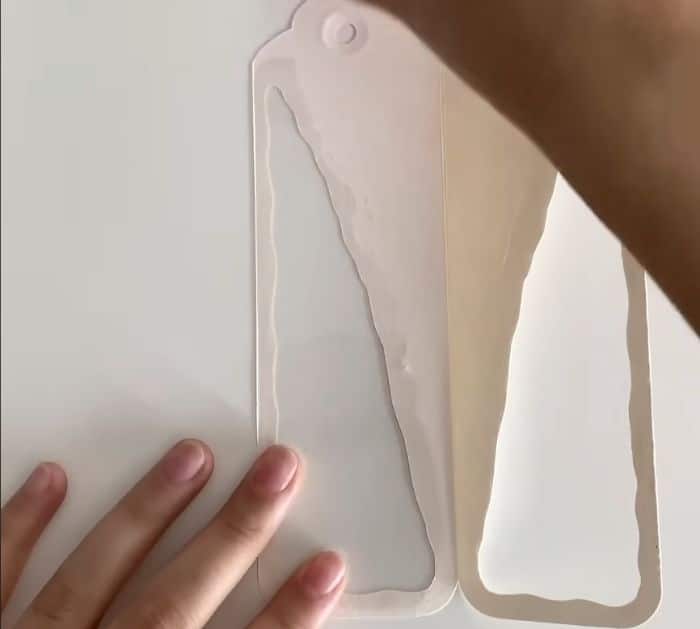
Using a cutter, cut a triangular shape on the bookmark on both sides. Measure that shape, add a small allowance, and cut two pieces from your plastic sheet using that measurement.
Step 4:
Using double-sided tape, glue the plastic sheets on the inside part of the bookmark on both sides.

Step 5:
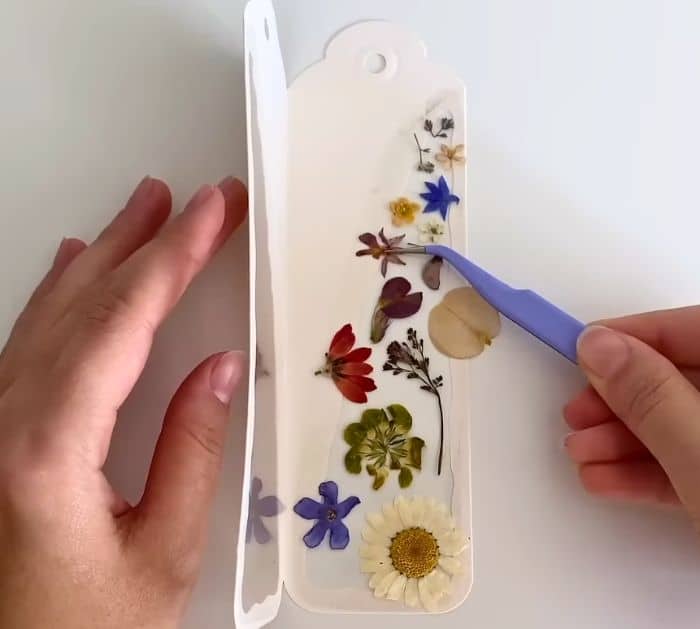
Glue the dried flowers on one of the clear sides. Decorate it however you like.

Step 6:
Add double-sided tape and fold the two sides together.
Step 7:
Decorate the top with stickers.
Step 8:
Attach the eyelet and rings to the hole, then loop in the string.


