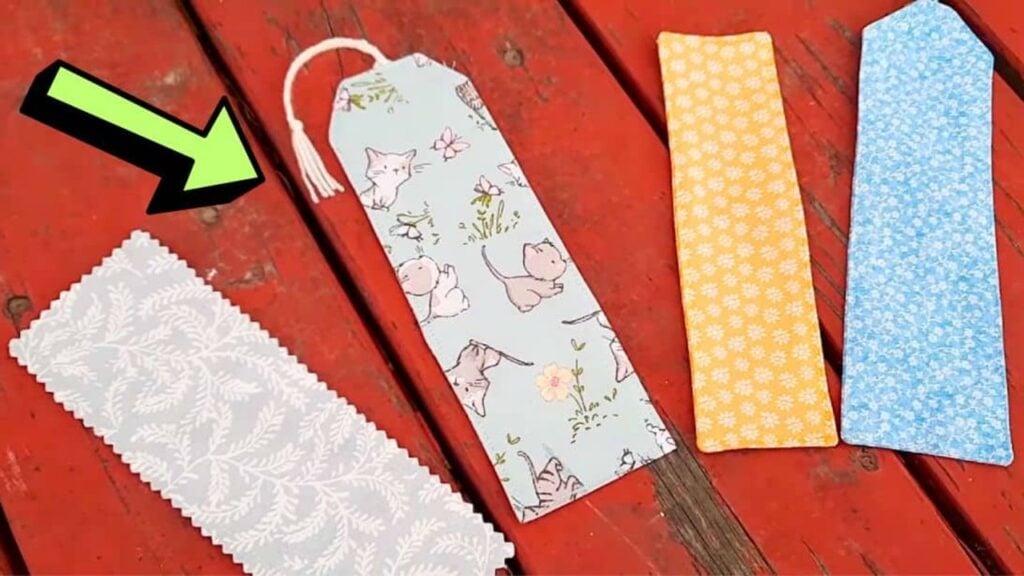
These pretty bookmark ideas by Talking Over Tea on YouTube are so easy to sew and are also the perfect sewing project for beginners to try. Each bookmark can be sewn within just a few minutes and you can even use your stash of leftover fabrics to make them. What’s even better is that you can give these bookmarks as a gift to a loved one or sell them if you want.
Materials:
- Fabric, any print and color that you want
- Interfacing fabric
- Yarn or ribbon
- Marking pen, pencil, or chalk
- Ruler
- Scissors or rotary cutter and a cutting mat
- Pinking shears, optional
- Fabric pins
- Needle and thread
- Iron, for pressing
- Sewing machine
Directions:
Bookmark #1
Iron the fabric you’re using flatly and spray them with water to remove the wrinkles easier. Measure the fabric to the length and width that you want, then add ½ inch seam allowance, and cut 2 pieces out. Lay the fabrics you cut out together with their right sides facing and edges lined up, then sew them all the way around making sure to leave a 2-inch gap on the longer side, and then back tack at the start and finish. Turn it right side out, then poke the corners out, tuck the edges of the gap inside, and sew the gap close. Give it a good press and you’re done!
Bookmark #2
Make sure that the fabric pieces you’re using are ironed flatly beforehand, and spray them with some water to remove the wrinkles easier. Cut the fabric to the shape that you want and make 2, then lay them together with their right sides together, cut a piece of ribbon before folding it in half, and then sandwich it between the top part of the fabric pieces. Sew around with a ½ seam allowance, then make sure to leave a gap, and turn it right side out poking the corners nicely. Sew the gap close, then press the bookmark flatly, and heat the edges of the ribbon with fire to seal it.

[social_warfare]
Bookmark #3
After ironing the fabric, cut it out to the shape and size that you want, then cut interfacing to the same size as well, and sandwich it between the fabric with their right sides facing. Loop the yarn 6 times, then cut it out, and place the edges in between the top edge of the fabric right above the interfacing. Sew around the sides making sure to leave a gap, then turn it right side out, and sew the gap close. Iron the bookmark flatly and braid the yarn nicely, then knot the ends together tightly, and cut off the excess.
Bookmark #4
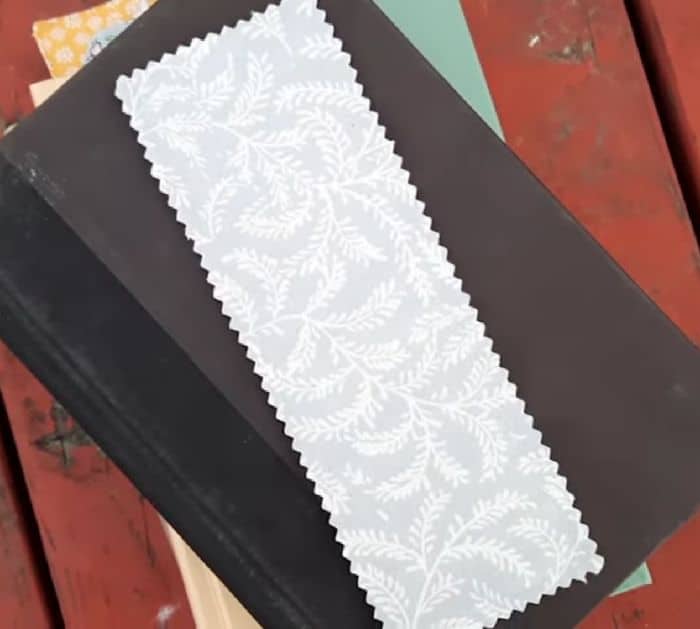
This is the easiest, simplest, and quickest bookmark that you can make. Simply iron the fabric flatly, then cut it to size, and make sure to add a seam allowance. Lay them together with their wrong sides together and line up the edges, then sew them together with ½ inch allowance, and cut the edges with pinking shears.
*All these images are credited to Talking Over Tea via YouTube. Give her channel a visit and subscribe for more!
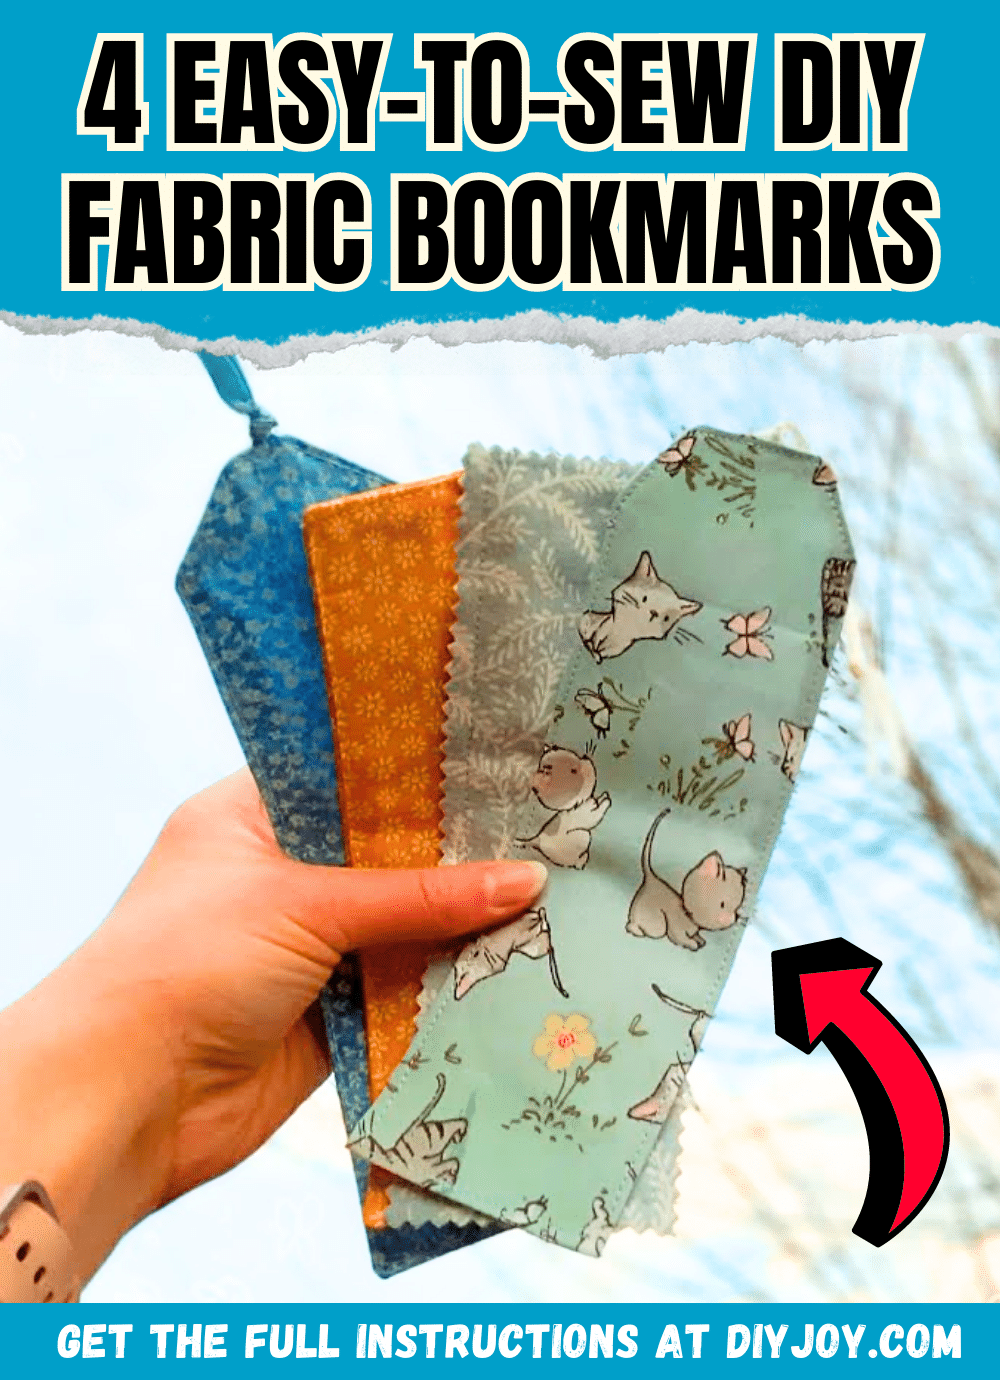
4 Easy-to-Sew DIY Fabric Bookmarks


