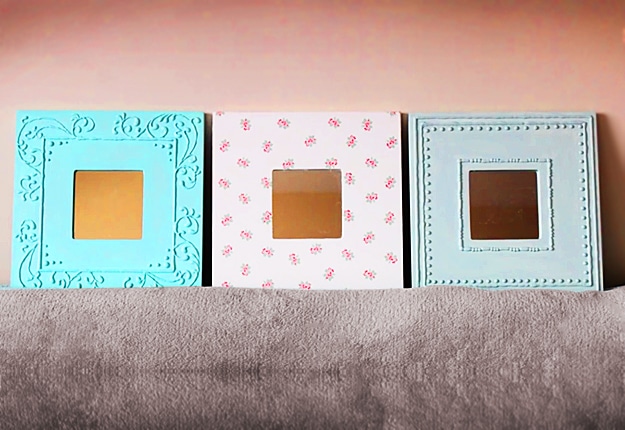
Want something fun, inexpensive and super creative to make this weekend? How ahout some crafty DIY Christmas gifts? This little homemade project is especially good if you have lots of pictures laying around begging for frames, like I do, or a ton of pics on your computer you don’t bother to print, since you have no frames. One of those amazing, have to see it to believe it glue gun crafts that someone more brilliant than me thought of, this hot glue textured frame is really lovely. Once you are finished, no one may ever believe it is handmade. This is also an awesome project to try out your DIY skills with chalk paint, as the glue gives an excellent textured finish which works superbly for this type of craft. Follow the simple step by step instructions in this crafty Youtube video to learn how to make this fun home decor idea.
Easy DIY Hot Glue Decorative Framed Mirror
What You Need:
- Mirror
- Sandpaper
- Paper towels
- Pencil and ruler
- Hot glue gun
- Nail file
- Paint
- Acrylic paint and paintbrush
Here’s How:
Step 1
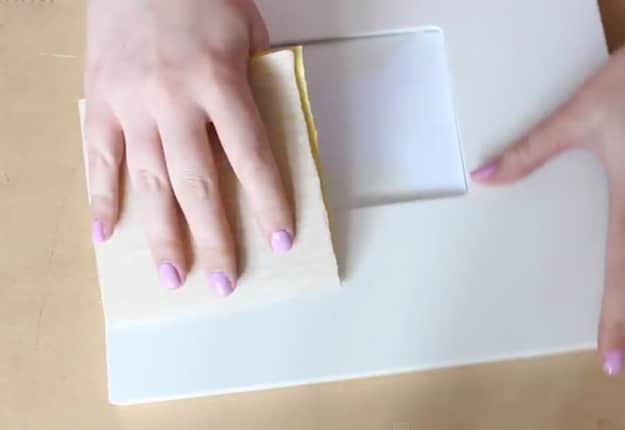
Sand your mirror to dull the surface of the mirror and give it a nice texture for the paint to adhere better. Make sure to clean it thoroughly with wet paper towels after sanding and ensure that there are no dust residues.
Step 2
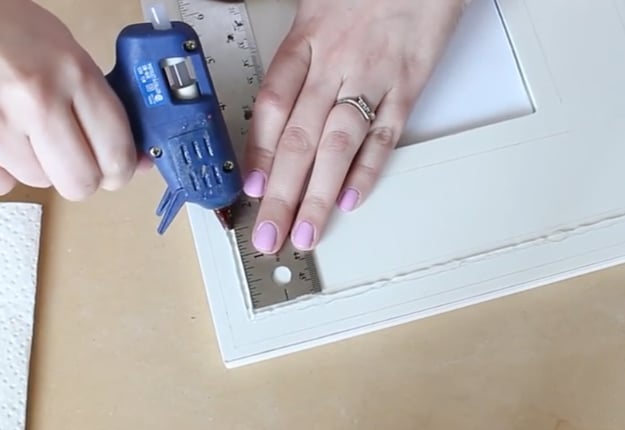
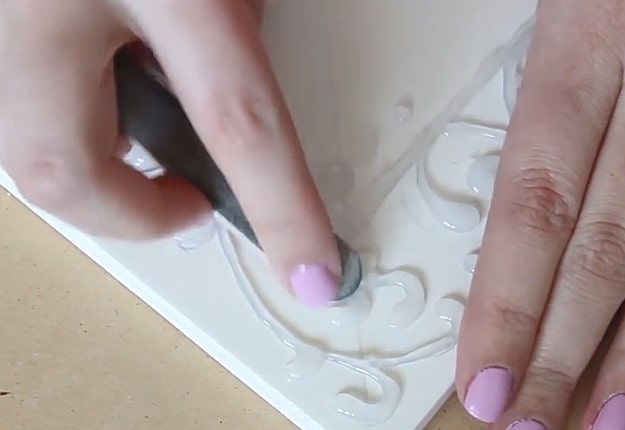
Take a pencil and draw your design directly onto your mirror. Then, place your ruler onto the surface and trace the design using your glue gun carefully applying the same amount of glue all the way down so you can get a nice and even pattern.
Step 3
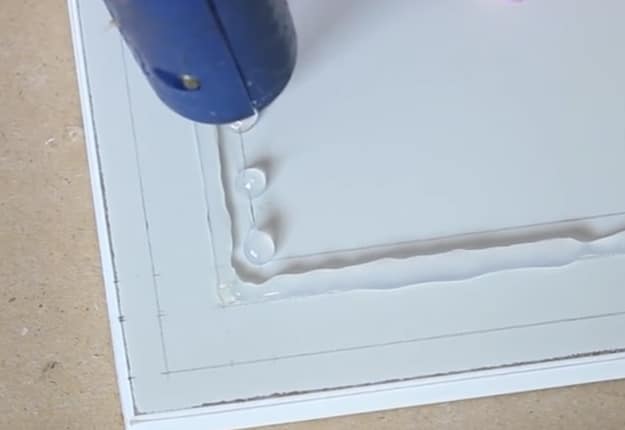
For the dots, score out a small bead of glue from the hot glue gun slowly pulling it up. Grab that strand of glue that’s created and use the tip of your glue gun to sever that string while its standing straight in the air and the peak that was created should just melt right down into your bead of glue.
Step 4
TIP: For doing dots that are side-by-side, you can’t do dots that are side-by-side right away since the glue will be hot and it will just melt into one another and just create an ugly blob of glue. So what you need to do if you want to create the dots side-by side is start by putting one bead of glue and go around your square all the way around. Once you get back to your starting bead that one will be cold and you’ll be able to place another bead of glue right beside it without it melting the other one.
Step 5
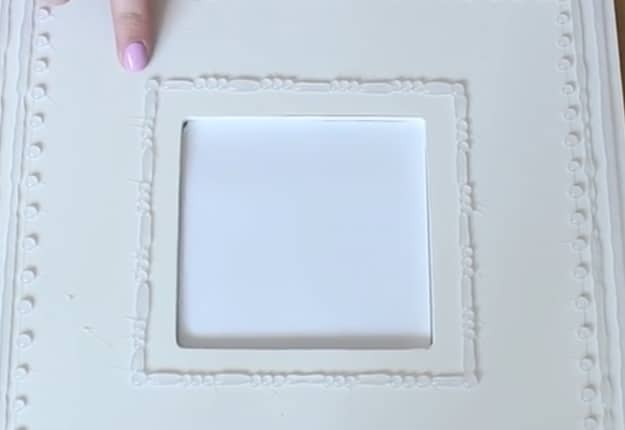
Once you finish putting your design into the mirror, remove any strings that were created and tidy everything up. For intricate designs like the swirly pattern, start at the very inner part of each swirl and start applying the glue and just let the glue cool up as you squeeze it. As you pull around your swirl, release the pressure gradually as you come out of that swirl. Do a short of a section as you can but make sure each swirl has something to continue on to. Again you don’t want to end up with a big blob of glue so you have to let certain areas cool a bit before you add onto them. Complete the entire pattern in this manner.
Step 6
Once all the designs are done, buff away the surface of the glue using nail file so the paint will stick much better to it.
Step 7
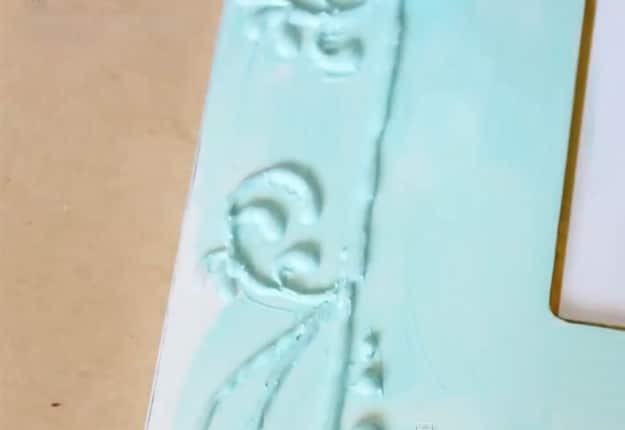
Start painting using your acrylic paint or any kind of paint that you like. Apply 2 coats following the direction on the back of your paints. Let it dry and your decorative mirror is done!
For the other design such as the napkin-designed mirror, you are going to need the following:
- Napkin
- Mod podge
- Brush
Step 1
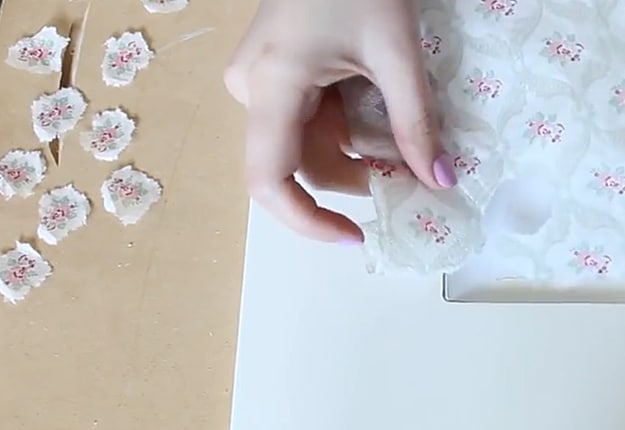
With the printed ply of napkin, tear out the design that you want.
Step 2
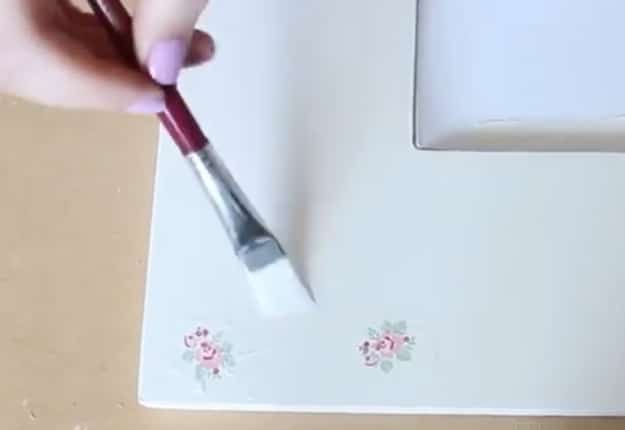
Get your mod podge and apply it onto the mirror as though you are painting and stick your design from the napkin. Apply some more mod podge on top of the design to smoothen it up and seal it in.
Step 3
Do Step 2 for the entire mirror and fill the in-between parts with some clean white layers of the napkin. Let it dry and you have another design for your decorative mirror.
Love this idea? Pin It to save and share on Pinterest

