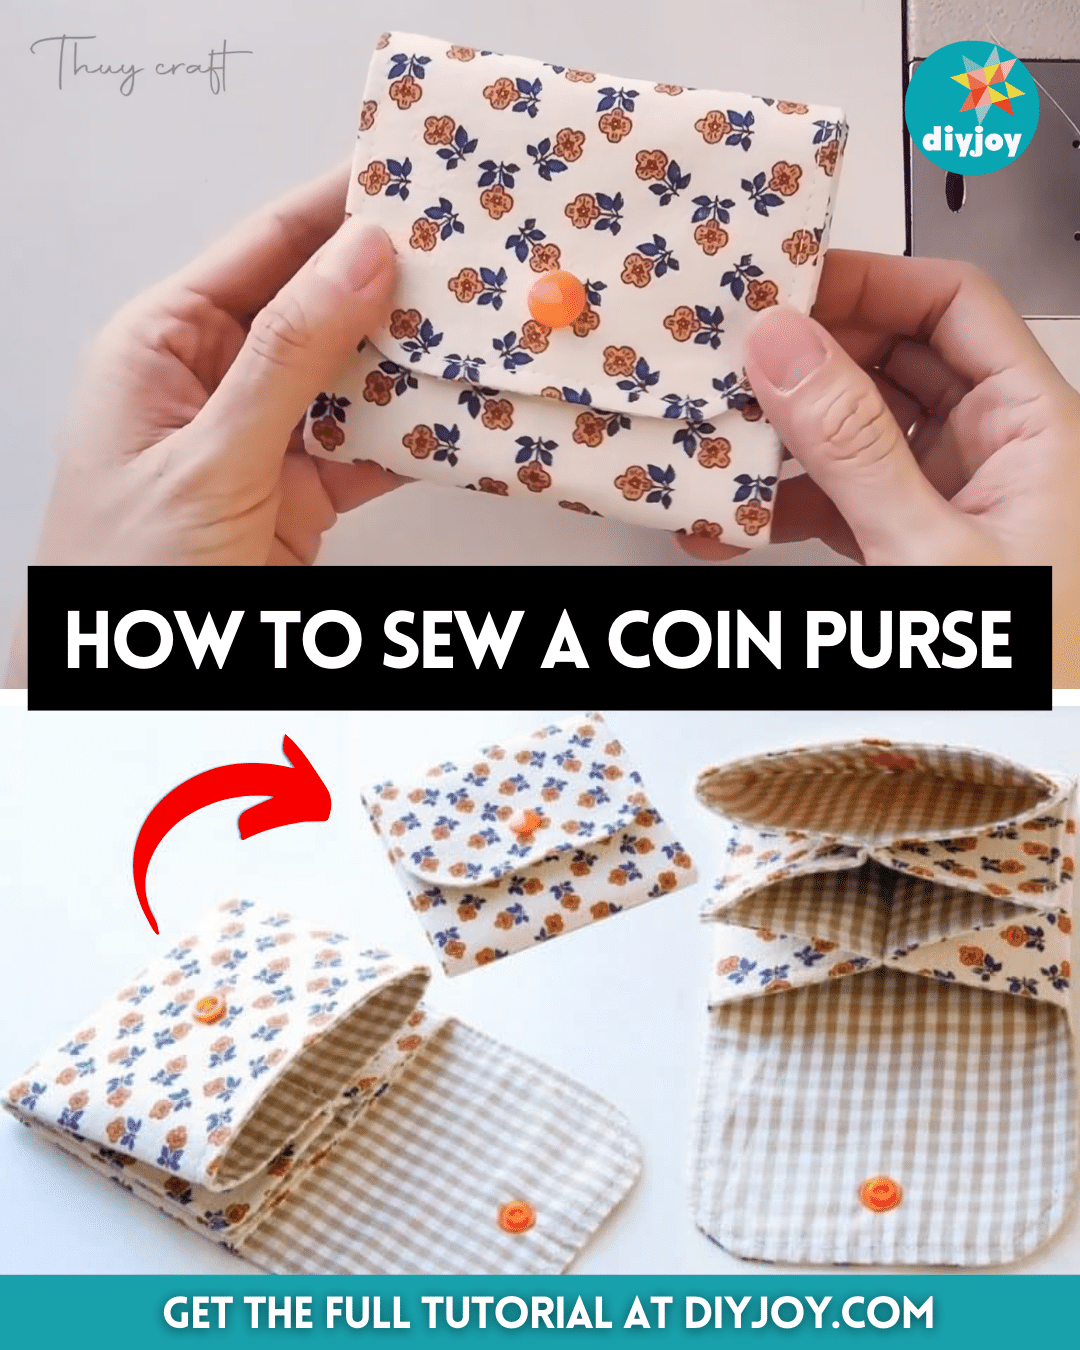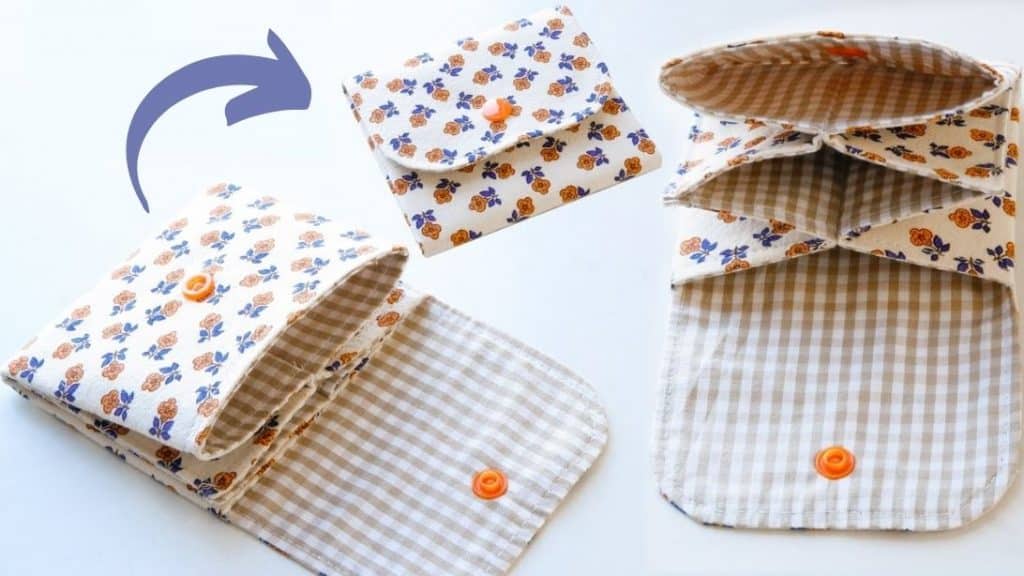
Have you ever wanted to put your sewing skills to practice? Then try this DIY multipurpose pouch that could work as a coin purse and a cardholder! Taught by the ever-amazing Thuy craft via YouTube, this sewing project was very quick and easy to make, with no sweat. It doesn’t matter if you’re a beginner or an expert in sewing because you’ll end up with an adorable purse either way.
Materials:
- Interfacing fabric
- Main fabric
- Lining fabric
- Plastic snap button
- Snap button Fastener
- Marking pen
- Scissors
- Ruler
- Iron
- Clip
- Pin
Directions:
Step 1
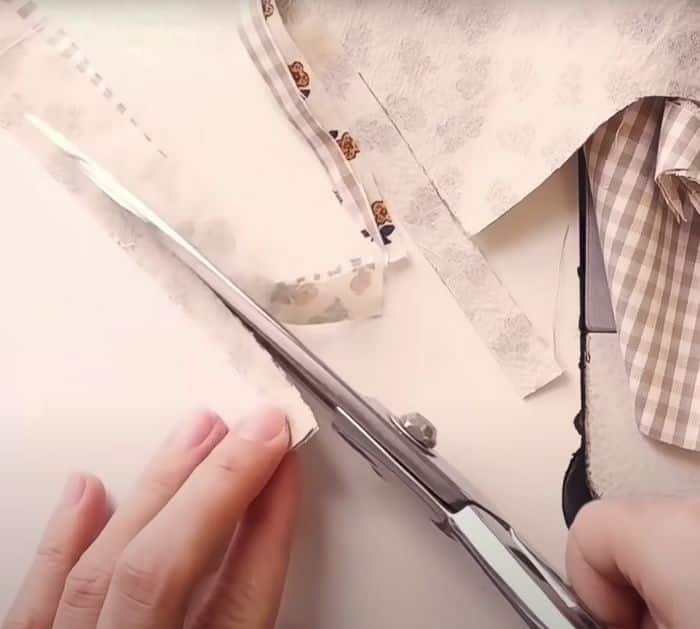
Measure your interfacing fabric with 30cm (11.8 inches) wide and 26cm (10.2 inches) long. Then on the lower left side of the fabric, make a 10cm (3.9 inches) line across and 8cm (3.1 inches) line down. Repeat the lines on the other side, then cut the squares. Using a round jar lid, place it on top of the upper corner of the flap and make a side curve. Fold it in half sideways and cut through the curved line, open up the fabric.
[social_warfare]
Step 2
Place the main fabric with its wrong side up, then place the pattern on top of it, and press the fabrics together with an iron. Next, place it on top of the lining fabric with their right sides facing each other. Sew around the seam of the pattern only, making sure that you’re sewing as close to the seam outline of the interfacing fabric as possible, leaving about a 3 to 4 inches gap on the bottom for flipping the fabric later. Cut around the outer fabrics and leave only about a half-inch seam allowance from the interfacing fabric.
Step 3
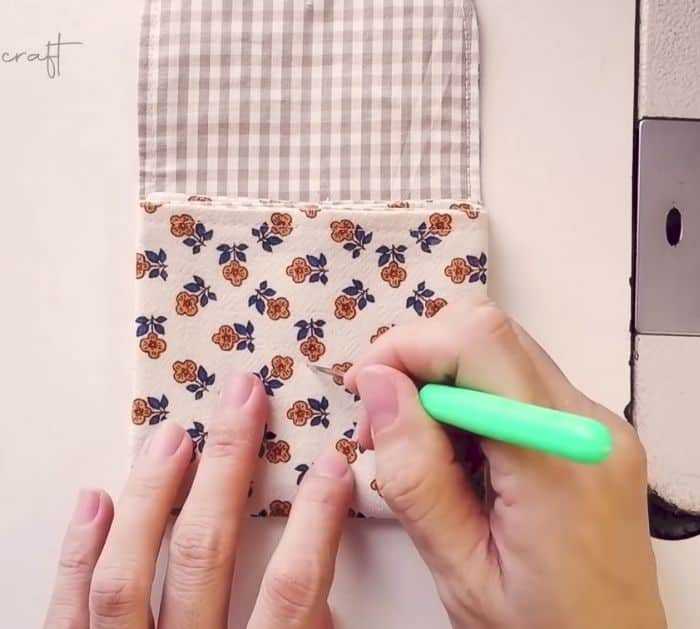
Make notches at the side corner of the flap diagonally, then cut the other corners diagonally as well. Pinch the top corner of the flap and make a notch, do this two more times, then repeat on the other side. Flip the fabric inside out through the gap, then poke the corners nicely, and press the whole fabric. Fold the seams on the gap in then press it as well. Sew around the fabric with a quarter-inch seam allowance, then fold the left flap in, and fold it back halfway. Press with an iron, then do the same to the other flap, open the fabric and fold it in half sideways, make sure that the corners are joined, clip them in place.
Step 4
Sew the first crease outline together, then open the front flap, fold the fabric upwards, make sure that the corners are joined together, pin it in place, then sew downwards with a quarter-inch seam allowance. Sew the opposite inner flap downwards as well. Pull the fabric sideways then adjust until it is on its right form, just follow the curved flap and make sure it’s at the top. Once it’s joined together properly, press it with an iron, fold the flap down and press again. Fold the flap sideways to find the center and mark where you want the button to be, puncture a hole in that mark, then do this on the front-most fabric as well, and insert the button snap.
*These amazing images are all credited to Thuy craft via YouTube. Check her other content and follow for more!
DIY Coin Purse Sewing Tutorial