Ready to decorate your home for the holidays? Add something cool and Christmasy to your table with these creative DIY centerpieces. From rustic pinecone crafts to holiday mason jars and bright ornament displays, you are sure to find something that you love here. With all the fun candy ideas, the kids are sure to drool over them! My personal favorite is the vintage washtub filled with fragrant pine tree branches and the touch of rustic charm with the handmade Christmas trees.
All of these come with easy step by step tutorials, so check out these awesome ideas and make one or more of these this weekend to get your home ready for Christmas! Your table needs these…we promise!
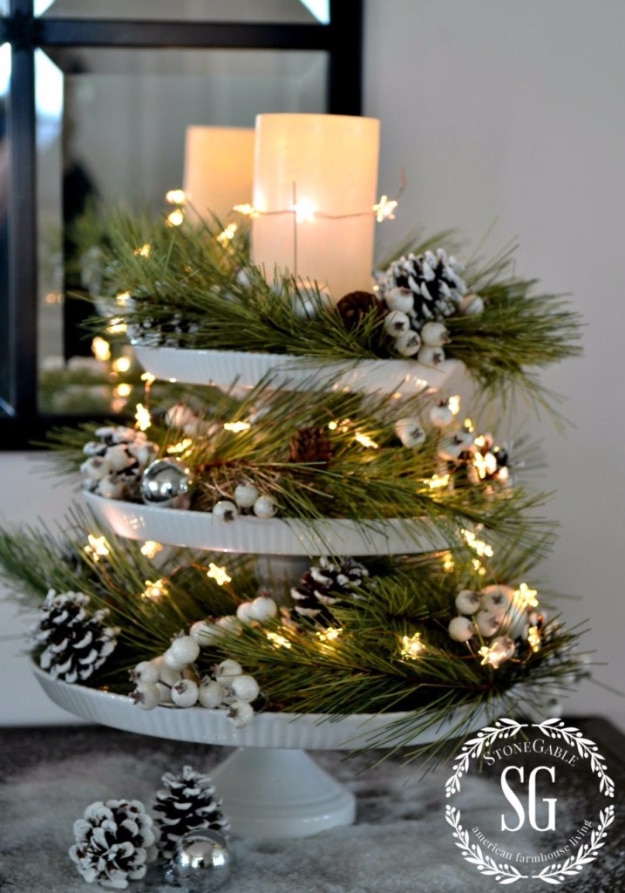
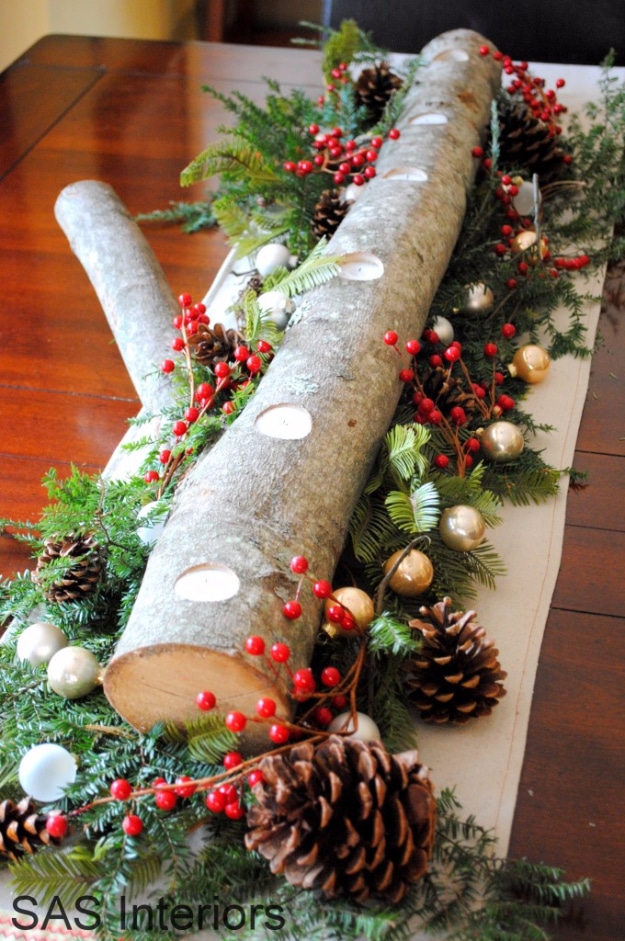
Whether you are looking for DIY Christmas table decor or some crafty do it yourself ideas for your mantle during the holidays, this pinecone and berry is a DIY Christmas centerpiece you want to make for your display.
When it comes to cheap DIY Christmas centerpiece ideas, this cute display made with dollar store vases and inexpensive Christmas ornaments is one of the prettiest I’ve seen. Decorate for the holidays while saving money to spend on gifts. This Christmas craft project costs less than $5 to make, so we think you should make several. For an awesome way to decorate the mantle during the holidays or add a festive flair to the Christmas dining table, make this center piece decoration.
These rosemary trees that double as tiny Christmas trees look so adorable on the table during the holidays. I’ve started buying one every year now, and it always end up being my favorite Christmas decorating idea. Each year, I do something a little different with my rosemary tree. Last year, I hung tiny colorful round ornaments, some cute pom poms my daughter made and a little string of clear mini LED Christmas lights. This year, I am making this cute bunting for a DIY Christmas tree idea that is super unique and sure to look great with my new farmhouse decor.
The ladies at my lodge love Hershey’s Kisses, so when tasked with making DIY centerpieces for our anual Christmas brunch, this was a cheap and easy choice for me. All you need for this quick and easy project are some cone-shaped pieces of foam – I got mine at Michael’s in the 6in and 9 in sizes. I used approximately three bags of Hershey’s Kisses Chocolates for the 9-inch tree and two bags for the 6-inch tree. I snapped toothpicks in half and inserted each half into the bottom of a Kiss. These were a little difficult to press in, so I had my husband poke tiny holes with a super small screwdriver (cleaned first, of course) to get things started. Once the picks were inserted into the candies, I let Doodle go to town sticking them into the foam. We used a decorative cupcake pic we found at my local cake supply store for the tree topper, but I think you could easily find something similar at your favorite craft store (Michael’s, Hobby Lobby, etc.).
I love cranberries. I love to eat them in my yogurt or cereal. I love that they can be both sweet and tart. But most of all, I love their deep red color and sheen, especially this time of year.
I am fond of cranberries so much that I even used them as a DIY centerpiece for my fall wedding years ago. (It was a really simple large hurricane vase, a pillar candle with cranberries around it.)
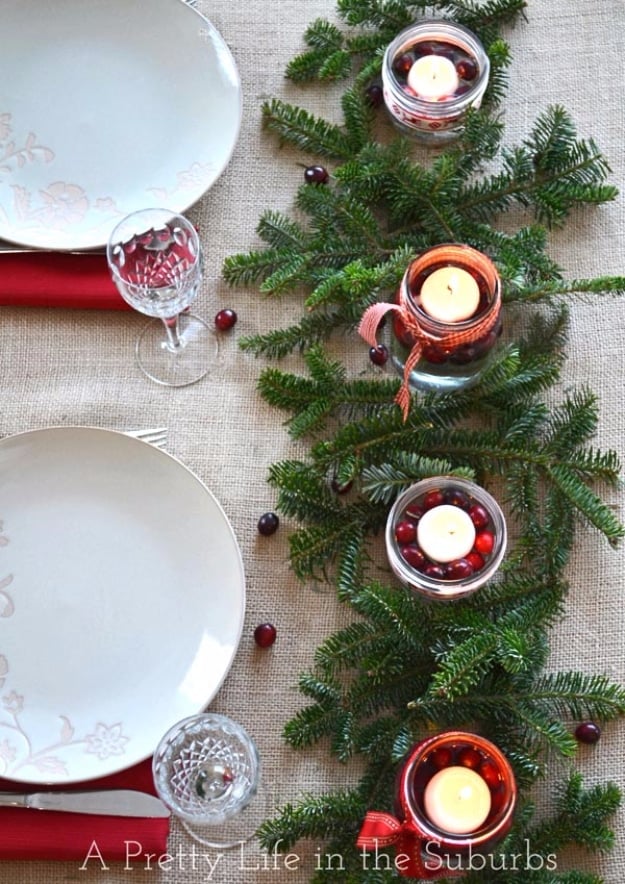
Cranberries are an inexpensive, fast and pretty way to have a ‘fresh’ centerpiece around Thanksgiving and Christmas. (versus a fresh flower arrangement) These arrangements were very simple to create. I grabbed some clear containers from the party supply store (you could use glass vases you had at home, too). Then, I poured Epsom salts into the bottoms of each vase. I added a thick layer of berries on top of the salt. Then, I ran outside with a pair of scissors and trimmed some of our evergreen shrubs. I stuck the greens in the cranberries and that was it! Gorgeous, cheap easy and everyone loved them!
If you need a quick DIY rustic, country centerpiece idea this one is for you! This is a super easy project, one that looks fabulous and festive and is cheap, easy and quick to assemble. It’s a Christmas centerpiece made from lots of fresh greenery from the yard with a few silvery berries for sparkle. It fills a fabulously Frenchy galvanized container…a wonderful gift from a sweet friend…with a trio of shabby folded trees to finish it off!
If you are ever feeling stuck and do not have the time to make an elaborate centerpiece arrangement this DIY Hersey’s Kisses centerpiece is for you! Decorating for the holidays is something we love to do and could not get cheaper or easier! Today I started decorating with my kids, which means the details needed to be easy to work with and fun. What we came up with is a beautiful Hershey’s Kisses Centerpiece! This centerpiece is not only gorgeous and inviting, but it also captures attention and starts conversation. Best of all, it’s edible! We got the holiday sticks and the candy at Michael’s and just used a vase we already had, it looked so fabulous.
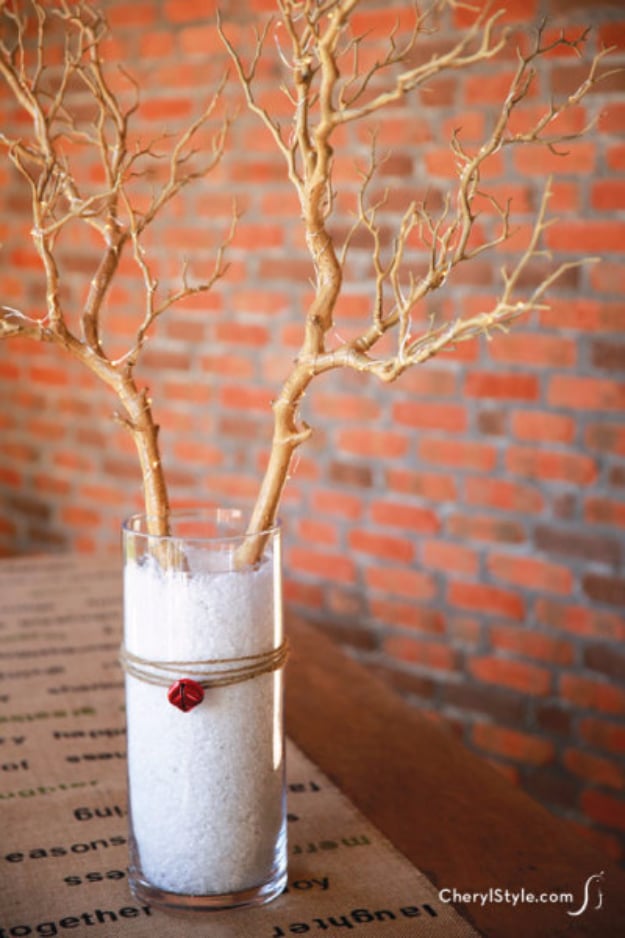
I have a really big dining table and needed a quick and easy DIY centerpiece idea for a spur of the moment Christmas gathering. This idea jumped off my Pinterest page because I had all these items around the house, so that meant no cash outlay and no travel time for me. The DIY centerpiece was super easy, I used the silver Home Goods serving tray as the base. The silver deer ornaments were purchased on sale at Kohls last year. I scored the pretty vintage blue ornaments and silver tinsel at Salvation Army a few months ago, the little silver ornaments are from Hobby Lobby, and the clear containers are from Home Goods. I must say that I love taking a clear container, throwing in some tinsel, and topping it off with ornaments. It’s easy. It’s inexpensive. It’s pretty. I love my spray painted manzanita branch. You can’t go wrong with a manzanita branch in your decor arsenal. This DIY centerpiece looks amazing and will impress the fussiest of guests.
I saw this DIY centerpiece idea on Pinterest that was put together using items from Lowes, I knew it would be perfect for my Christmas luncheon for my coworkers. It wasn’t too fancy and it was really affordable. So I started with a piece of burlap to use as the base and then pulled out a really pretty green and red Christmas runner. At Lowes, I found a Christmas shaped evergreen shrub, along with a silver bucket to put it in. I also found some cactus that screamed Christmas to me (hello red ball on the top!) to use as a treat at each table setting and wanted to put them in something, so these plumbing couplings were perfect for that. A can of Valspar paint in glossy red did the trick for my purposes, the red was full of Christmas cheer. This DIY centerpiece looked fantastic at my luncheon.
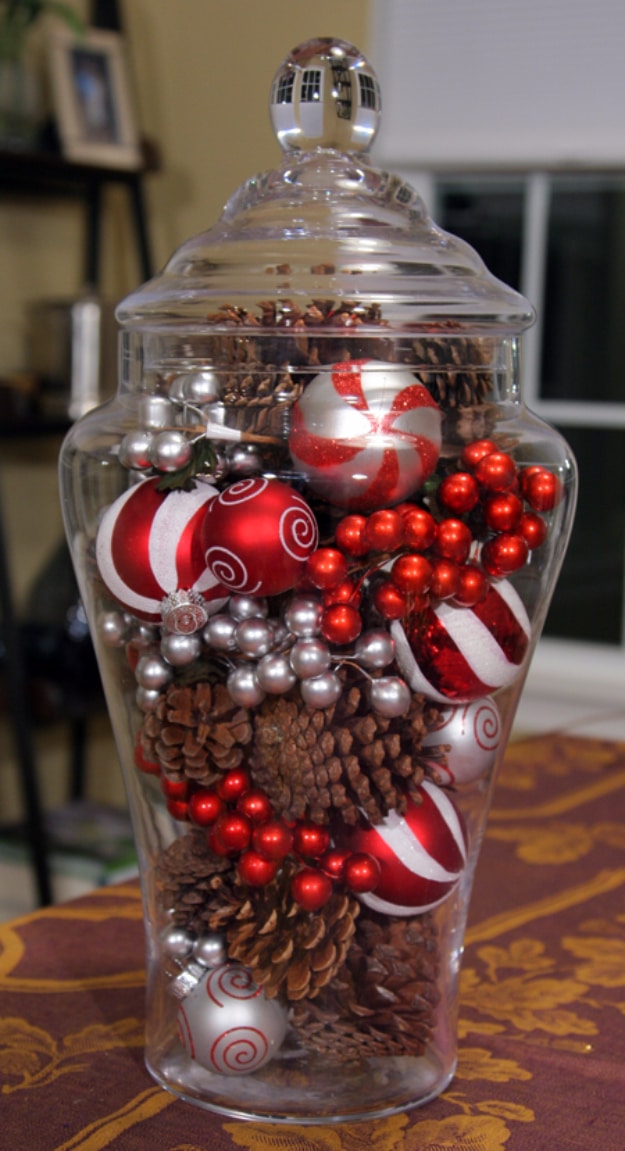
This is one of the cutest, cheapest and easiest DIY centerpieces I’ve ever made. This DIY centerpiece is very simple to create and has a subtle yet special effect anywhere you place it. You just take a glass vase, I had a hurricane lamp vase I bought at Michaels last year and filled it with pinecones and Christmas ornaments. We had all of this on hand; use what you’ve got! Candy canes or Christmas lights would be cute, too. So cute and easy for a spur of the moment holiday event.
I needed a DIY centerpiece that was elegant enough for a formal dinner table setting, but it needed to adhere to my regular DIY criteria which is cheap, easy and convenient and this arrangement fit the bill to absolute perfection. I used tall champagne flutes to hold some old DIY gold and silver glitter ornaments I had from years ago and placed a magnolia arrangement inside the one in the middle, so it kind of spilled out like a fountain. The whole thing took me less than 30 minutes and looked fantastic.
What a fabulous DIY centerpiece this is! You just mix and match several of the craft projects you have made to create something new. When you combine some festive yarn pom poms and a vase wrapped with twine, you have a quick and easy centerpiece! I placed some pompoms around the vase and it really brought things together. This is a super little DIY Christmas idea.
My kids were having a class party and I needed to bring a DIY centerpiece. I had run low on ideas and I remembered my daughter had lost one of her rubber rain boots on the school bus the other day. So I covered her existing boot in red glitter and attached some fake fur to the top and filled with candy canes. No one could believe how cute it was, all the kids started mysteriously losing one boot so they could make one too! 😉
everydayhomeblog