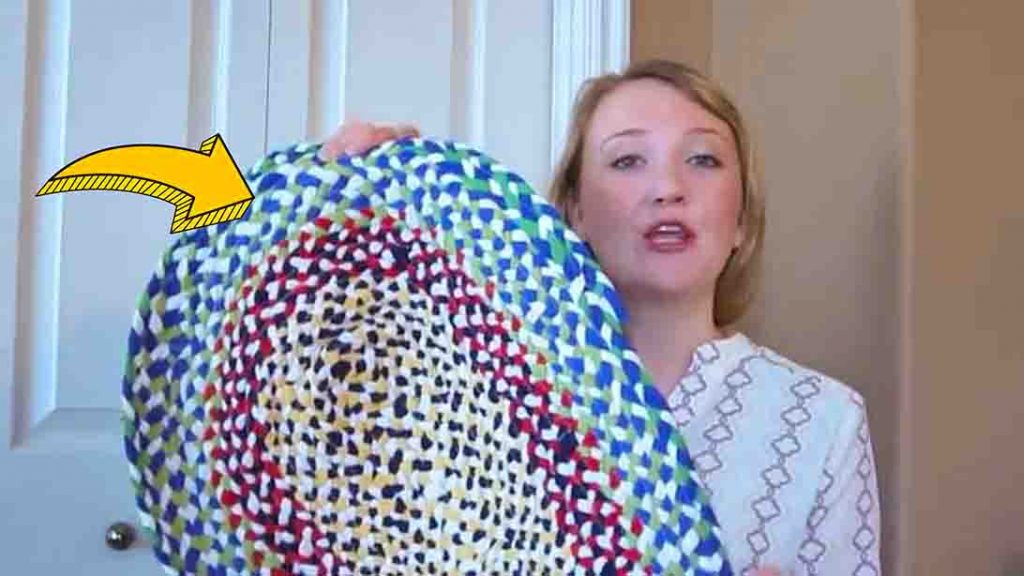
Are you looking for a weekend project? Try making this DIY rug from MySewBliss on YouTube! This is perfect, especially if you have lots of T-shirts that you don’t use anymore. It’s simple and easy, and you can make it into different sizes! Try doing this DIY today! Watch the video tutorial below to learn the step by step instructions.
Materials:
- old t-shirts
- scissors
- needle
- thread
- sewing machine
- clips
Directions:
Step 1
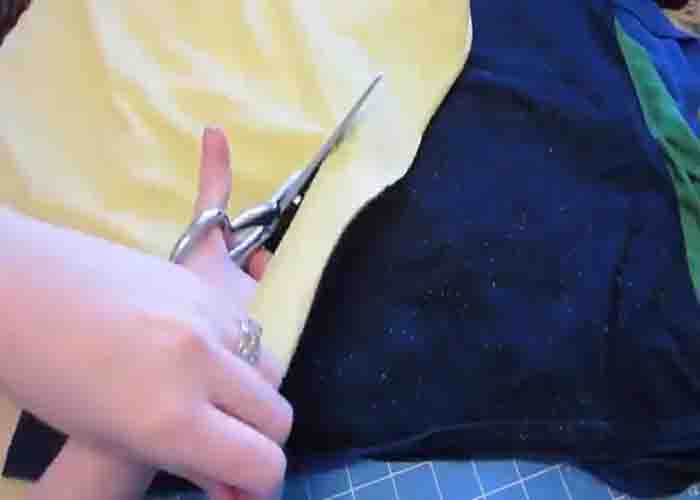
To start, grab all your t-shirts and cut them into long strips with your scissors. Repeat this with all the t-shirts until you have long strips of fabric. (Note: If your t-shirt has a print, don’t cut it with your strips. Instead, cut it to remove, then continue to cut the strips.) Once you have all your strips cut out, sew the shorter ones together to make them into long pieces. Next, tie a knot to one end of the strip, then start wrapping the pieces around it. That way, it will keep the pieces organized. Do this to all of your long strips to keep them organized as well.

[social_warfare]
Step 2
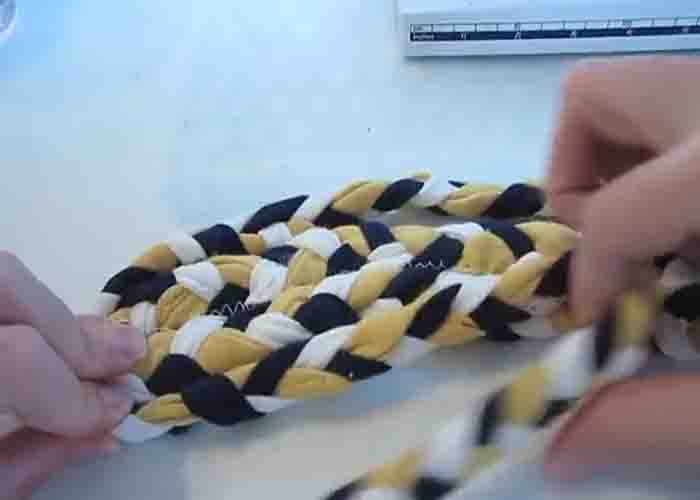
Once you have your ball of strips, grab the ends and start braiding, keeping it tight as you go along. You can attach clips here and there to help keep the braid tight as you go farther. Keep going until you finish braiding the strips. Once you’re done, start assembling it into a rug. To start, decide the length that you want it, and depending on how long your strand is at first, that’s going to determine how wide and how long your rug is going to be.
Step 3
Now, take the strands, curve them around, lay them flat, and pull them up. Start sewing from the curved end, pinching the two together. After you’ve sewn the strips, keep going all the way around, shaping the braid into a rug.


